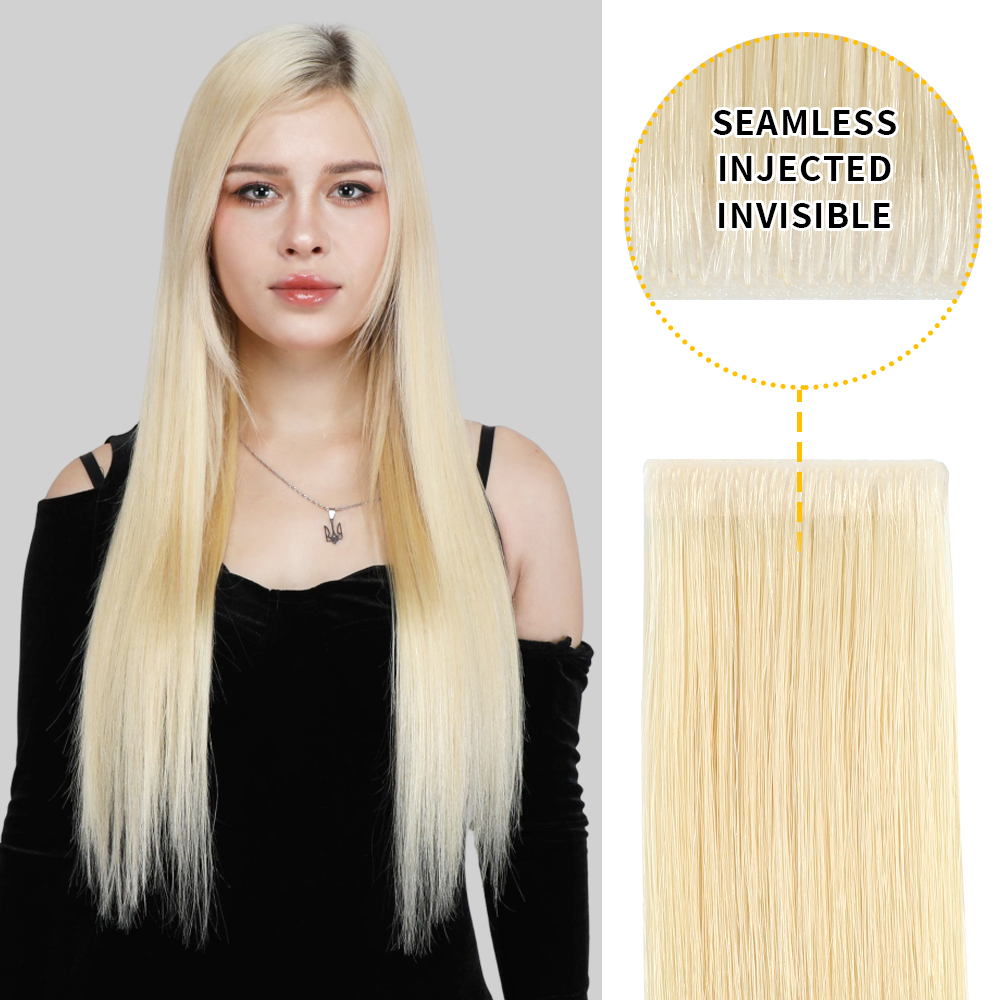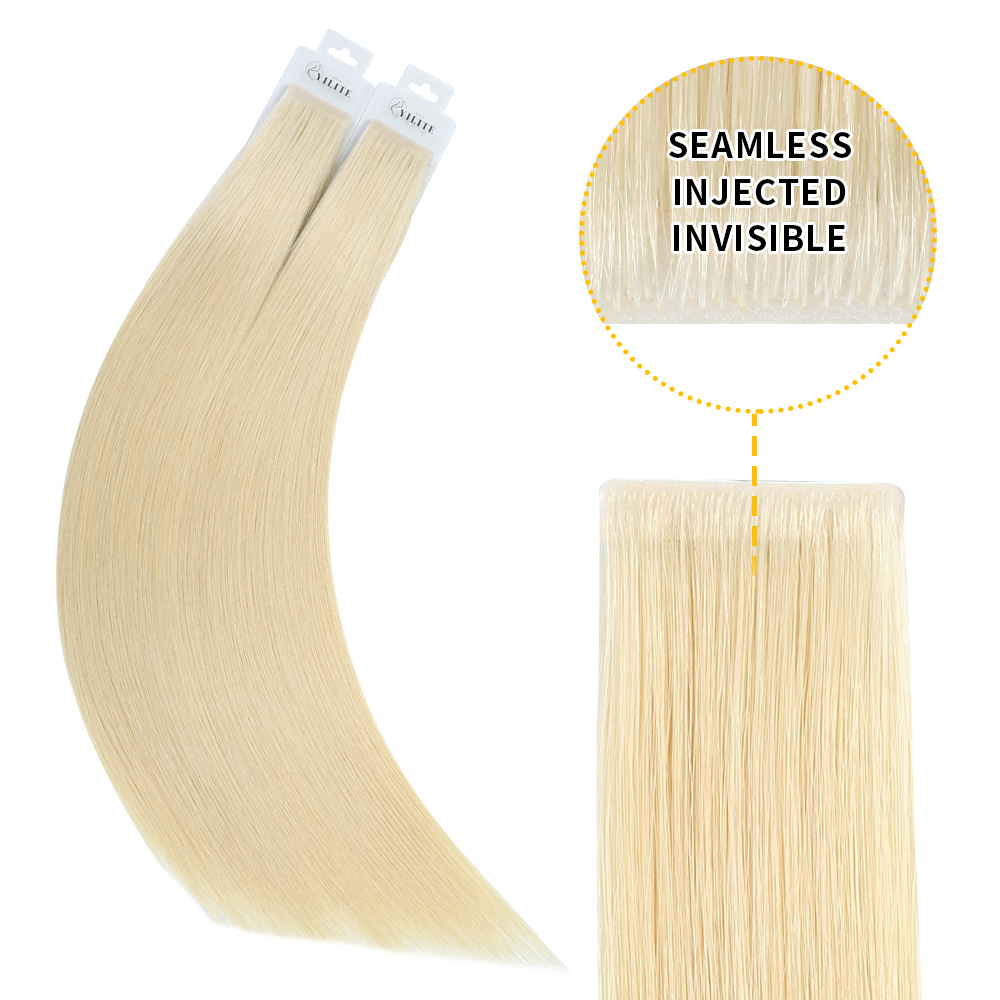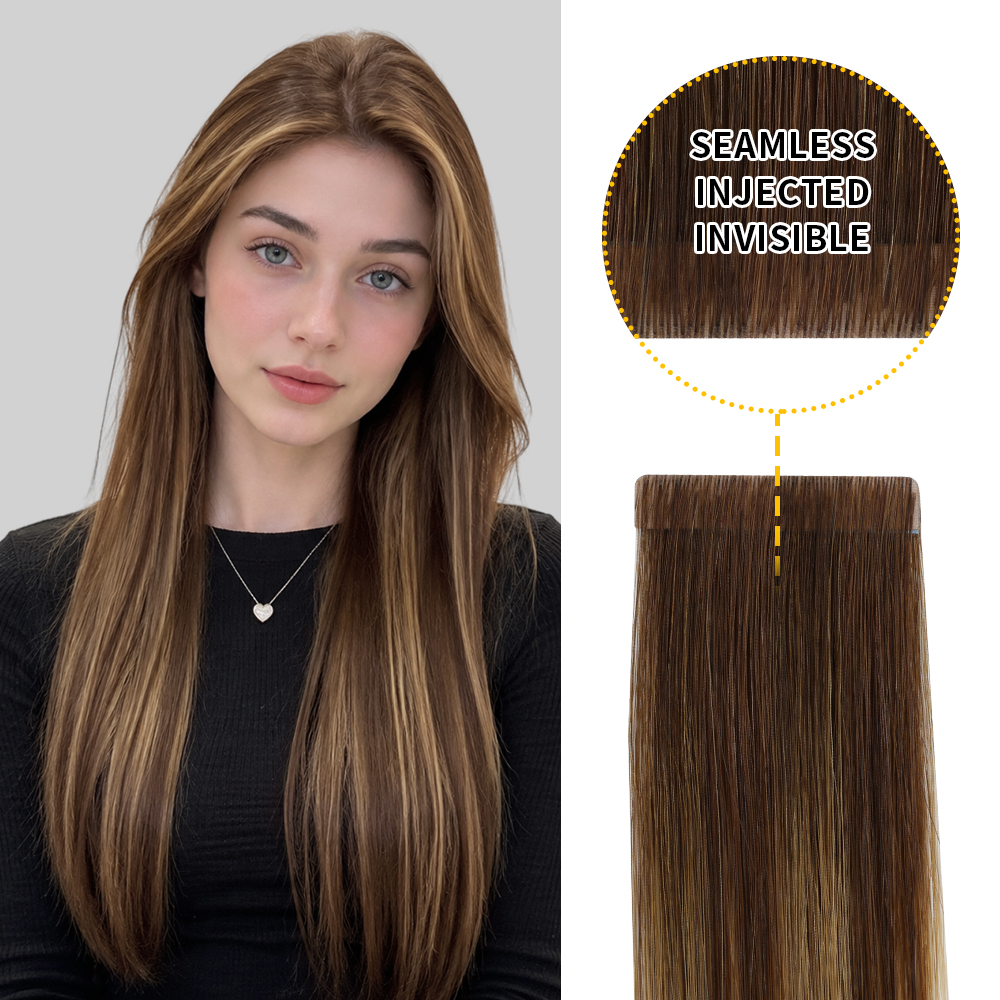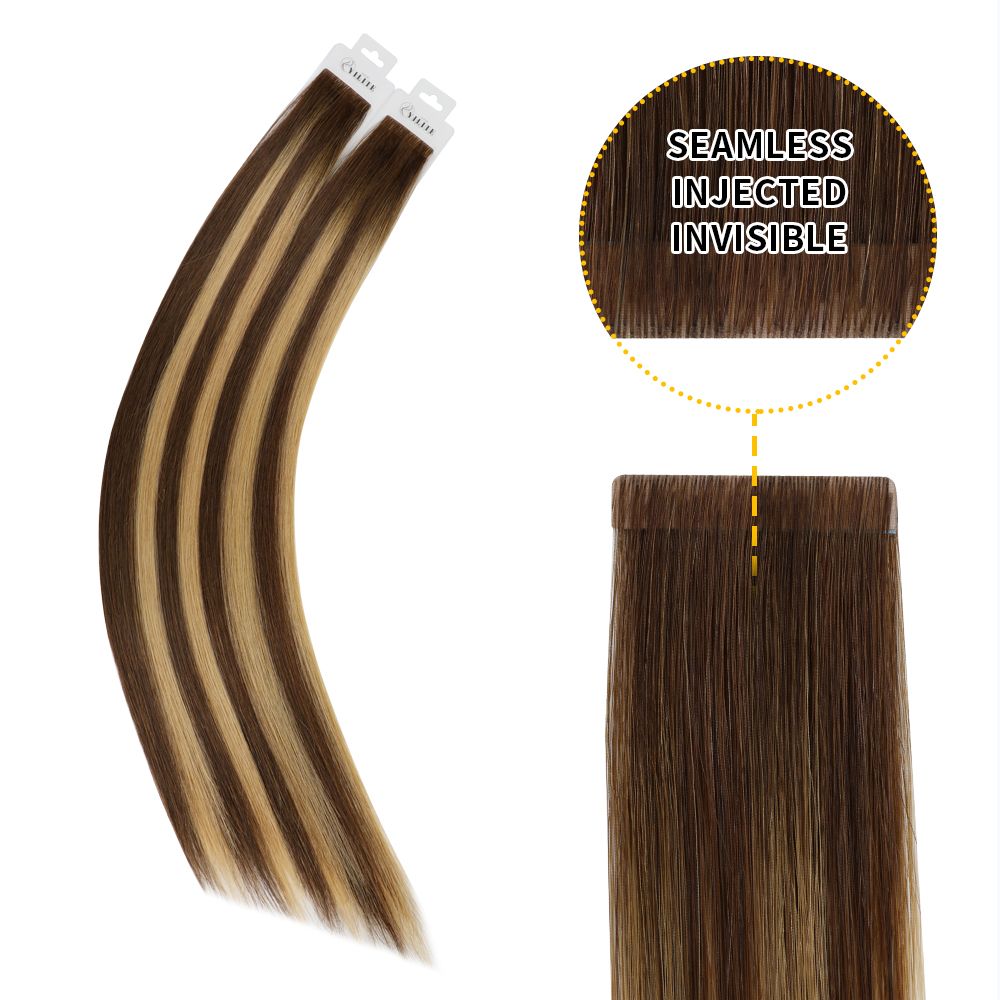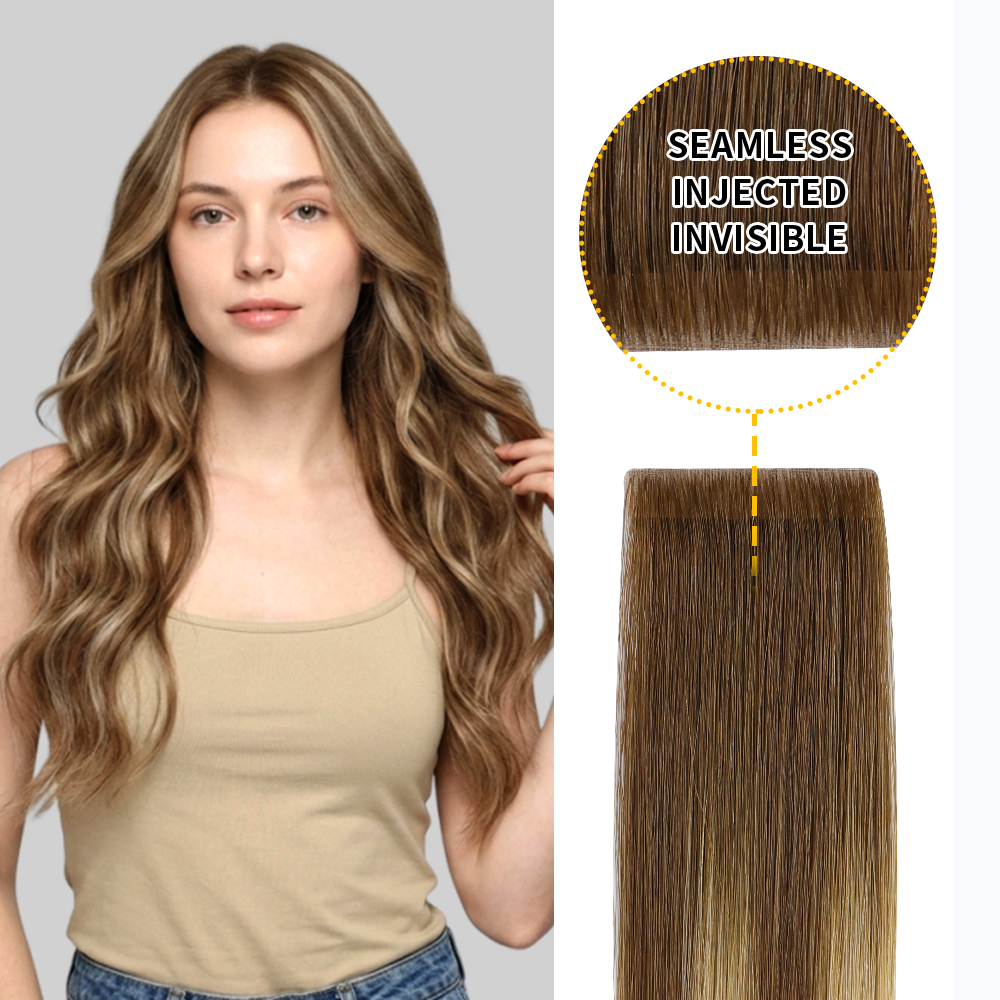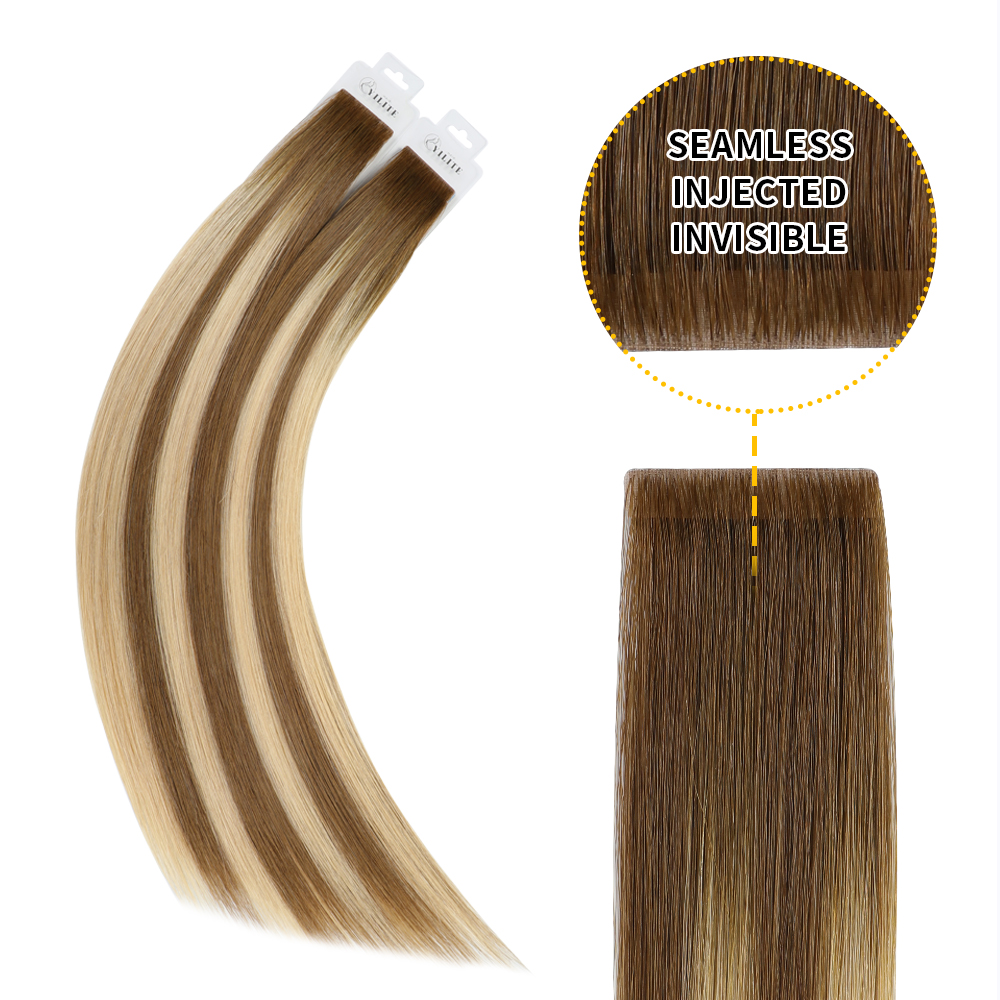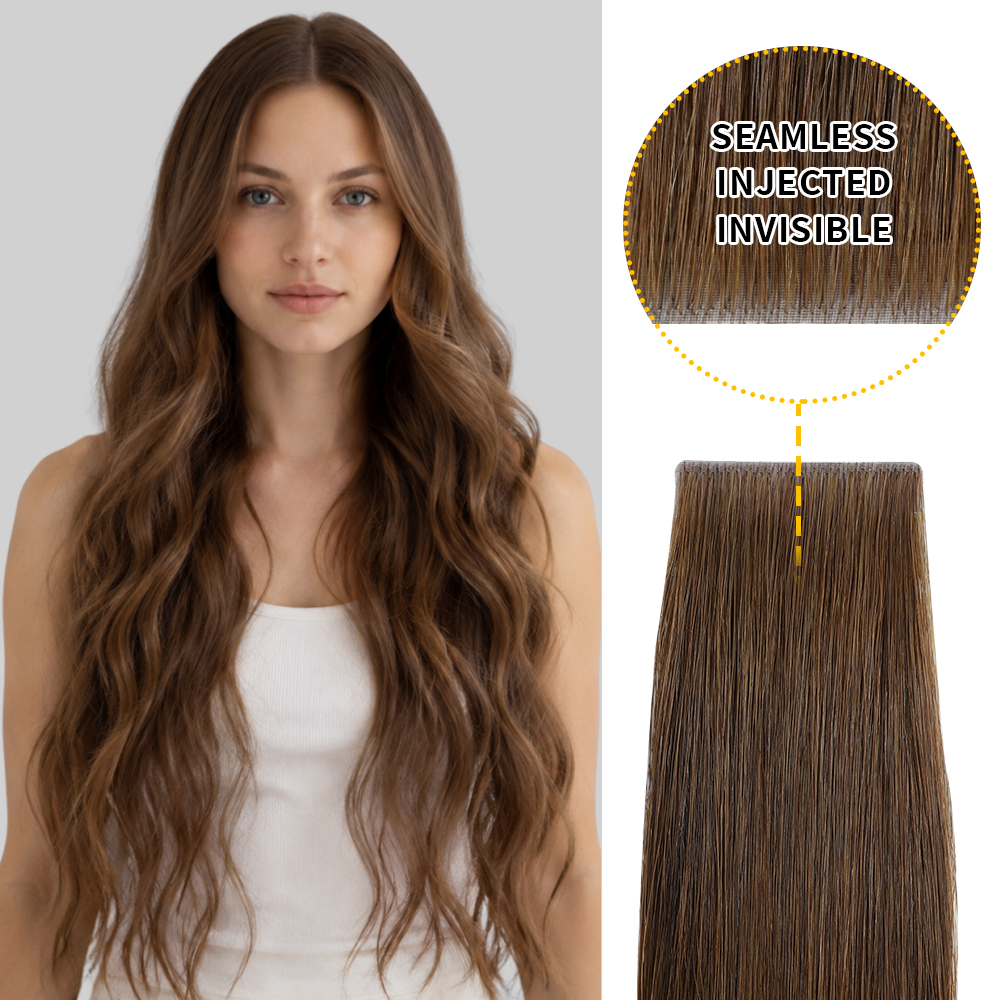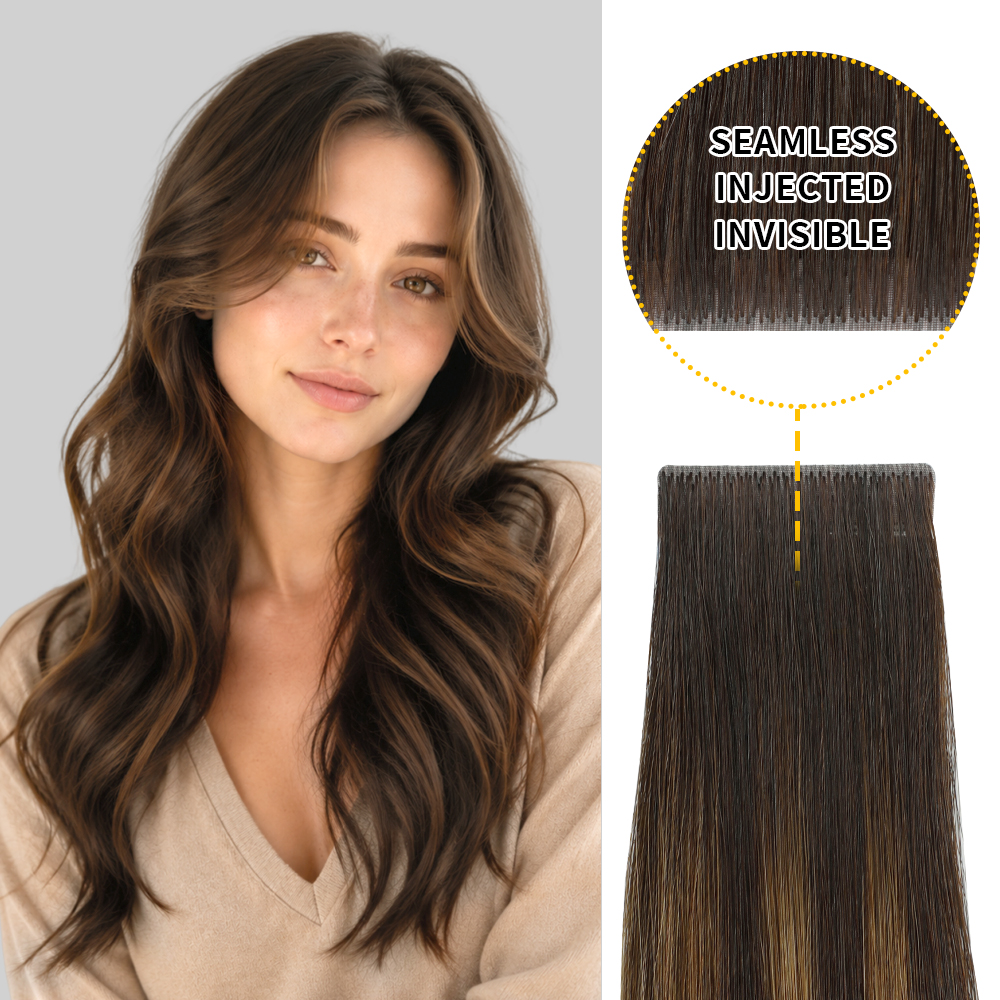
Hair loss can change more than the way your hair looks. When thinning becomes noticeable around the crown, hairline, parting, or a specific bald spot, everyday styling can become more difficult—and for many people, that can affect confidence.
Hair patches offer a non-surgical way to add coverage to specific areas without committing to a full wig or undergoing a surgical procedure. Depending on the design, they can be attached with clips, tape, or adhesive and blended with the surrounding hair for a more natural-looking result.
But a hair patch is not simply a smaller wig.
The right patch depends on where the hair is thinning, how much coverage is needed, the condition of the surrounding hair, and how often you want to wear it.
This guide explains how hair patches work, who they may suit, how to choose one, and what to consider before using one.
What Is a Hair Patch?
A hair patch is a small hairpiece designed to provide targeted coverage for areas where hair is thinning or missing.
Unlike a full wig, which covers most or all of the head, a hair patch focuses on a specific area. The hair is attached to a base material that is designed to sit against the scalp or blend with the surrounding natural hair.
Depending on the design, hair patches can be secured using:
- Adhesive
- Double-sided tape
- Clips or other attachment systems
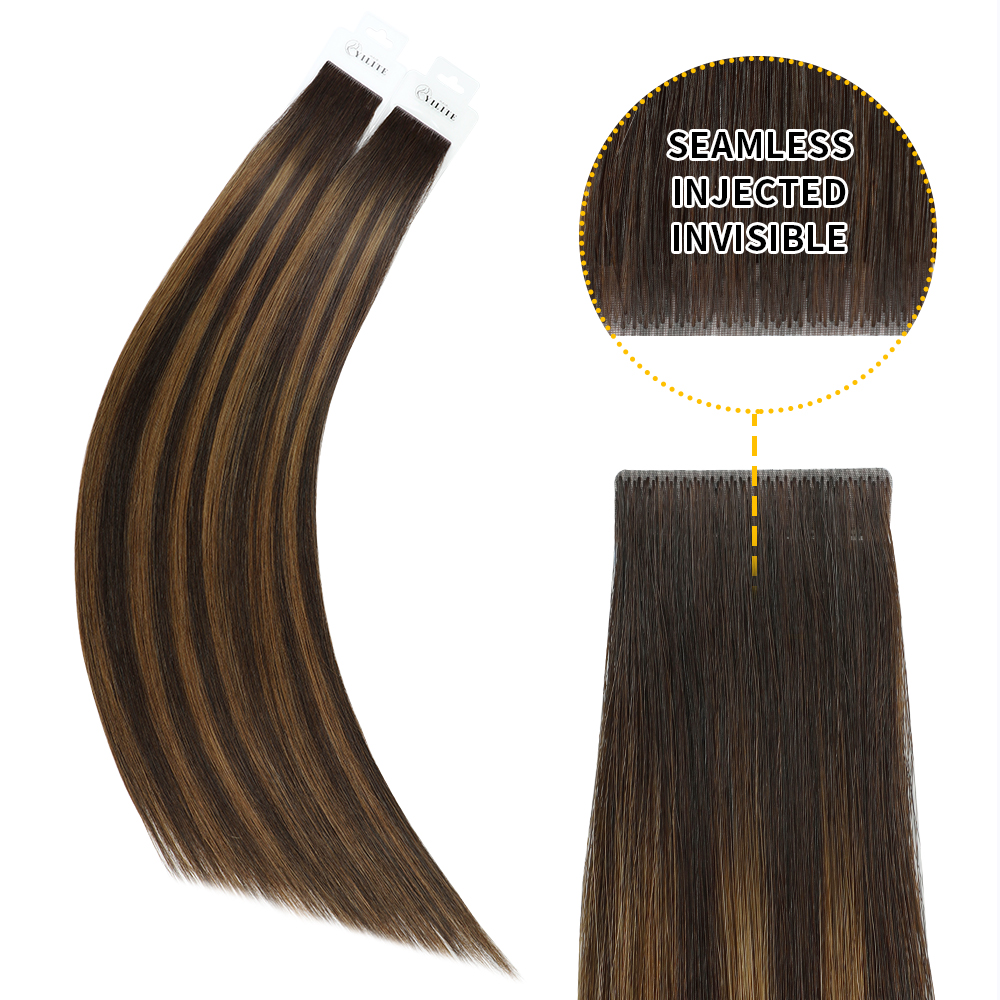
They can be made with human hair or synthetic fibers. Human hair patches generally provide more flexibility for styling and can offer a texture and movement that closely resembles natural hair.
The main advantage is targeted coverage.
Instead of adding hair everywhere, you can place the hairpiece where you actually need additional density.
What Problems Can a Hair Patch Help With?
Hair patches are particularly useful when hair loss is concentrated in a specific area rather than affecting the entire head.
Common situations include:
Crown or Top-of-Head Thinning
If the crown or parting has become visibly wider, a small hair patch can add density to the area while allowing your natural hair to remain visible around it.
Localized Bald Spots
A patch can provide coverage for a small area where hair density is significantly lower than the surrounding hair.
Hairline Concerns
Certain smaller hairpieces can be designed to provide additional coverage around specific areas of the hairline.
Uneven Hair Density
Sometimes the issue isn't complete hair loss but an obvious difference in density between two areas. A targeted hairpiece can help create a more balanced appearance.
The important distinction is that a hair patch changes the appearance of the hair; it does not treat the underlying cause of hair loss.
If hair loss is sudden, severe, painful, associated with scalp changes, or continuing rapidly, it is worth speaking with a qualified healthcare professional to determine the cause.
Hair Patch vs. Hair Topper vs. Wig
One of the most common mistakes beginners make is choosing a hairpiece based only on appearance.
The amount of coverage you need should come first.
| Hair Solution | Coverage | Best For | Attachment |
|---|---|---|---|
| Hair Patch | Small, targeted area | Bald spots or localized thinning | Tape, adhesive, clips |
| Hair Topper | Partial top/crown coverage | Thinning crown or widening part | Usually clips |
| Wig | Most or all of the head | Extensive hair loss or complete coverage | Various methods |
Choose a Hair Patch If:
You only need to cover a relatively small or specific area.
Choose a Hair Topper If:
Your main concern is thinning across the crown, top, or parting and you still have enough surrounding hair for the piece to blend into.
Consider a Wig If:
You need substantially more coverage across the scalp or have very little natural hair available for blending.
For a more detailed comparison, see our guide to Hair Patches vs Hair Toppers.
How Do You Choose the Right Hair Patch?
Choosing a hair patch isn't simply about selecting the closest color.
Four factors matter most:
1. Measure the Coverage Area
Before ordering, measure the area that needs coverage.
Consider:
- Length of the thinning area
- Width of the thinning area
- Shape of the area
- How much surrounding hair is available for blending
A patch that is too small may leave visible gaps.
A patch that is unnecessarily large can add bulk and make blending more difficult.
For this reason, measure first rather than choosing based on appearance alone.
2. Match the Hair Color
Color matching becomes especially important when the patch sits near visible natural hair.
Look at your hair in natural daylight rather than relying only on indoor lighting.
Consider:
- Base color
- Warm vs. cool undertones
- Highlights
- Lowlights
- Root color
- Overall hair texture
If your hair contains multiple shades, a perfectly uniform color match may not always be necessary. A well-blended shade with a similar overall tone can sometimes look more natural than trying to match one individual strand.
3. Match the Hair Texture
Color isn't the only factor affecting how natural the result looks.
A straight hair patch placed into strongly wavy hair can be more noticeable even if the color is correct.
Try to match:
- Straight
- Wavy
- Curly
- Overall hair density
If necessary, human hair can generally provide greater styling flexibility than synthetic alternatives.
4. Consider Your Daily Routine
Your lifestyle should influence the attachment method you choose.
Ask yourself:
Do I want to remove it every day?
A removable option may be more convenient.
Do I want longer wear between applications?
An adhesive or tape-based system may be more suitable, depending on the design.
Do I frequently exercise or sweat?
You may need to pay more attention to attachment security and maintenance.
Do I regularly change hairstyles?
A flexible hairpiece may make styling easier.
There is no single attachment method that is ideal for everyone.
What Size Hair Patch Do You Need?
The correct size depends on the area you want to cover rather than the amount of hair you want to add.
YILITE offers hair patches in several sizes, including:
- 1.5 × 15 cm
- 1.5 × 16 cm
- 2.5 × 16 cm
- 3 × 16 cm
- 7 × 15 cm
This range allows users to select a smaller piece for targeted coverage or a larger base for areas requiring more coverage.
If your measurements don't correspond closely to a standard size, customization may be worth considering.
A Simple Rule:
Small area → smaller patch
Wider thinning area → larger patch
Unusual-shaped area → consider customization
The goal isn't to use the biggest piece possible. The goal is to use enough coverage without creating unnecessary bulk.
How to Make a Hair Patch Look More Natural
The attachment itself is only one part of the final result.
Blending is what makes the hairpiece look like part of your hairstyle rather than an added piece.
Match the Direction of the Hair
Before securing the patch, consider the natural direction in which your hair grows and falls.
Placing the hair in a different direction can make the piece easier to detect.
Blend the Surrounding Hair
Leave enough natural hair around the patch to create a transition between your own hair and the hairpiece.
A professional stylist can also lightly shape the surrounding hair to improve the transition.
Consider Density
Adding too much hair to a very fine area can create an obvious difference in density.
A natural-looking result isn't necessarily the fullest result.
Instead, aim for balanced density
Style After Installation
For human hair patches, gentle styling can help integrate the hairpiece with your natural hair.
Soft waves, a blowout, or a matching straight style can make differences in texture less noticeable.
How to Attach a Hair Patch
The exact installation process depends on the attachment system.
For adhesive or tape-based patches, a typical process includes:
Step 1 — Clean the application area
The scalp should be clean and free from excess oil, heavy styling products, and residue.
Step 2 — Position the patch
Place the patch over the intended coverage area before removing the protective backing.
This allows you to check positioning first.
Step 3 — Secure the attachment
Follow the instructions for the specific adhesive or tape system.
Avoid stretching or forcing the base into position.
Step 4 — Blend the surrounding hair
Once secured, gently blend the natural hair with the patch.
Step 5 — Check from different angles
Look in natural lighting and check the hairline, sides, and back.
A patch that looks perfect from the front may still be visible from another angle.
Video Tutorial
Follow the tutorial below on how to install hair patches for women. YILITE provides hair patch replacement tapes and adhesive glue for a better application.
Can Hair Patches Damage Your Natural Hair?
A properly selected and correctly installed hair patch does not automatically mean your natural hair will be damaged.
However, attachment tension, improper removal, excessive adhesive use, or repeated pulling can create problems
Pay attention to:
- Persistent scalp discomfort
- Redness or irritation
- Pulling around the attachment area
- Increased breakage
- Excessive shedding around the patch
If you experience persistent irritation or noticeable worsening of hair loss, stop using the product and seek professional advice.
Important:
Never remove an adhesive-based hair patch by pulling it directly away from the scalp.
Use the appropriate removal product and technique recommended for the attachment system.
How to Care for a Hair Patch
Hair patches require maintenance just like other human hair products.
Brush Carefully
Start at the ends and gradually work upward.
Avoid aggressive brushing near the base.
Wash Only When Necessary
Frequent washing can shorten the usable life of human hair.
Use a gentle shampoo and focus on cleaning the hair without aggressively rubbing the base.
Condition the Lengths
Apply conditioner mainly to the mid-lengths and ends.
Avoid excessive product buildup around the attachment area.
Limit Excessive Heat
Human hair can generally be styled with heat, but repeated high-temperature styling can gradually make the hair dry and brittle.
Use heat protection and moderate temperatures.
Store Removable Patches Properly
When not in use, keep removable hair patches:
- Clean
- Dry
- Untangled
- Away from direct sunlight
- Protected from dust
Proper storage helps preserve the hair's texture and appearance.
What About Hair Patches for Sensitive Scalps?
Scalp comfort should be a priority when choosing an attachment system.
Some people may be sensitive to adhesives, tapes, or particular ingredients.
If you have never used a specific adhesive before, consider performing a small patch test according to the manufacturer's instructions.
Stop using the product if you develop significant irritation.
Also remember that a hair patch should feel secure—not painfully tight.
Comfort is an important part of a successful hairpiece.
Are Hair Patches a Permanent Solution for Hair Loss?
No.
Hair patches are a cosmetic solution for improving the appearance of areas with hair loss or thinning.
They don't:
- Stimulate new hair growth
- Repair damaged follicles
- Treat hormonal hair loss
- Cure alopecia
- Stop the underlying cause of shedding
Their purpose is to provide coverage and styling flexibility while you address your individual hair concerns.
If you're experiencing unexplained or progressive hair loss, consider getting a professional evaluation rather than relying solely on a cosmetic hairpiece.
When Should You Consider a Hair Topper Instead?
A hair patch isn't necessarily the best solution for every type of thinning.
A topper may be more appropriate when:
- Thinning extends across the crown
- Your part has become noticeably wider
- You want additional volume over a larger area
- You still have enough natural hair for clips to attach securely
If your concern is concentrated in one relatively small area, however, a hair patch may provide more targeted coverage.
This is why the location and pattern of hair loss matter more than simply asking which product is “better.”
Hair Patch vs. Hair Extensions: They Solve Different Problems
Hair patches and hair extensions are sometimes grouped together because both add hair, but they serve different purposes.
Hair patches are primarily designed to provide targeted coverage where hair is missing or significantly thinner.
Hair extensions
For example:
Thinning crown → Hair topper or hair patch
Localized bald spot → Hair patch
More length and volume → Hair extensions
Extensive hair loss → Wig or professionally fitted hair system may be more appropriate
Understanding this distinction can prevent you from choosing an extension product when what you actually need is targeted scalp coverage.
Why Choose Human Hair for a Hair Patch?
Human hair can provide several practical advantages when compared with synthetic fibers.
It can offer:
- More natural movement
- A texture closer to natural hair
- Greater styling flexibility
- A more realistic appearance
- The ability to blend more naturally with existing hair
However, human hair still requires maintenance.
It can become dry, tangled, or damaged if exposed to excessive heat, harsh chemicals, or improper care.
So choosing human hair is only part of the equation—the maintenance routine matters too.
Final Thoughts
Hair loss solutions don't have to mean choosing between doing nothing and undergoing a permanent procedure.
For people dealing with localized thinning, bald spots, or areas of reduced density
The best result comes from choosing the right:
Coverage area → Size → Color → Texture → Attachment method → Maintenance routine
Most importantly, remember that a hair patch is designed to improve the appearance.
If your hair loss is sudden, worsening, or accompanied by scalp symptoms, addressing the underlying issue with an appropriate healthcare professional should come first.
For those looking for a flexible cosmetic solution, however, a well-fitted human hair patch can be a practical way to restore the appearance of fullness and create greater styling confidence.