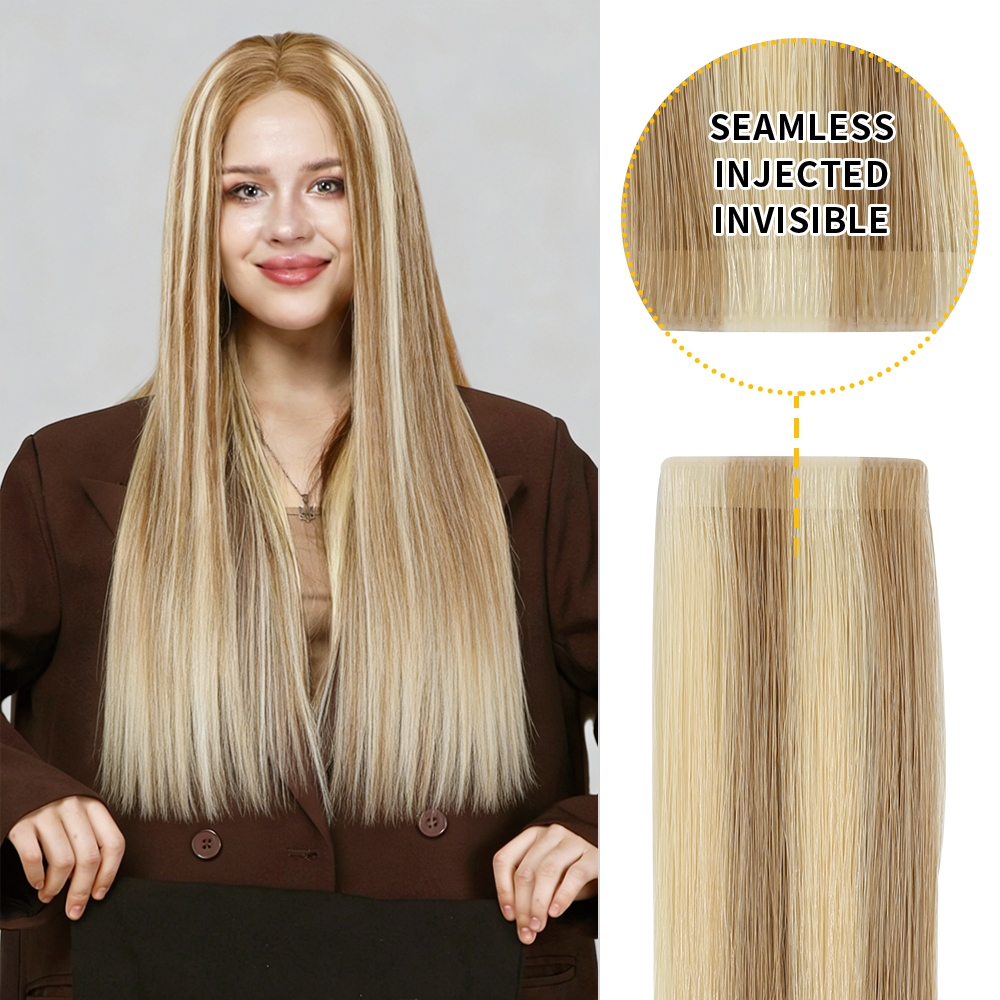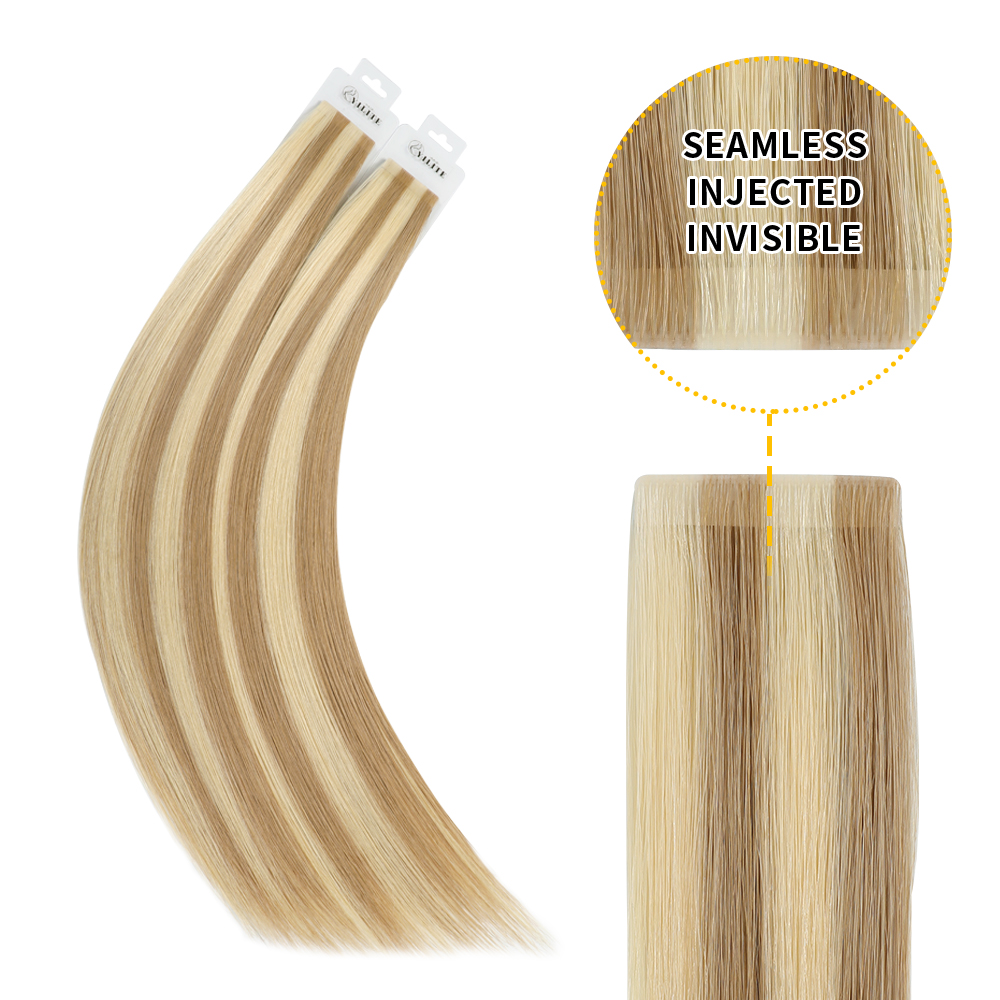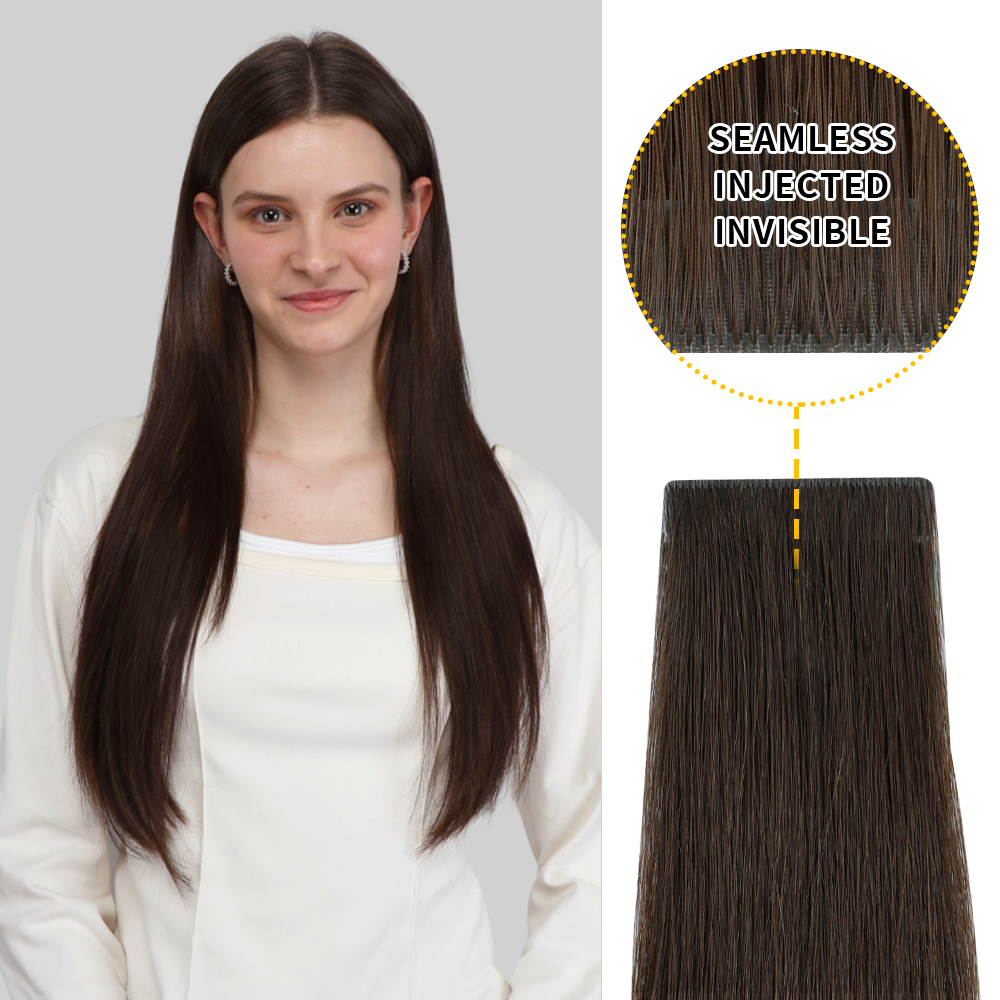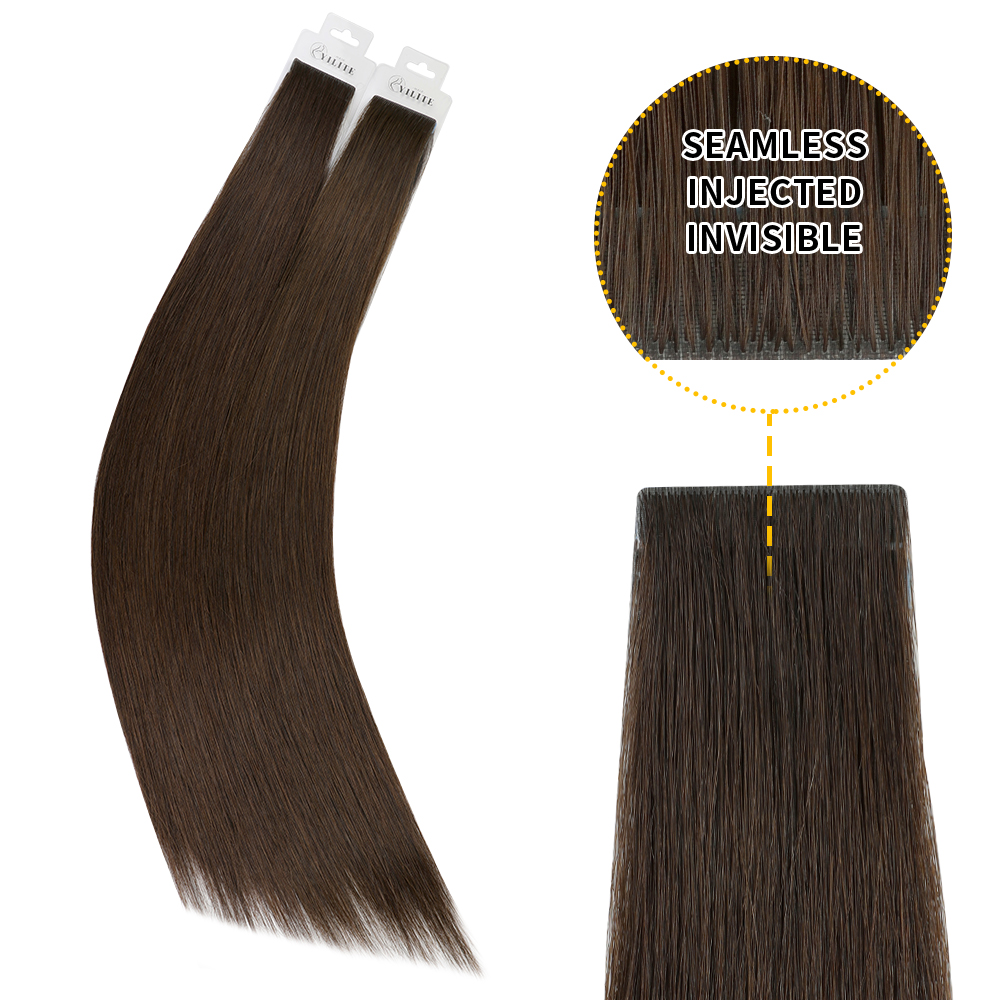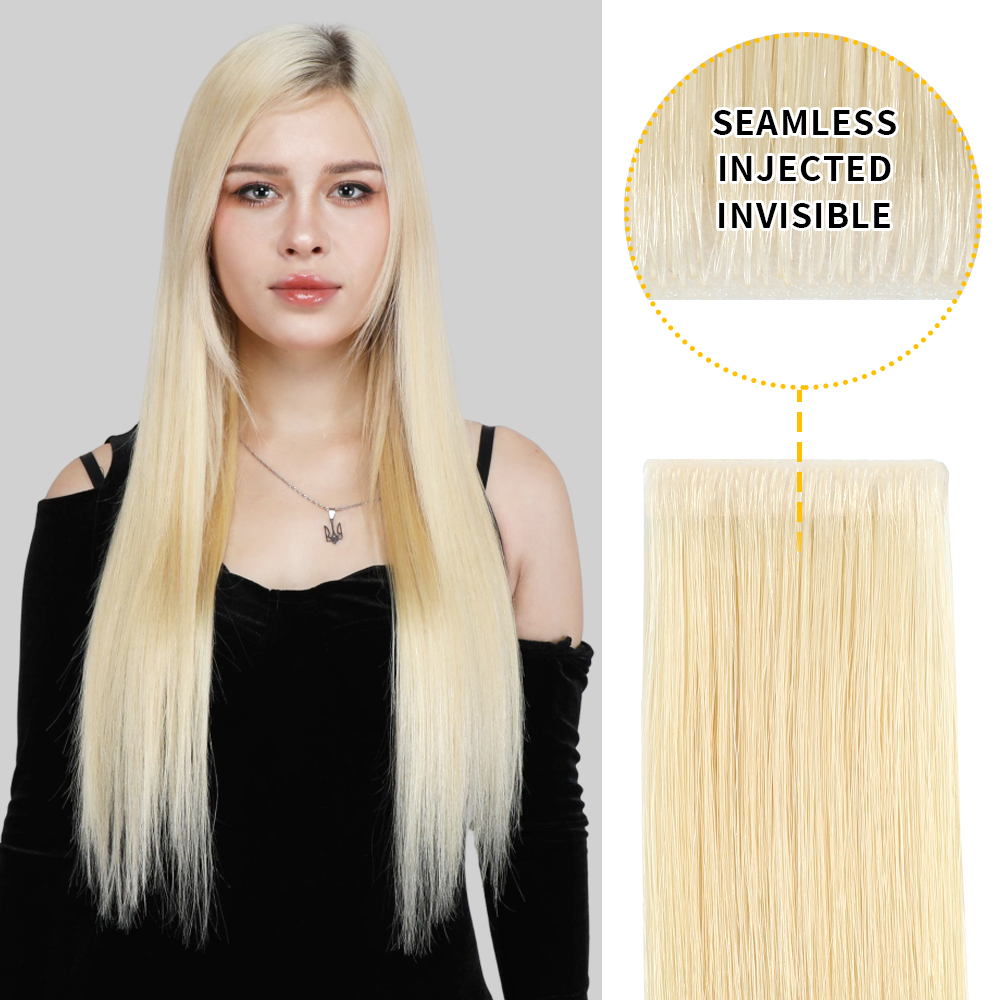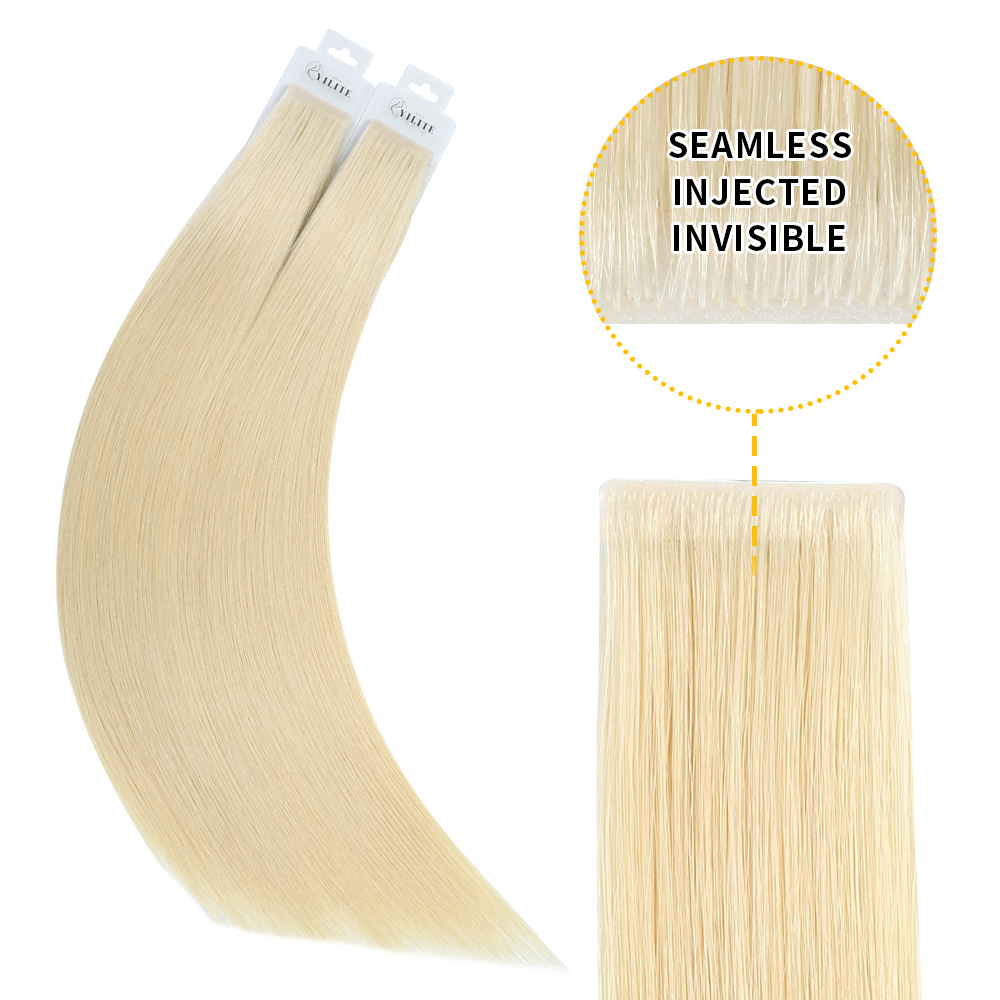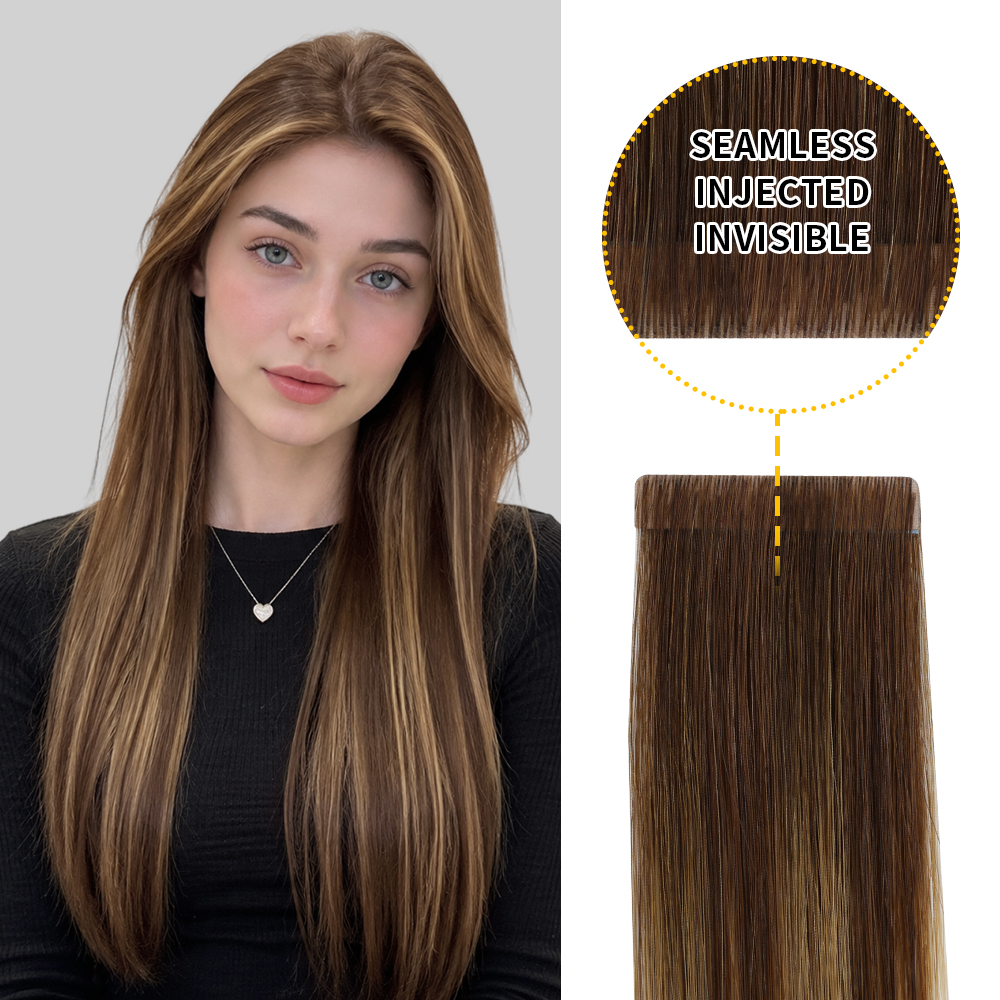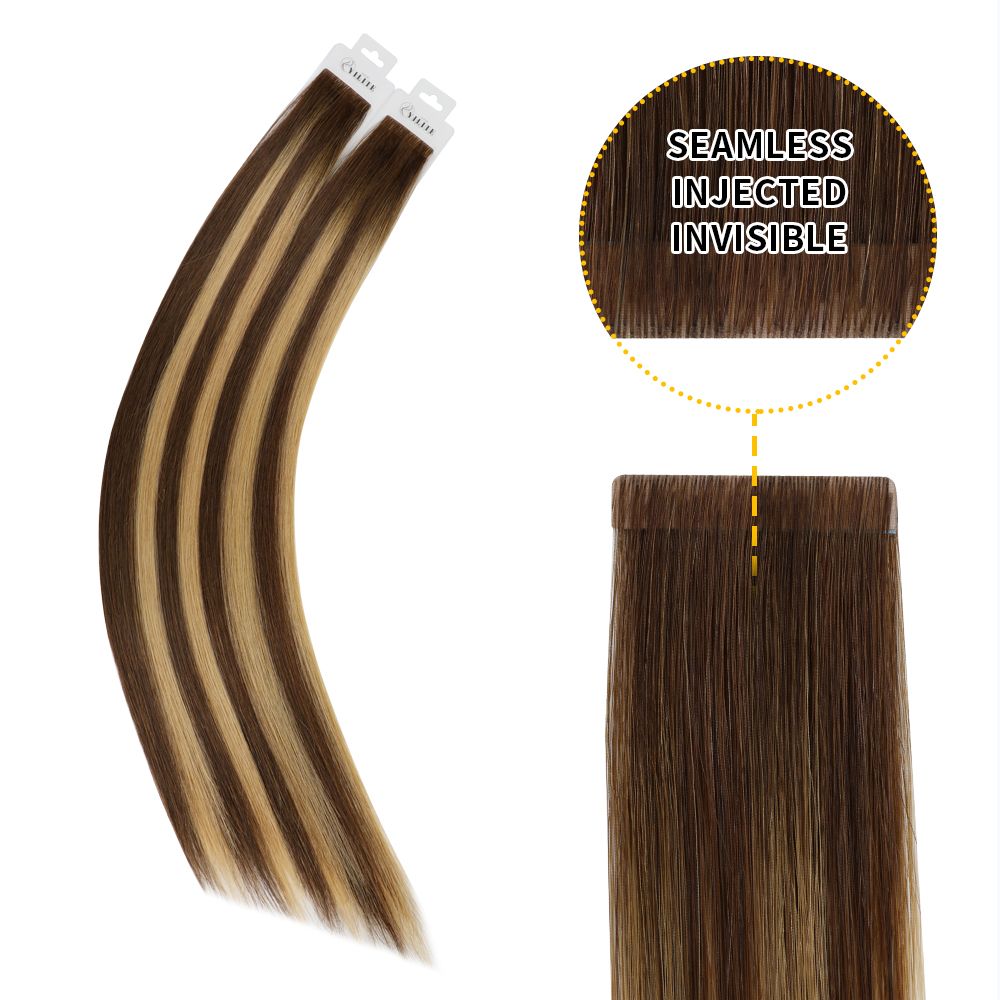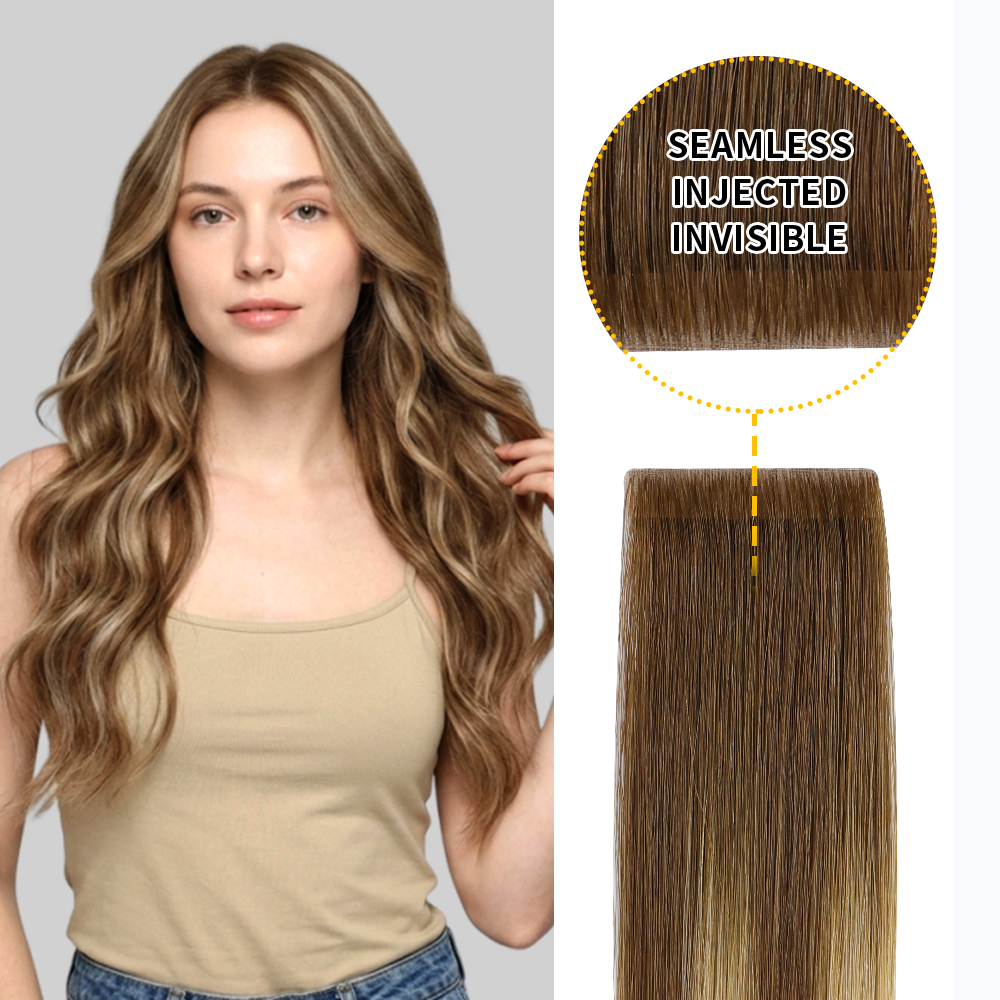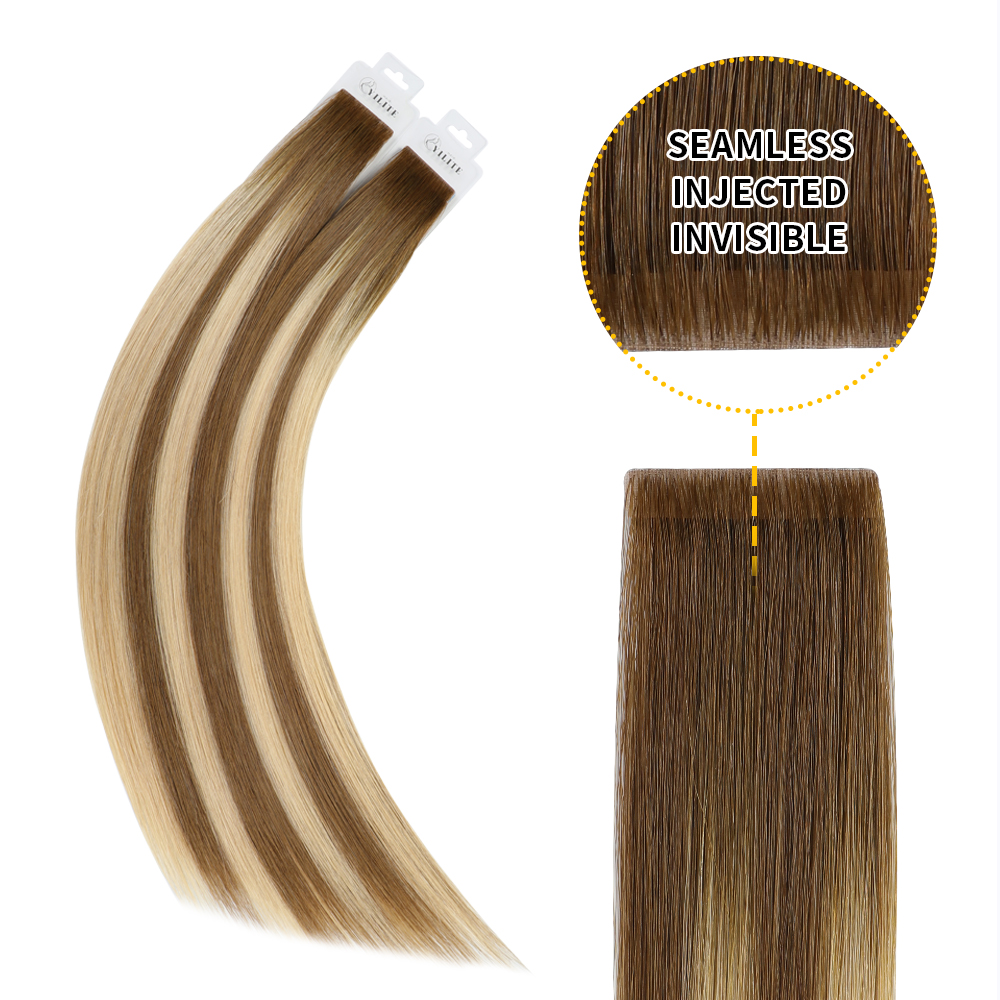
I tip extensions are one of the options to add length and volume without heat or glue. They are attached to natural hair using micro rings or beads, making them reusable and less damaging than U tip hair extensions.
In this guide, we will walk you through how to install and remove I tip extensions safely and effectively.
What are I tip extensions?
I tip extensions are individual hair strands with an “I” shaped tip made from keratin. They use silicone-lined beads to apply extensions onto your natural hair strand by strand securely.
Why people love them:
Natural Look – Tiny beads are applied close to the scalp without exposing tracks.
No Heat or Glue – Reduces risk of heat damage and avoids sticky residues.
Flexible – Allows natural movement and styling versatility
Reusable – Can be installed and used repeatedly if extensions are in good condition.
Comfortable Wear – Reusable, lightweight, and less likely to cause scalp strain compared to heavy wefts.
Long-Lasting – Can last for 3-6 months without removal daily.
Customizable Placement – Flexibly placed where you want to add hair length or volume.
U tip hair extensions are often compared with I tip extensions; both are semi-permanent extensions. For a detailed comparison of them, check our article on I tip extensions and U tip hair extensions to see which method is better for your needs.
Tools You’ll Need for Installation and Removal
For Installation
- I-Tip extensions
- Loop tool or pulling needle
- Silicone-lined microbeads or nano rings (matching your hair color)
- Professional bead pliers
- Sectioning clips and comb
For Removal
- Bead pliers (flat-nose)
- Sectioning clips
- Wide-tooth comb or detangling brush
How to Install I Tip Extensions?
Step 1: Prepare Your Hair
Start with clean and dry hair. Detangle completely to prevent hair knots during installation. Don’t forget to avoid heavy conditioners or oils near the roots — this can make beads slip.
Step 2: Section Your Hair
Section your natural hair horizontally where you want the extensions be placed, and use clips to hold the rest of your hair up for a better application. Work in horizontal rows for even coverage.
Step 3: Insert the Bead
Use the loop tool or pulling needle to thread a small section of your natural hair (about the same thickness as the I-Tip strand) through the microbead.
Step 4: Attach the I Tip Strand
Slide the I-Tip into the bead until the tip is inside and close to your scalp. Leave about 1cm gap to prevent tension and breakage.
Step 5: Secure the Bead
Use the professional bead pliers to flatten the bead and hold the extension in place. Avoid crushing it too flat, as that may cause damage or make removal harder later.
Step 6: Continue the Process
Repeat strand by strand until you achieve the desired volume and length. After all sections are completed, blend your natural hair and extensions with style for a flawless finish.
How to Remove I Tip Extensions?
Step 1: Section Your Hair
Part the hair horizontally where you placed the beads for easy removal.
Step 2: Loosen the Bead
Using flat-nose pliers, gently squeeze the bead in the opposite direction of installation. This will reopen it without damaging your hair.
Step 3: Slide the Extension Out
Once the bead loosens, gently pull the extension out from the bead. If it feels stuck, do not pull—loosen the bead further instead.
Step 4: Brush and Clean
After all extensions are removed, detangle your natural hair and remove any shed hairs near the root for smoothness.
Maintenance Tips for Long-Lasting I Tips
Brush Twice a Day – Use a loop brush designed for extensions, start at the ends and work your way up.
Wash Gently – Wash your hair 2–3 times a week and use sulfate-free shampoo
Sleep in a Loose Braid or Ponytail – Prevents tangling and friction overnight.
Visit Your Stylist Every 6–8 Weeks – Beads need repositioning as hair grows.
Avoid Excessive Heat at the Bead Area – It can weaken the keratin tip.
Avoid Oil-Based or Heavy Serums Near the Scalp – Can make beads slip
FAQs about I Tip Extensions
Q: Can I install I-Tips myself at home?
While some people try DIY installation, but professional application is recommended. A stylist will ensure proper bead placement, even distribution, and natural blending. Incorrect installation can cause slipping or breakage.
Q: How long do I-Tip extensions last?
With proper care, each installation lasts 6–8 weeks before needing adjustment. The hair itself can be reused for 3-6 months.
Q: Will I-Tips damage my natural hair?
They don’t use glue or heat, which means less stress on your natural strands. However, improper installation, removal, or maintenance carries a risk of damage.
Q: How many I-Tip strands do I need?
Yilite hair I tip extensions include 2 bundles per pack, 25 strands per bundle.
- 1-2 packs for highlight effect(50-100 strands)
- 2-3 packs for normal volume(100-150 strands)
- 3-5 packs for full head(150-250 strands)
Q: What’s the difference between I-Tip and U-Tip extensions?
Tips use micro beads for installation, while U-Tips are installed with heat and keratin bonding. If you’re also considering U tip hair extensions, ensure you learn about the pros and cons of U tip hair extensions so you can make an informed decision.
Final Thoughts
I tip extensions offer the perfect balance of natural look, styling flexibility, and reusability. Whether you’re going for a dramatic transformation or subtle volume, high-quality hair and correct technique are the keys.
If you’re ready to experience the magic of I tip extensions, check out our professional-grade products and start your hair journey today.