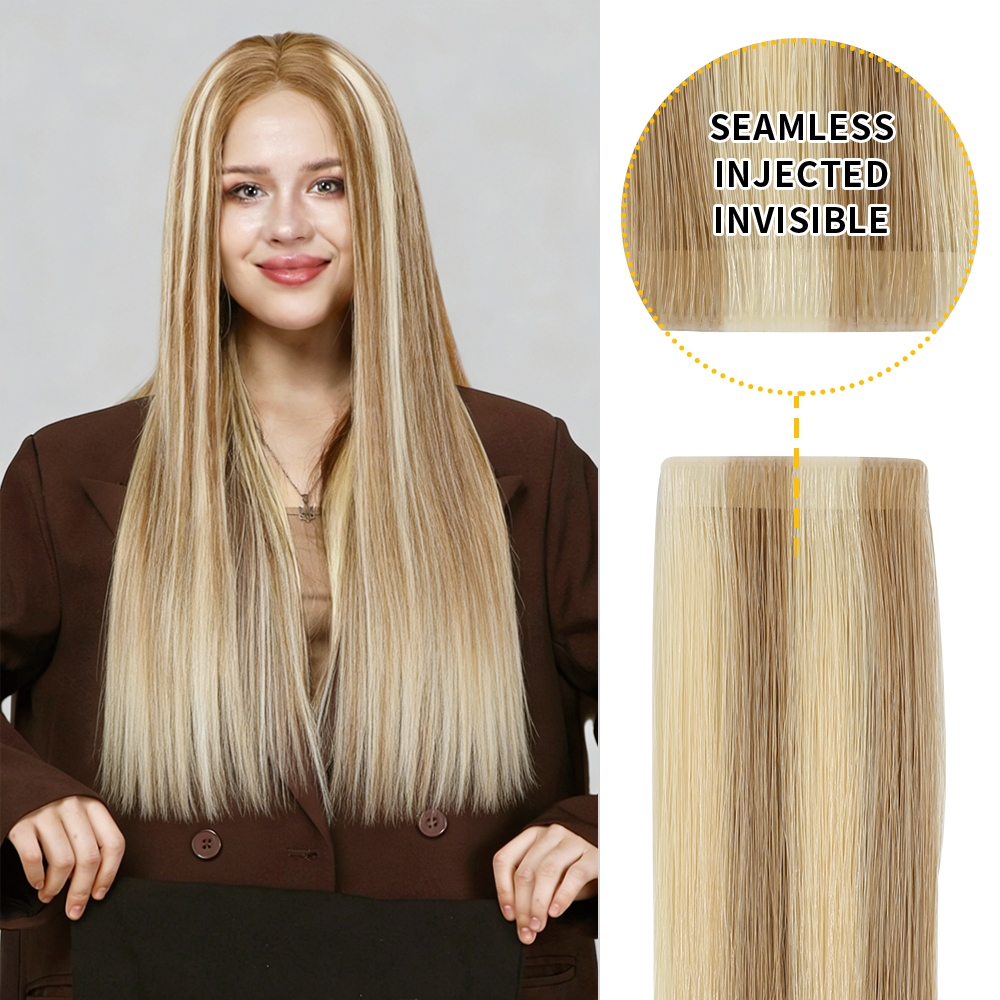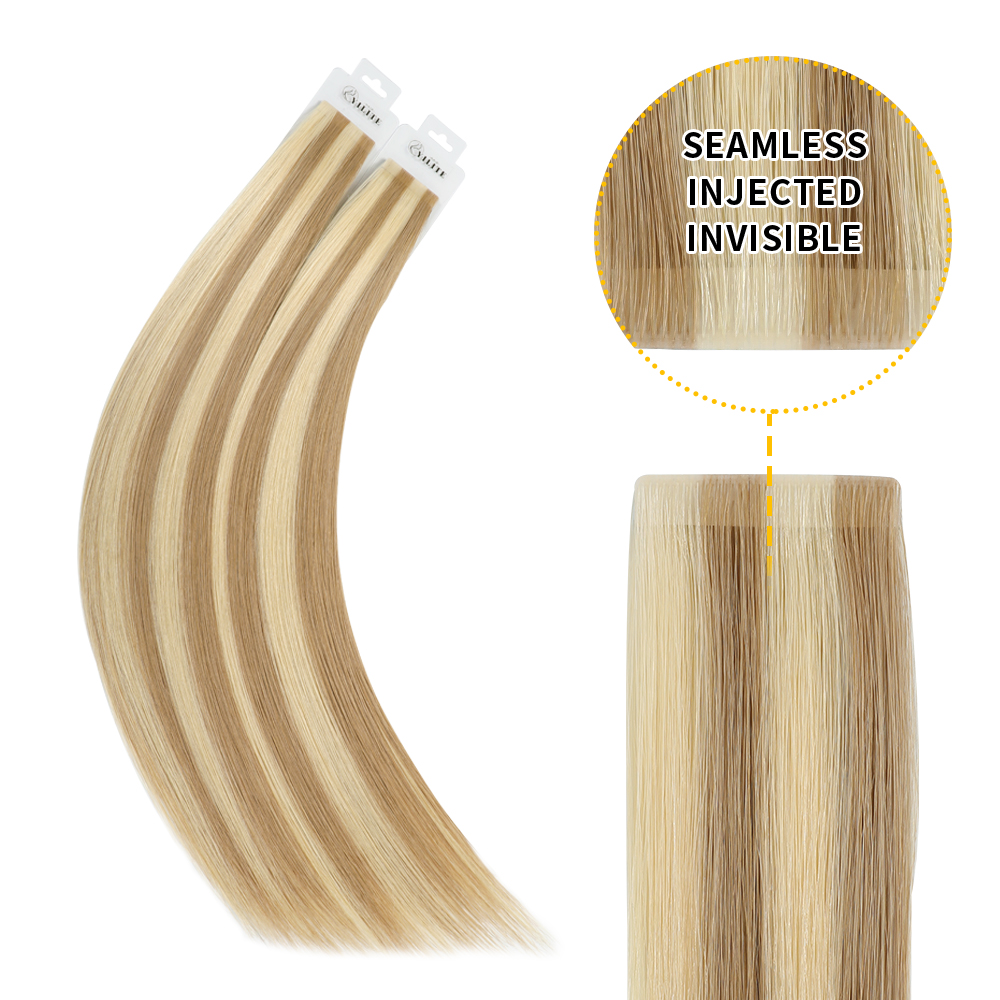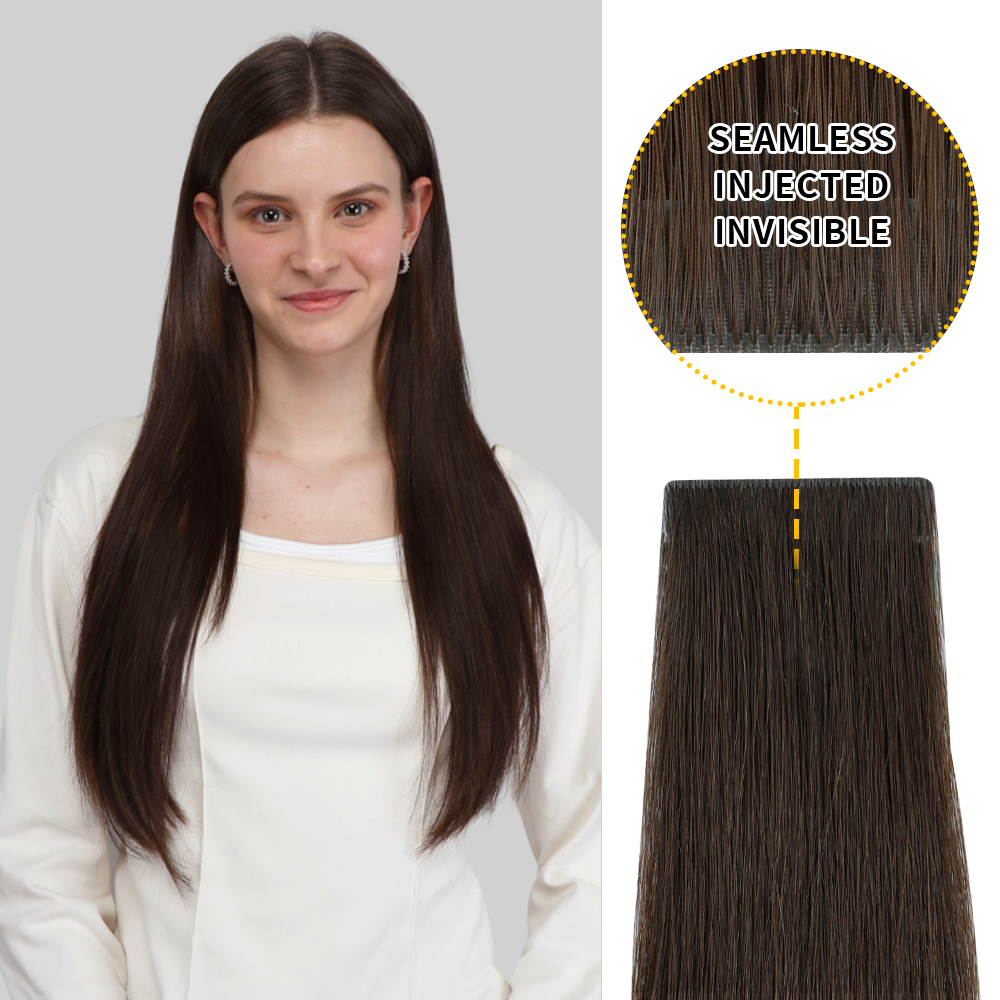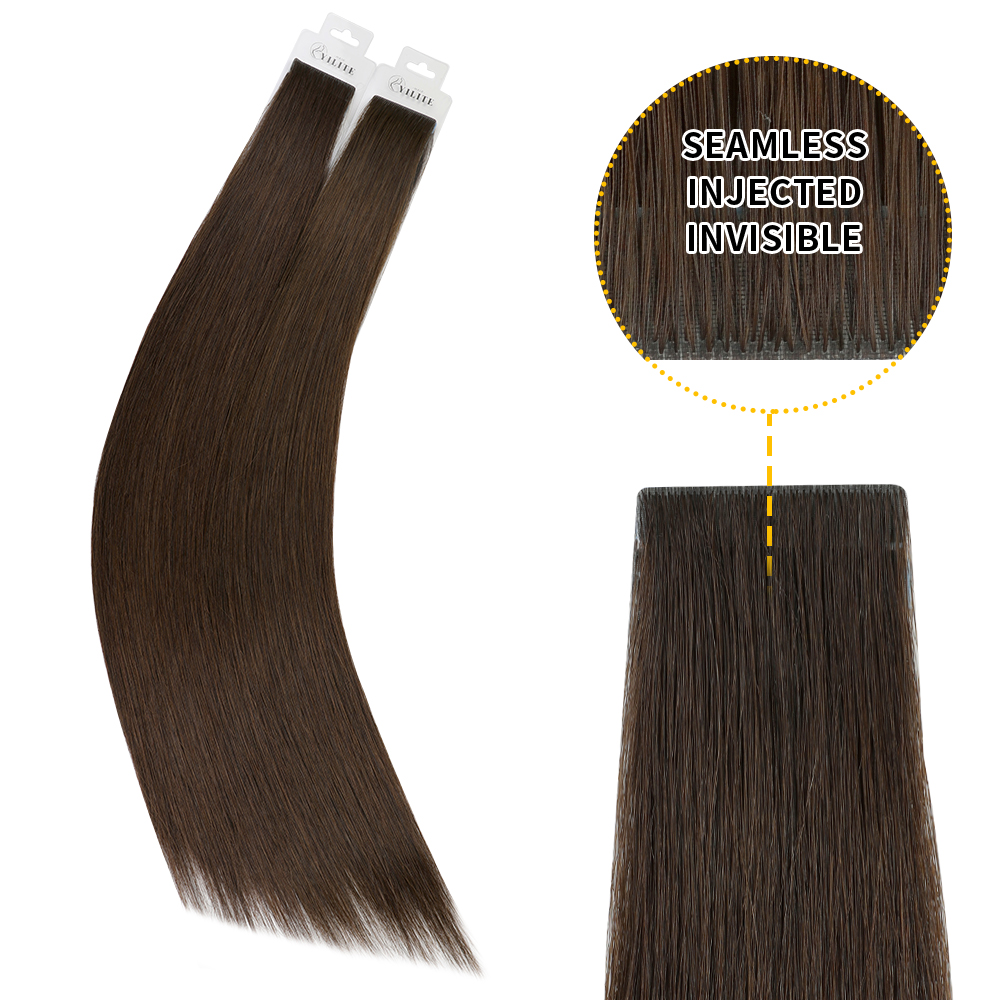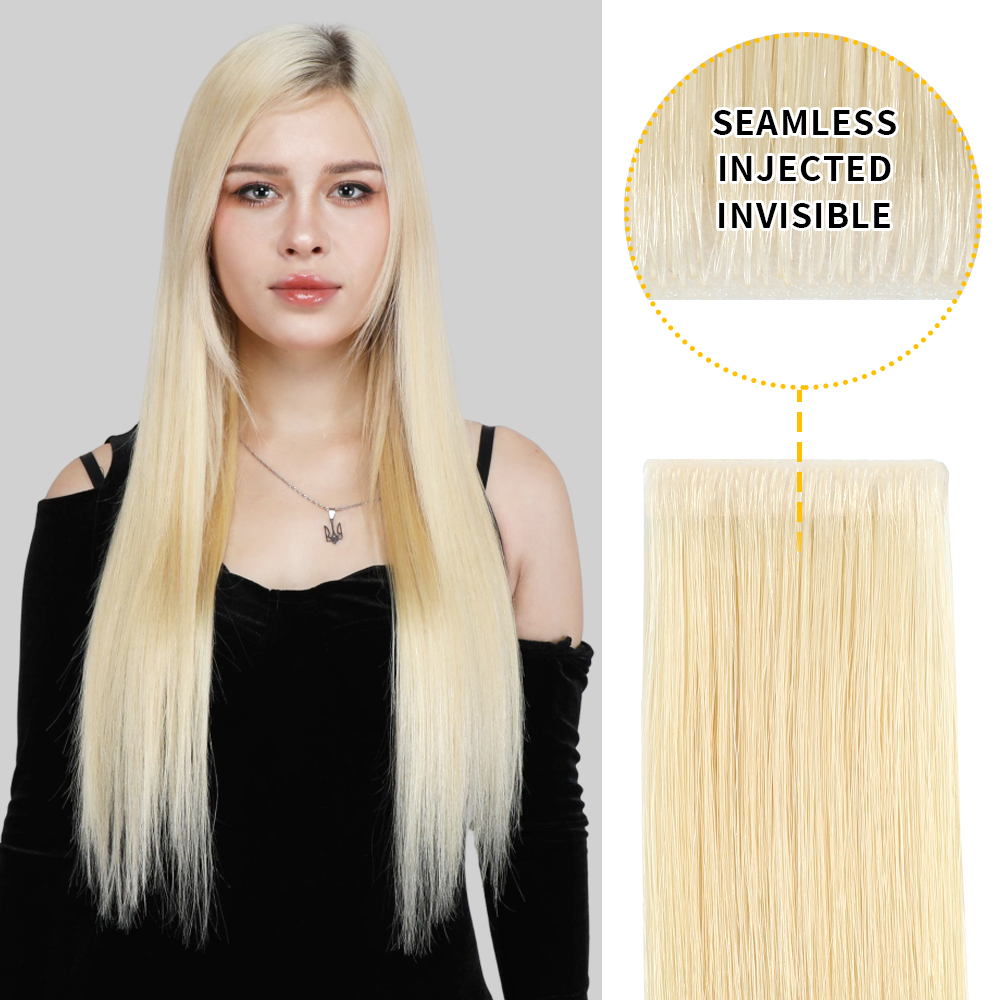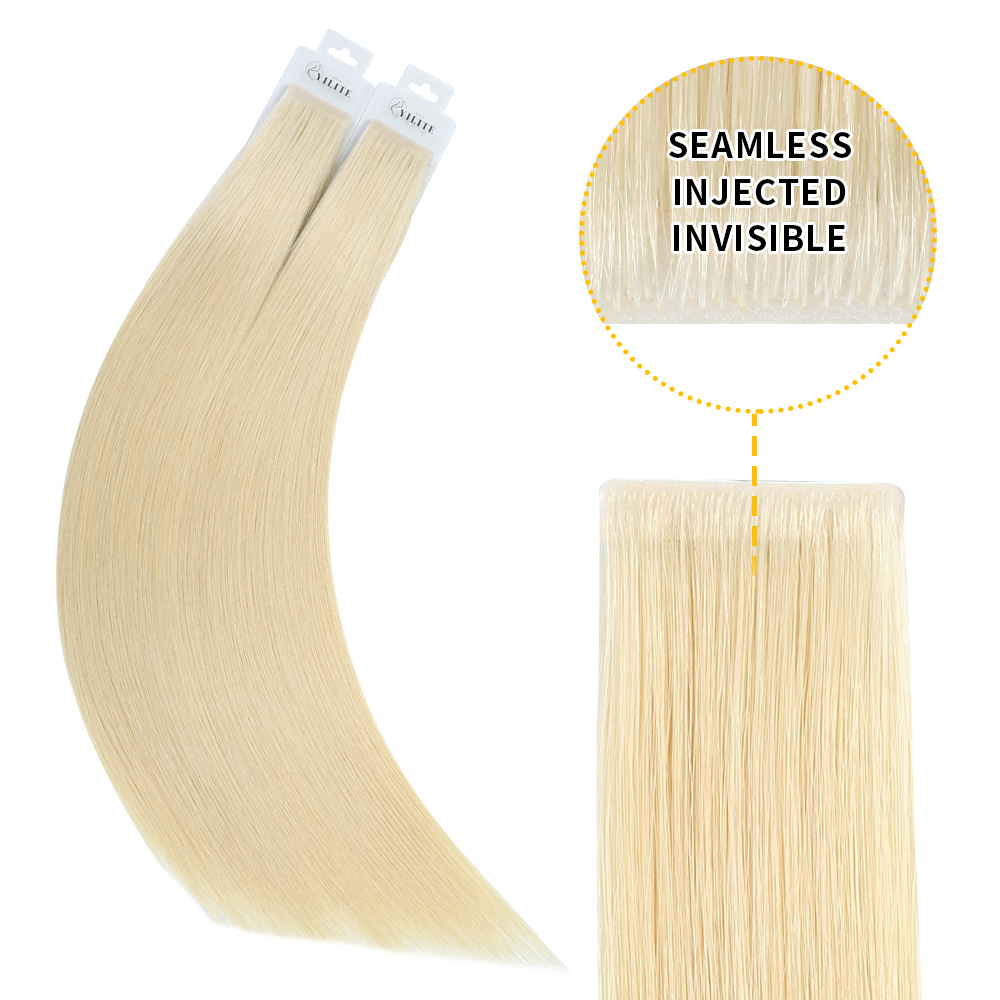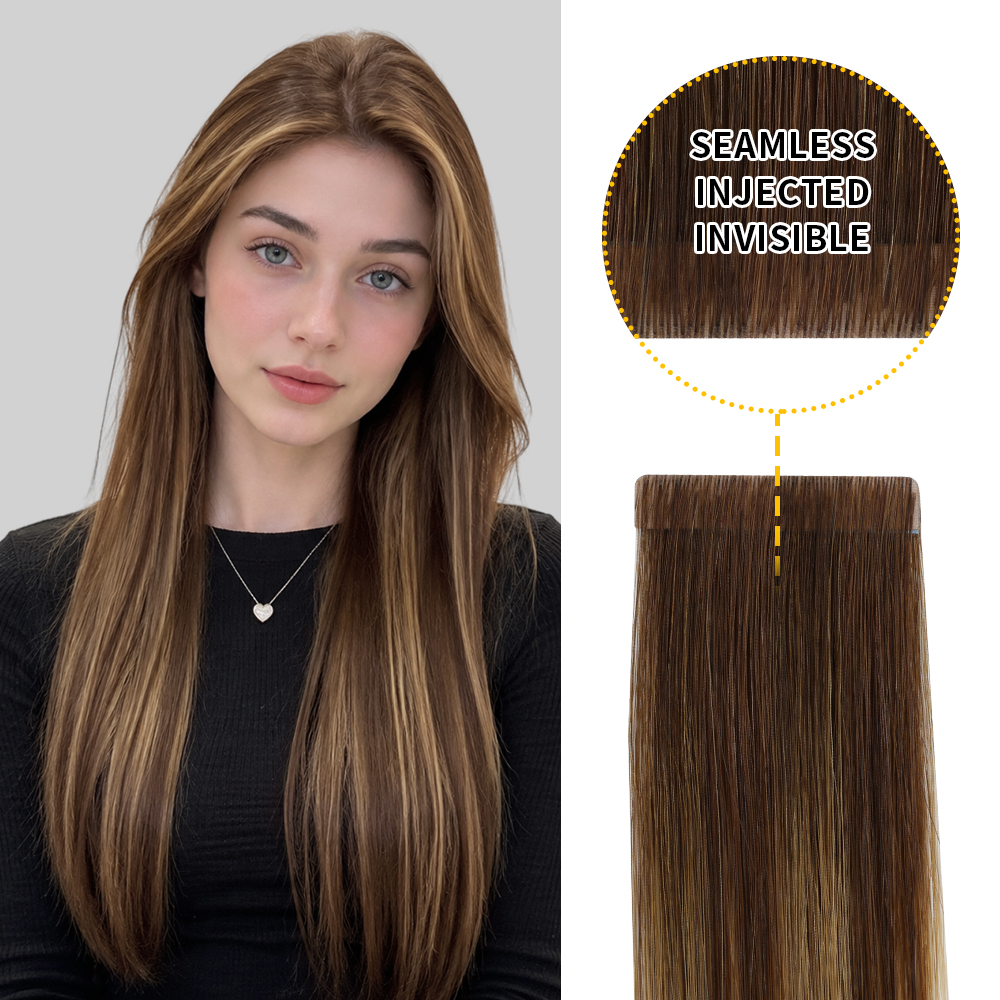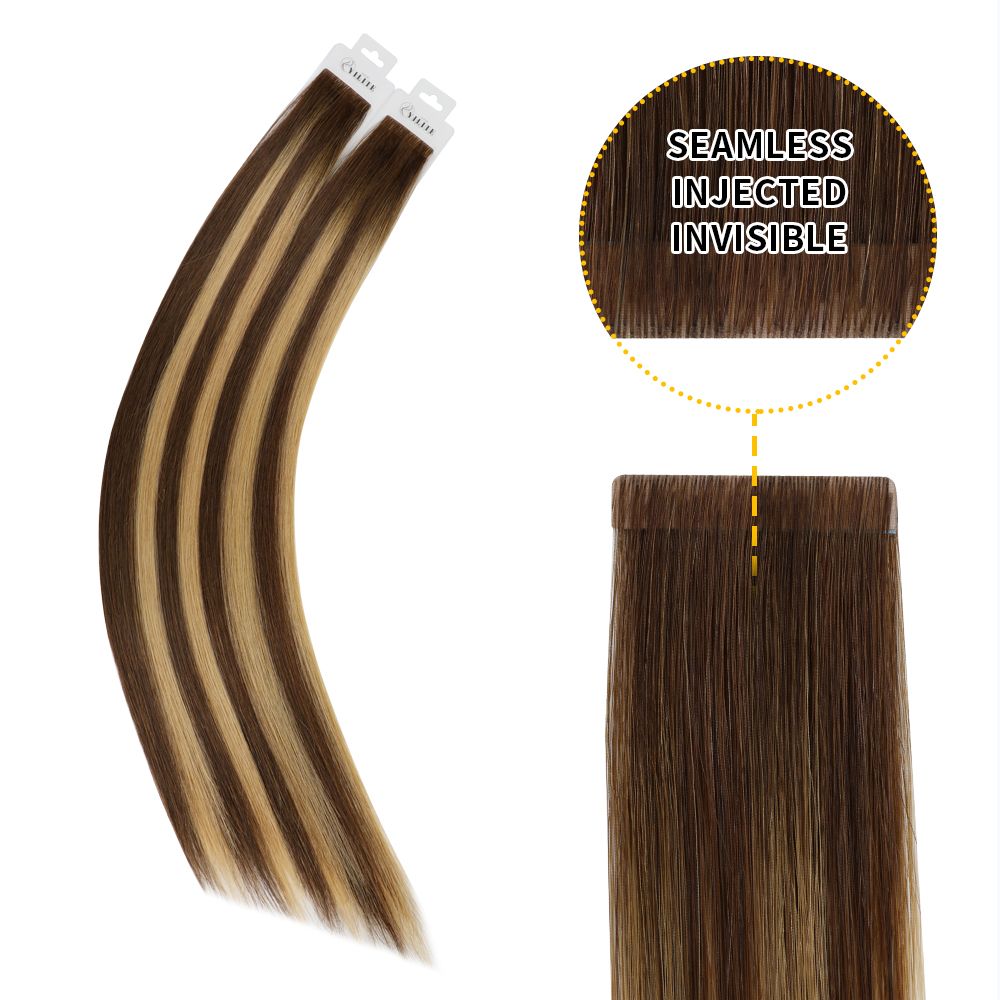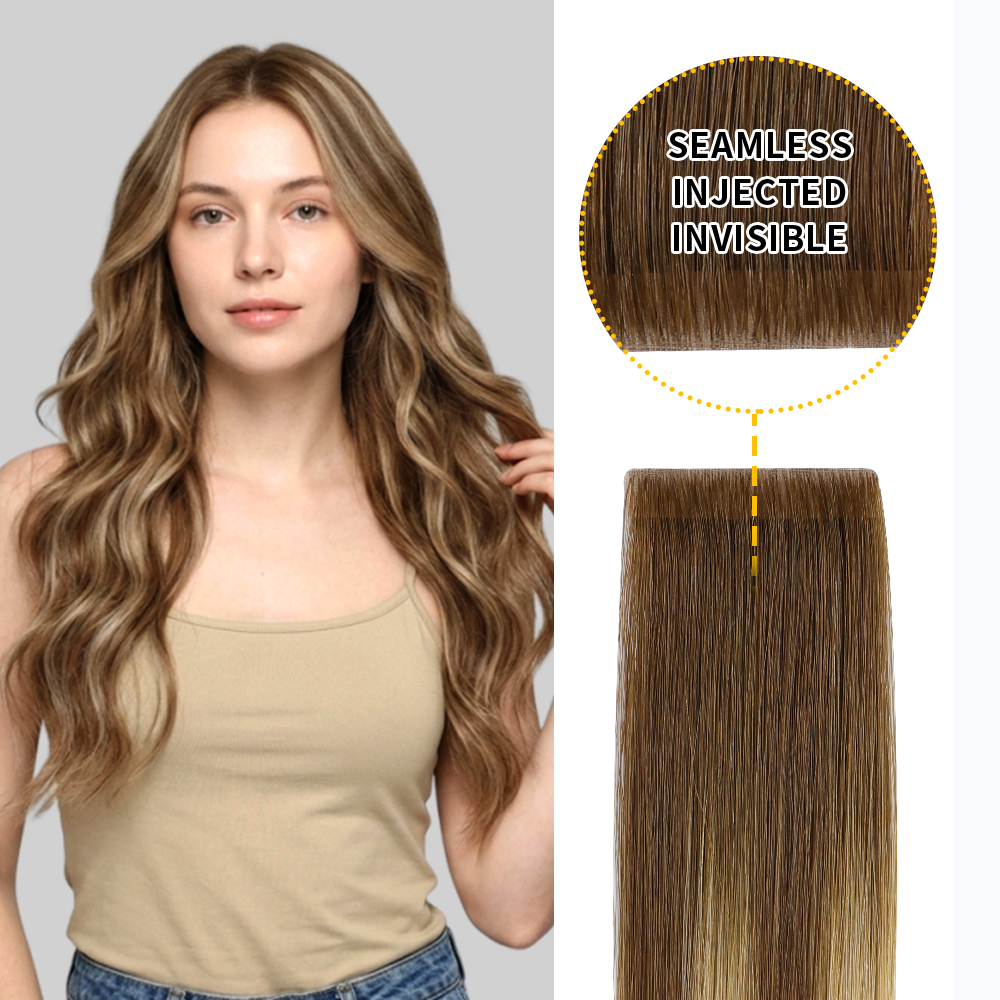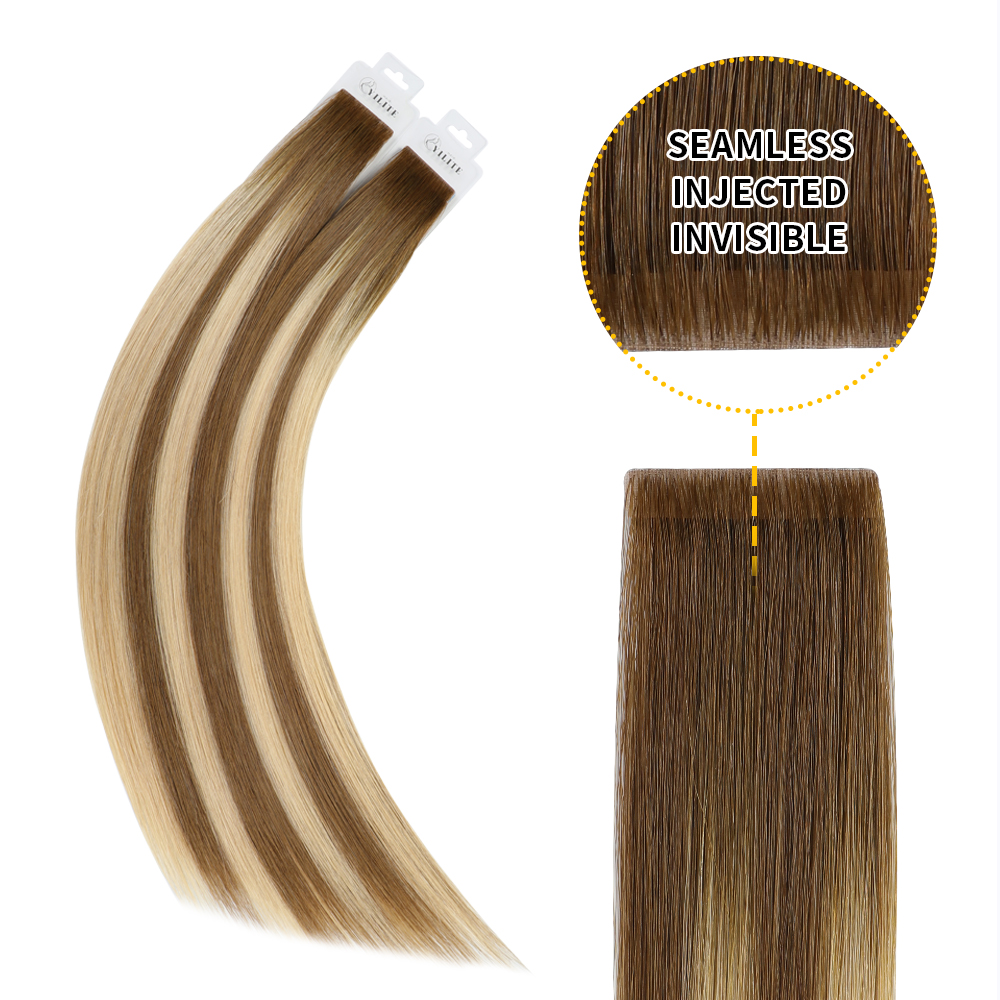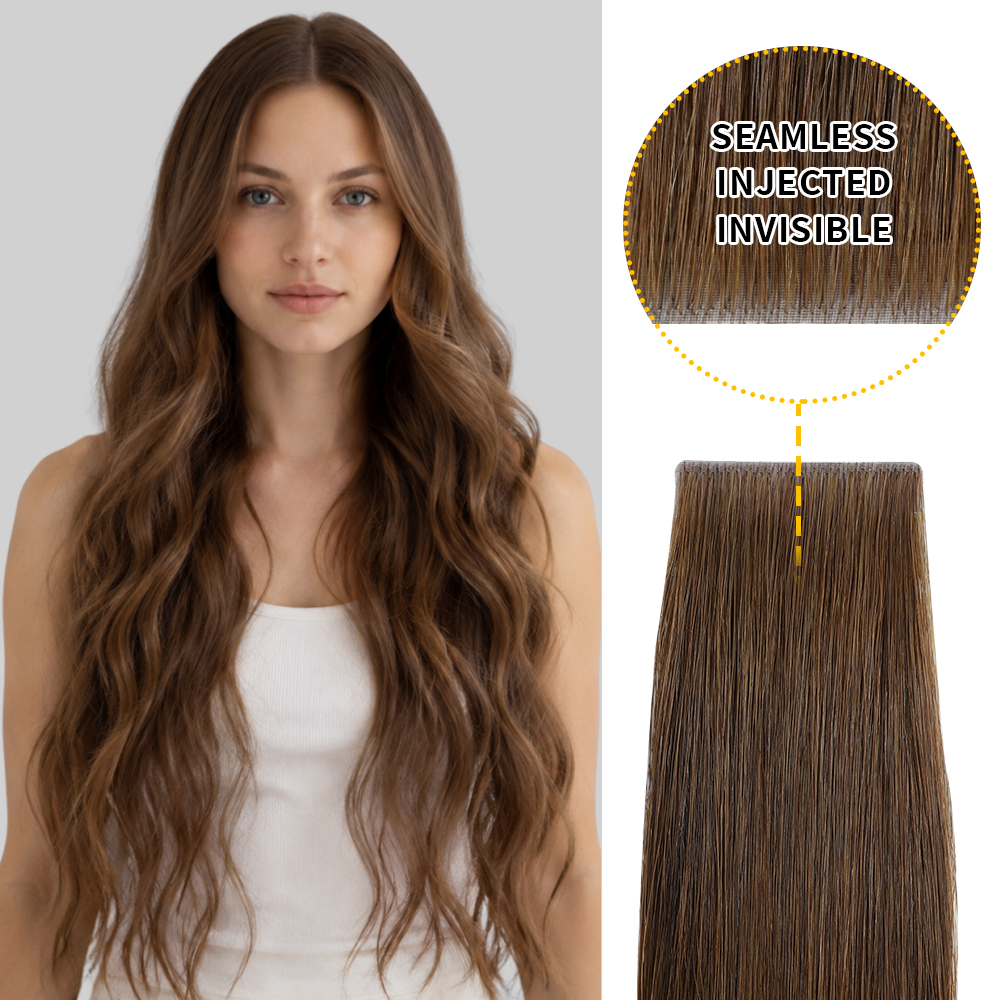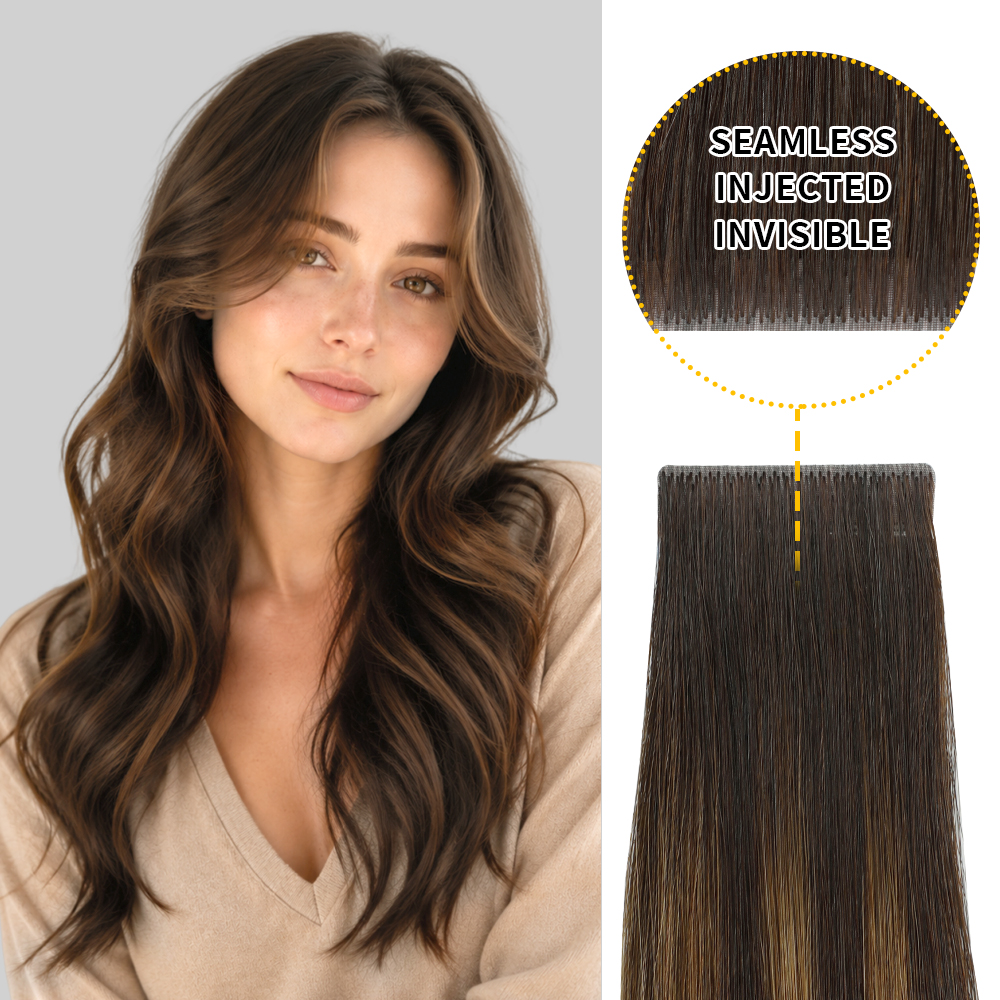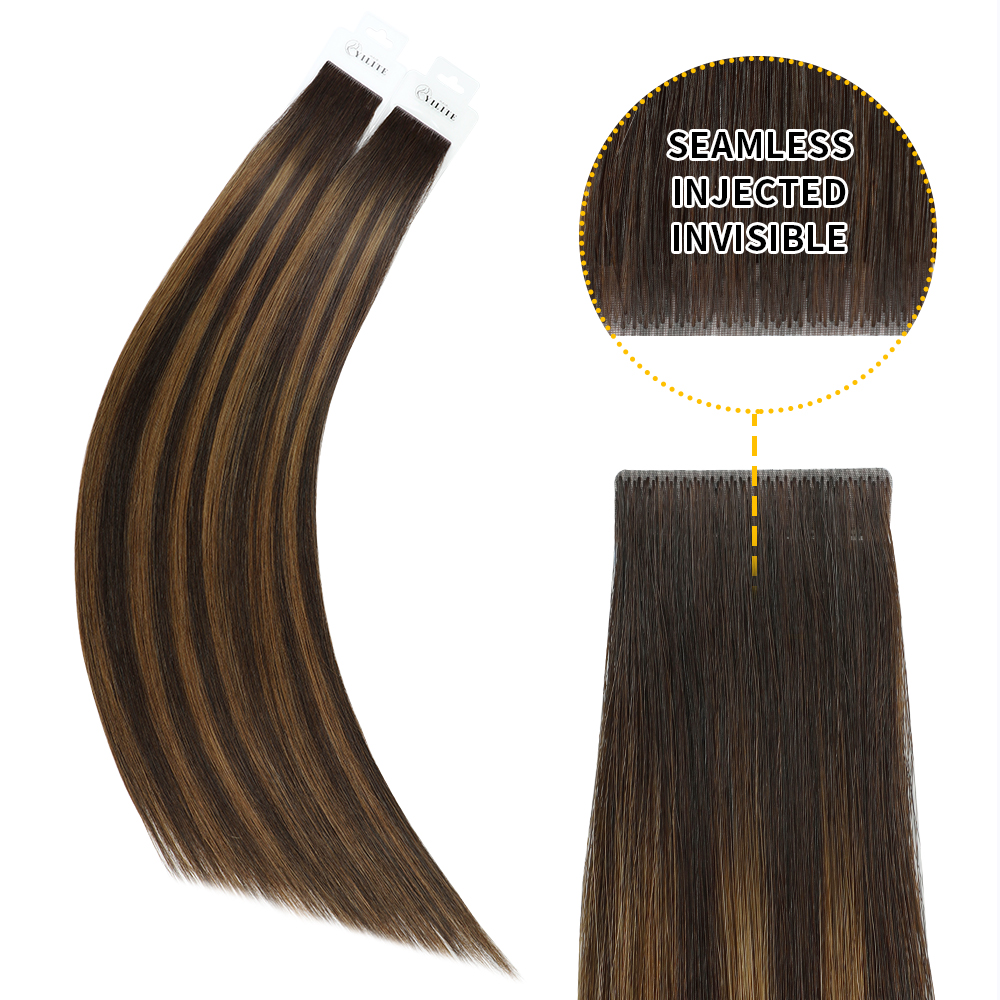
Want to get longer and fuller hair without waiting for natural hair growth? Tape in hair extensions offer one of the easiest ways to add instant length and volume. Unlike clip ins that require daily removal and weft hair extensions that may damage hair, tape in extensions provide a balance of convenience and longevity.
When applying tape in extensions, one important thing to consider is their placement. Positioning of hair extensions can affect the comfort, blending, and how long your extensions last. Whether you are a DIY enthusiast or someone who prefers professional application, understanding placement techniques is crucial. With proper placement, you can achieve:
- Create all-day comfort (no more aching roots!)
- Prevent embarrassing slippage (even during workouts)
- Achieve undetectable blending (even for fine hair types)
Let's transform your hair game with these insider secrets! In this comprehensive guide, we'll cover:
✔ Why proper placement affects everything
✔ Common mistakes and their consequences
✔ Step-by-step professional techniques
✔ DIY vs professional application
✔ Maintenance for long-lasting wear
Why Tape-In Extension Placement Matters More Than You Think
Before we get into the how, let's talk about the why. Many people assume that as long as the extensions are stuck on, they'll work fine. But incorrect placement can lead to multiple problems that affect both your comfort and the final look:
🔹 Discomfort & tension headaches – When placed too close to the scalp (less than ¼ inch), the constant pulling on hair follicles can cause actual pain, especially when putting hair up or sleeping.
🔹Visible wefts & unnatural layering – Wrong angles create awkward gaps or make extensions stick out unnaturally.
🔹 Premature shedding & short lifespan – Misaligned tape weakens the bond, causing extensions to slip out weeks earlier than they should.
On the flip side, perfect placement delivers:
✅ Natural movement – Extensions move and flow exactly like your biological hair
✅ Extended wear time – Properly sealed tapes maintain their hold for the full 6-8 week lifespan
✅ Zero damage – Correct positioning prevents stress on your natural hair strands
Therefore, some of ethe xtension complaints (discomfort, slipping, visible tabs) trace back to placement errors rather than product quality. That's why mastering these techniques is so crucial.
The 3 Most Common Placement Mistakes (And Exactly How to Fix Them)
Mistake #1: Placing Extensions Too Close to the Scalp
❌ The Problem:
When the weft is less than ¼ inch from the scalp, it:
- Creates constant tension on hair follicles (like wearing a tight ponytail 24/7)
- Causes "buckling" where the extension flips up awkwardly
- Leads to premature loosening as natural hair growth pushes them out
✅ The Professional Fix:
- Always leave ¼ to ½ inch of space - about the width of a tail comb's edge
- For extra precision, use a placement ruler (many pros keep these in their kits)
- If you feel any pulling when moving sections, immediately reposition
Mistake #2: Using Extreme Diagonal Angles
❌ The Problem:
While a 15-30 degree angle helps with blending, an extreme diagonal:
- Makes extensions protrude unnaturally (the "shark fin" effect)
- Creates uneven tension points that weaken the bond over time
- Causes hair to curve instead of falling straight
✅ The Professional Fix:
- For face-framing layers: soft 20-degree angle following your hair's natural growth pattern
- For crown and back sections: strict horizontal placement
- Always check by gently running fingers down the section - it should feel smooth
Mistake #3: Misaligned Weft Sandwiches
❌ The Problem:
When the top and bottom tapes don't line up perfectly:
- Creates sticky residue that attracts dirt and lint
- Leads to the dreaded "extension shuffle" (constant repositioning)
✅ The Professional Fix:
- Implement the "pinch test" - if you feel sticky edges, realign
- Invest in a tape-in pressing tool(such as YILITE Pro Tape In Applicator)
How to Perfectly Position Tape In Extensions
1. Start with Clean, Dry Hair
Clean hair is non-negotiable. Oil, residue, or product buildup will interfere with the adhesive and lead to slippage.
Steps:
- Wash the hair with a clarifying shampoo to remove all residue
- Avoid conditioner near the roots to ensure a strong tape bond
- Dry the hair completely
Never apply tape-ins to damp or oily hair. Any moisture at the scalp can compromise the adhesive's integrity and reduce wear time.
2. Section Strategically
Precision in sectioning sets the foundation for flawless placement. Proper sectioning ensures weight is distributed evenly and the extensions stay hidden.
Bottom to Top:
- Begin at the nape of the neck and work upward.
- Leave about 1 inch of natural hair at the bottom to allow for movement and ponytails without revealing the extensions.
Horizontal Partings:
- Create clean, straight partings using a tail comb.
- Each row should be about the height of one tape-in weft (roughly 1 inch).
Spacing:
- Space extensions about 1/4 inch away from the scalp.
- Leave about 1/2 inch between each weft horizontally to allow for flexibility and comfort.
Taking time to section properly reduces the risk of tangling, bunching, and discomfort later.
3. Sandwich Placement: The Golden Rule
The most important principle in tape-in installation is the "sandwich" method. This ensures a firm, balanced grip on the natural hair.
Here’s how to do it:
- Take a thin slice of natural hair (no thicker than the tape itself).
- Stick the bottom tape-in weft underneath this section, adhesive side facing up.
- Press the top weft onto the section, adhesive side down, lining up edges precisely.
Pro Tip: Use a plier tool or your fingers to gently press the sandwich together for a firm bond. Heat tools can be used with caution to reinforce the bond (only if tape type allows).
Common Mistakes to Avoid:
- Using too much natural hair in the sandwich. This prevents the adhesive from bonding properly and causes slipping.
- Applying uneven pressure can create gaps between tapes.
4. Follow the Natural Head Shape
The head isn’t flat — and your extension placement should reflect that. Proper curvature alignment keeps the extensions undetectable and comfortable.
- Back of the head: Use more wefts for volume and even layering. Ensure the tapes lay flush with the scalp.
- Sides: Use slightly smaller wefts and angle them diagonally to follow the contour of the face and ensure they lie flat.
- Crown area: Avoid placing extensions too high or near the part line. Leave at least 2 inches of hair at the crown and front hairline to cover the tapes.
- Adjust weft positions as needed to mimic natural hair growth and movement. Use a mirror or ask for assistance when working on the back sections.
5. Blend with the Cut
Even perfect placement can look unnatural without proper blending. The goal is to eliminate any harsh line where the natural hair ends and the extension begins.
- Layer the natural hair and extensions together.
- Focus on the ends, where the transition from natural hair to extension is most obvious.
- Avoid blunt cuts; soft, feathered ends look more realistic.
- Use curling or heat-styling tools to shape the hair uniformly.
A good blend is what truly makes the extensions look like they belong to you. Always check the hair in natural light for a final review.
6. Recheck for Visibility and Comfort
After all the wefts are installed:
- Part and move the hair in different directions to ensure no tapes are visible.
- Shake their head or run their fingers through to check for any pulling or discomfort.
- Check tightness. A tape that feels too tight could lead to hair breakage or scalp tension.
If a tape is too close to the scalp or applied at the wrong angle, it can cause irritation or tension. Redo any sections that seem off. It’s better to take a little extra time than to risk damage.
7. Final Tips for Perfect Placement
- Use professional-grade tape: Cheap tape may not hold as long or as securely.
- Don’t overload fine hair: Use fewer wefts and smaller sections to avoid strain on the natural hair.
- Keep track of rows: Maintain symmetry by counting how many wefts you place per row.
- Work with a mirror: Especially for self-application, a second mirror helps ensure accurate placement on the back of the head.
- Stay consistent with spacing and direction to prevent bunching or uneven volume.
- Quality tools, consistent technique, and patience make all the difference.
Professional Application vs DIY: Making the Right Choice
While we always recommend professional installation, we understand the appeal of DIY. Here's how to decide:
Choose Professional If:
- This is your first time with tape-ins
- You have fine or thinning hair (requires expert placement)
- You want custom coloring/blending
- You want extensions with a full head (150+ strands)
DIY Can Work If:
- You're just adding a few pieces for volume
- You've successfully done tape-ins before
- You have a patient friend to help with hard-to-reach spots
Maintenance Secrets for 8-Week Perfection
To keep your perfectly placed extensions looking fresh:
✨ Wash Protocol:
- Days 1-3: Avoid washing to let the bonds fully cure
- Always use sulfate-free shampoo applied mid-lengths down
- Never rub the roots - let water flow through naturally
✨ Styling Musts:
- Heat tools should stay below 300°F near bonds
- When curling, avoid clamping over tape tabs
- Sleep with a silk scrunchie in a loose ponytail
✨ Professional Check:
- Get a deep conditioning treatment at week 6
- Schedule maintenance every 6-8 weeks to move up the extensions and reapply tape.
Ready for Perfect Placement?
Transform your hair with YILITE's Pro Tape-In Collection:
- Regular Tape In Extensions: Perfect for discreet, natural blending.
- Long Tape Weft Hair Extensions: Cover more area with fewer pieces.
- Seamless Tape Ins: More invisible & applicable for fine or thin hair.
- Narrow Tape-Ins: Ideal for detailed areas and women with limited budgets.
These tape in extension collections are made from high-quality human hair with a natural feel and movement. You can get salon-quality hair with them.