If you’ve ever installed tape in extensions (or even just considered it), you’ve probably seen the same advice repeated everywhere: “Start at the back.”
But here’s the problem—“The back” isn’t specific enough.
Because in reality, the exact placement of your first tape in determines everything that follows: how natural your extensions look, how comfortable they feel, and even how long they last.
Let’s break it down properly.
Why Your First Placement Matters More Than You Think
Most people assume all sections are equal. They’re not.
The first tape-in acts as your anchor point. If it’s placed incorrectly, you’ll likely notice:
- Uneven layering
- Visible tapes when you tie your hair up
- Tension or discomfort at the scalp
- Faster slipping or tangling
In other words, a small mistake at the beginning creates bigger problems later.
The Exact Area You Should Start From
The ideal starting point is:
👉 About 1–2 inches above the nape of your neck
Not directly at the bottom, and not too high either.
Here’s why this specific zone works best:
- It stays hidden under natural hair layers
- It avoids friction from clothing
- It provides a stable base for layering upward
A good way to check:
If you can feel the tape rubbing against your collar, it’s too low.
How to Section Your First Row Properly
Before placing your first tape, your sectioning needs to be clean.
- Create a straight, horizontal parting
- Make sure the section is thin but not see-through
- Avoid uneven or zig-zag lines
A messy section leads to:
- Poor adhesion
- Uneven weight distribution
- A less natural finish
Take your time here—it’s worth it.
Common Placement Mistakes (And Why They Ruin the Look)
❌ Too Low
Placing extensions too close to the nape may seem logical, but it often leads to:
- Tangling at the back
- Constant friction with clothes
- Reduced lifespan
❌ Too High
Starting too high creates a different issue:
- The lower part of your hair looks thin
- The blend becomes unnatural
- Layers don’t flow properly
❌ Too Close to the Scalp
Tape-ins should sit close, but not tight.
If placed too close:
- You’ll feel pulling or tension
- Movement becomes restricted
- Risk of breakage increases
Adjusting Placement Based on Your Hair Type
Not all hair behaves the same—and your starting point shouldn’t either.
Fine Hair
If your hair is fine or fragile:
- Start slightly higher than usual
- Use lighter weight extensions
- Leave more spacing between rows
This reduces pressure on the scalp.
Thick Hair
With thicker hair:
- You can start slightly lower
- Add more rows for volume
- Focus on even distribution
Short Hair
For shorter hair lengths:
- Placement needs to be more strategic and tighter
- Blending becomes more important than position alone
A Pro Tip Most Guides Don’t Tell You
Here’s something stylists rarely explain:
👉 The bottom row matters more than the top
Why?
Because it controls:
- How the ends fall
- How full your hair looks
- Whether the extensions blend seamlessly
If the base isn’t right, nothing above it will fix the look.
Final Thoughts
There’s no shortcut to a natural-looking result—and it all starts with your first placement.
Instead of thinking “somewhere at the back,”
think precise positioning, clean sectioning, and balanced weight distribution.
Get the first row right, and everything else becomes easier.
Want a More Natural Result?
If you’re working with fine or delicate hair, choosing the right type of extensions matters just as much as placement.
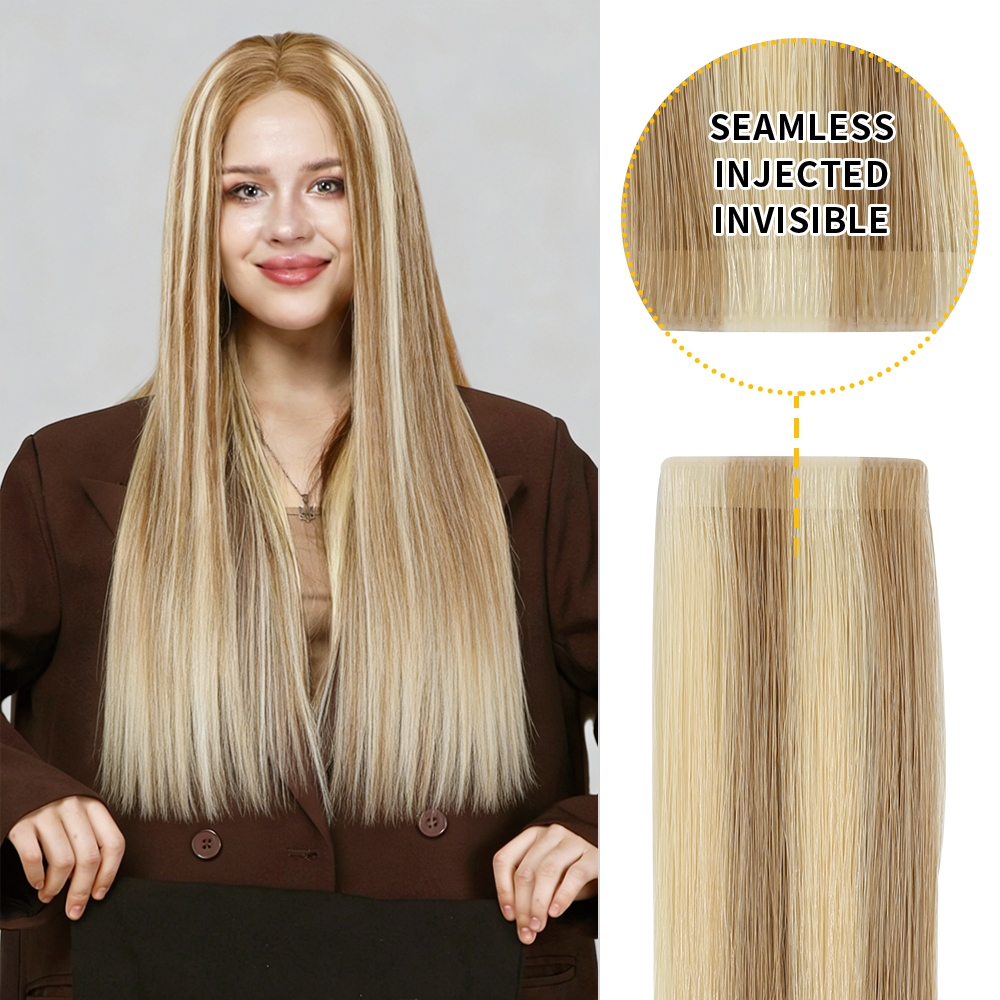
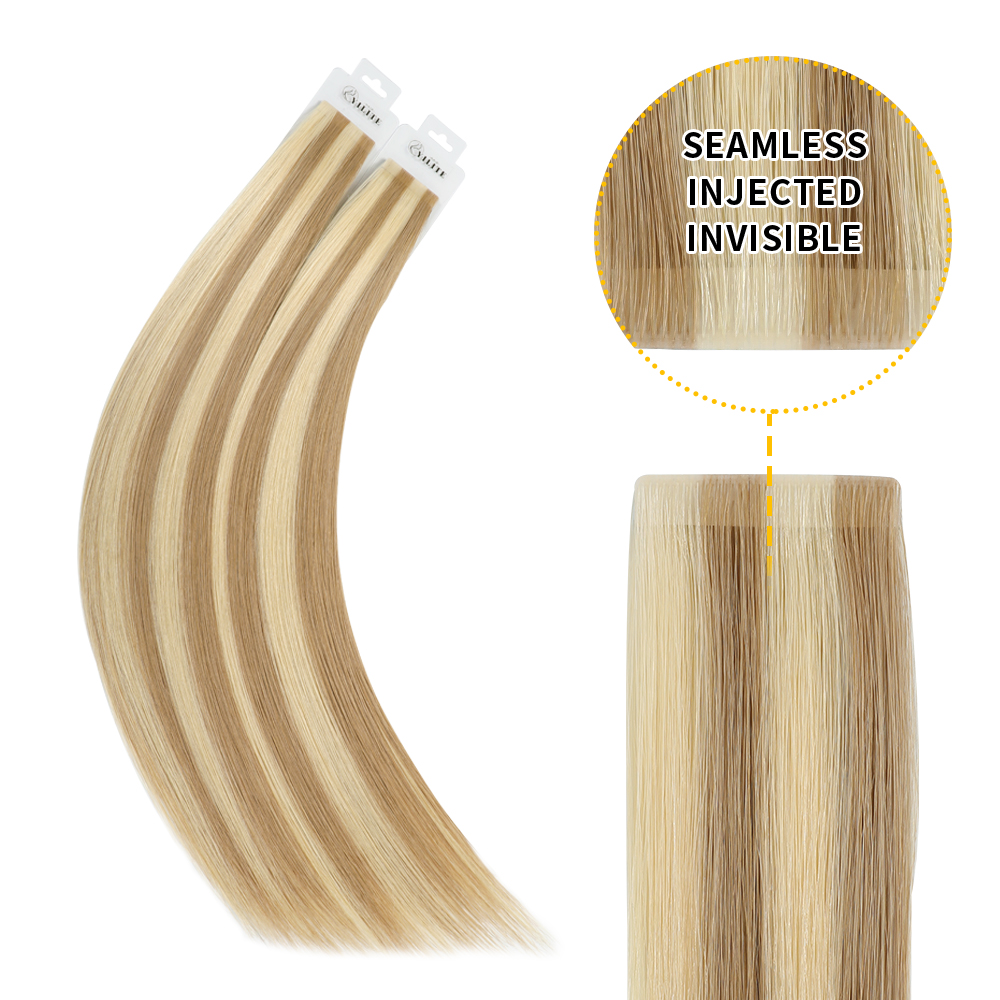
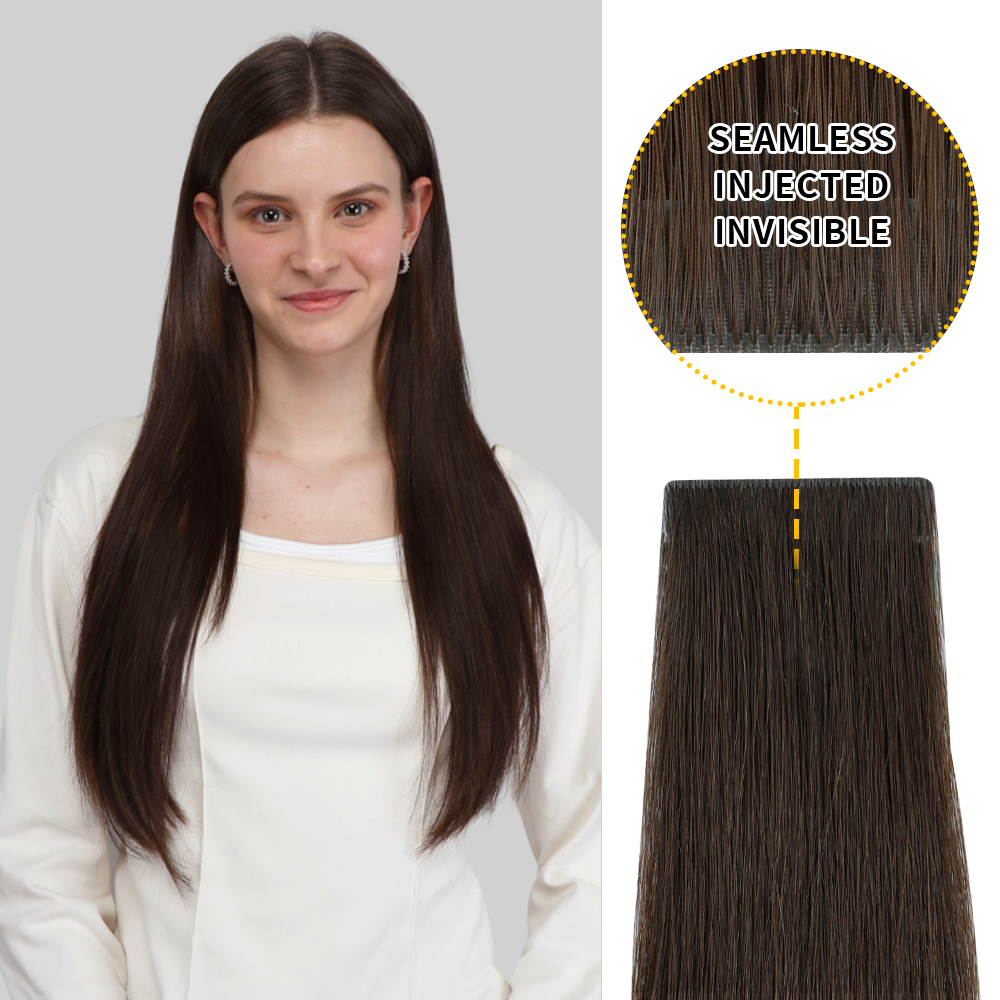
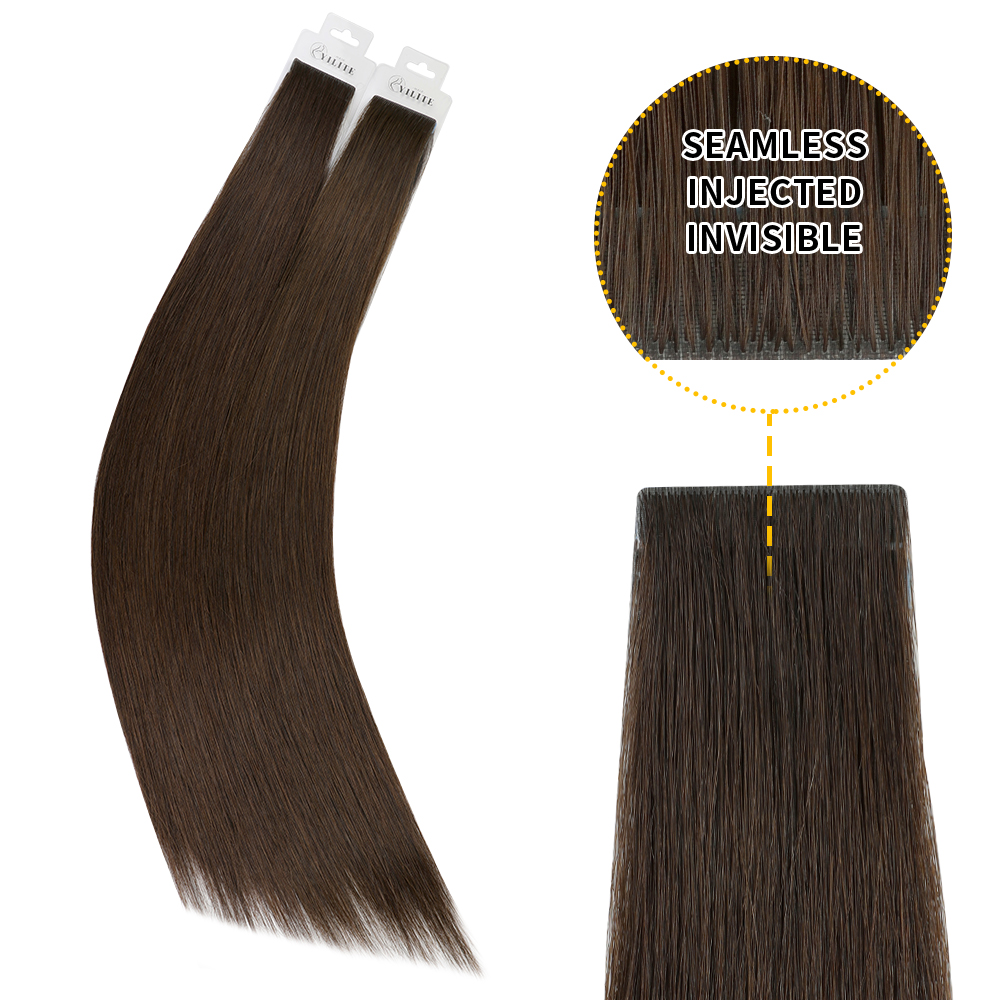
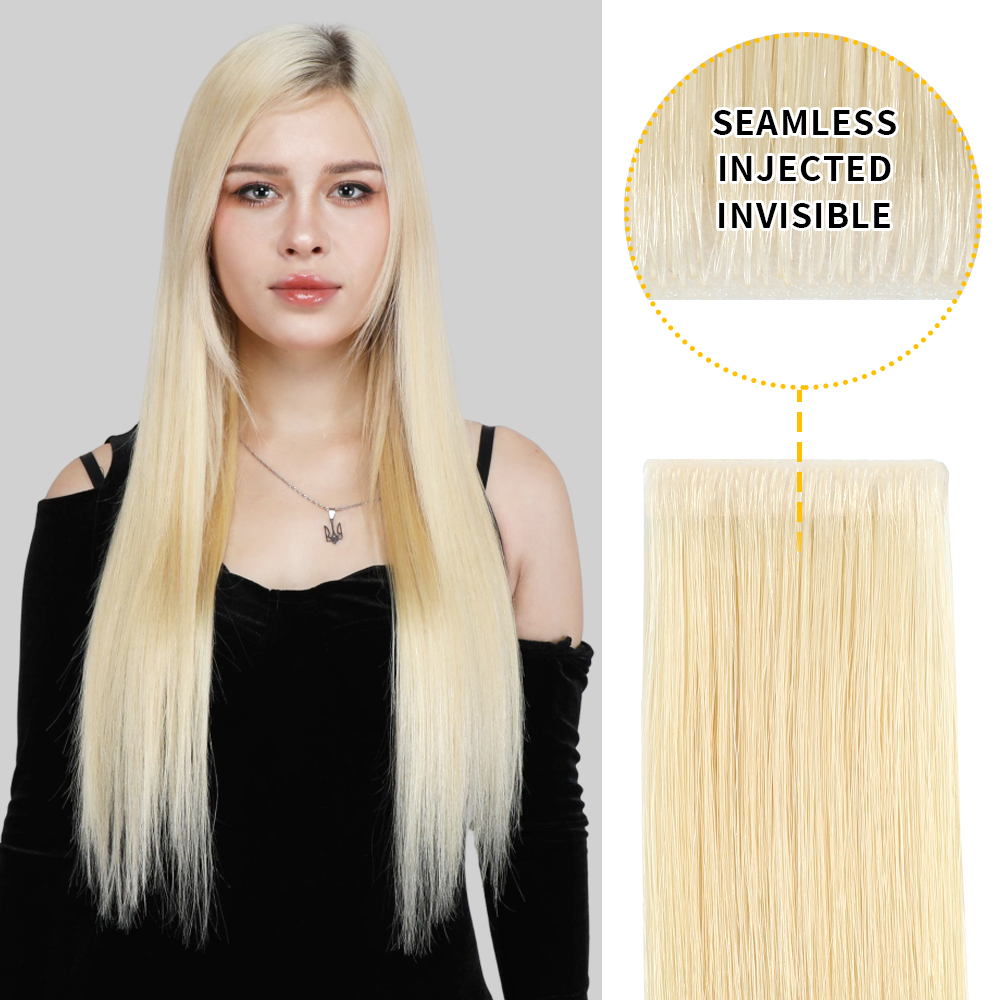
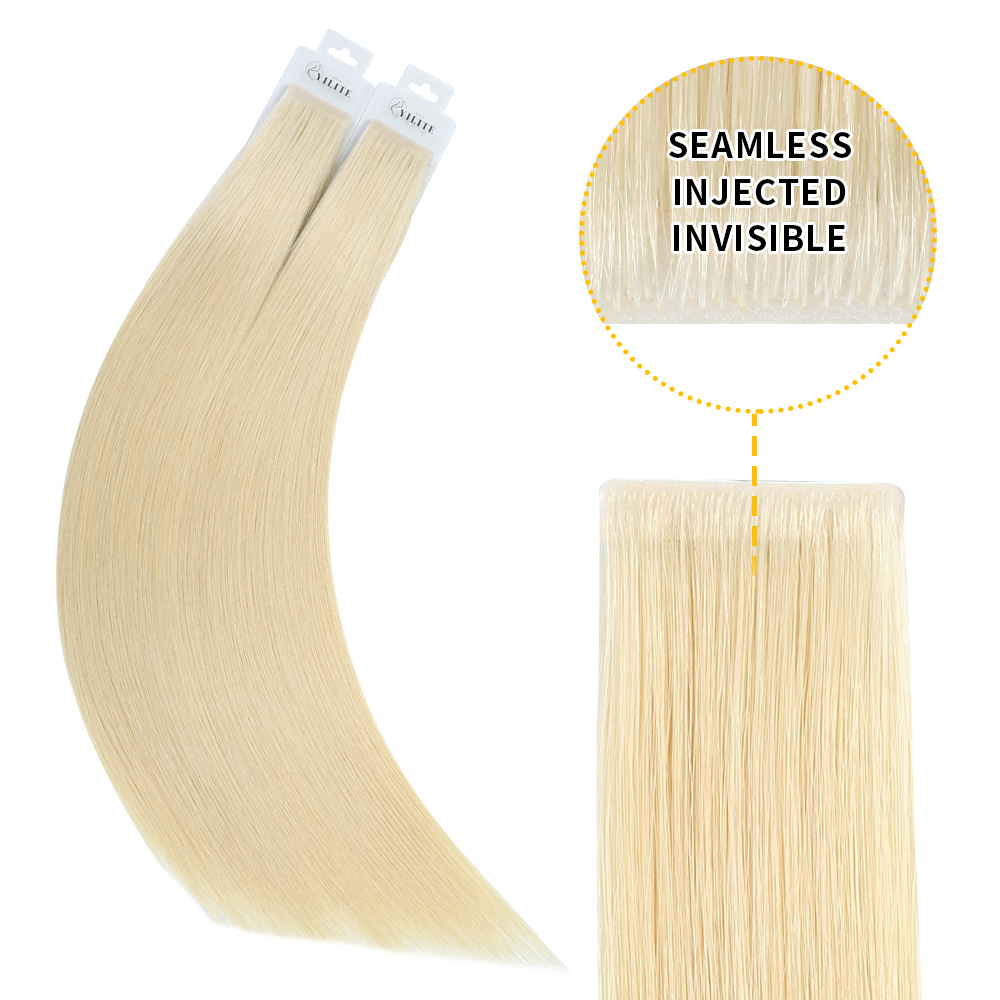
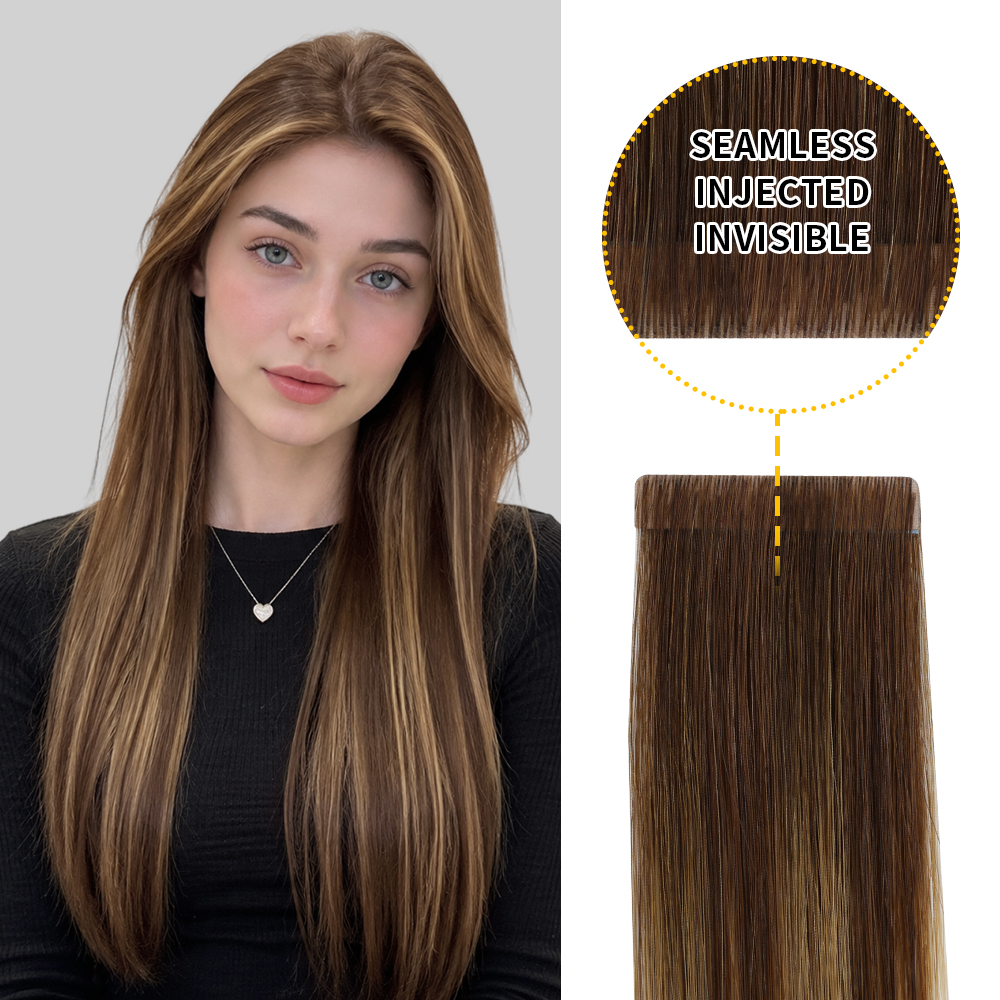
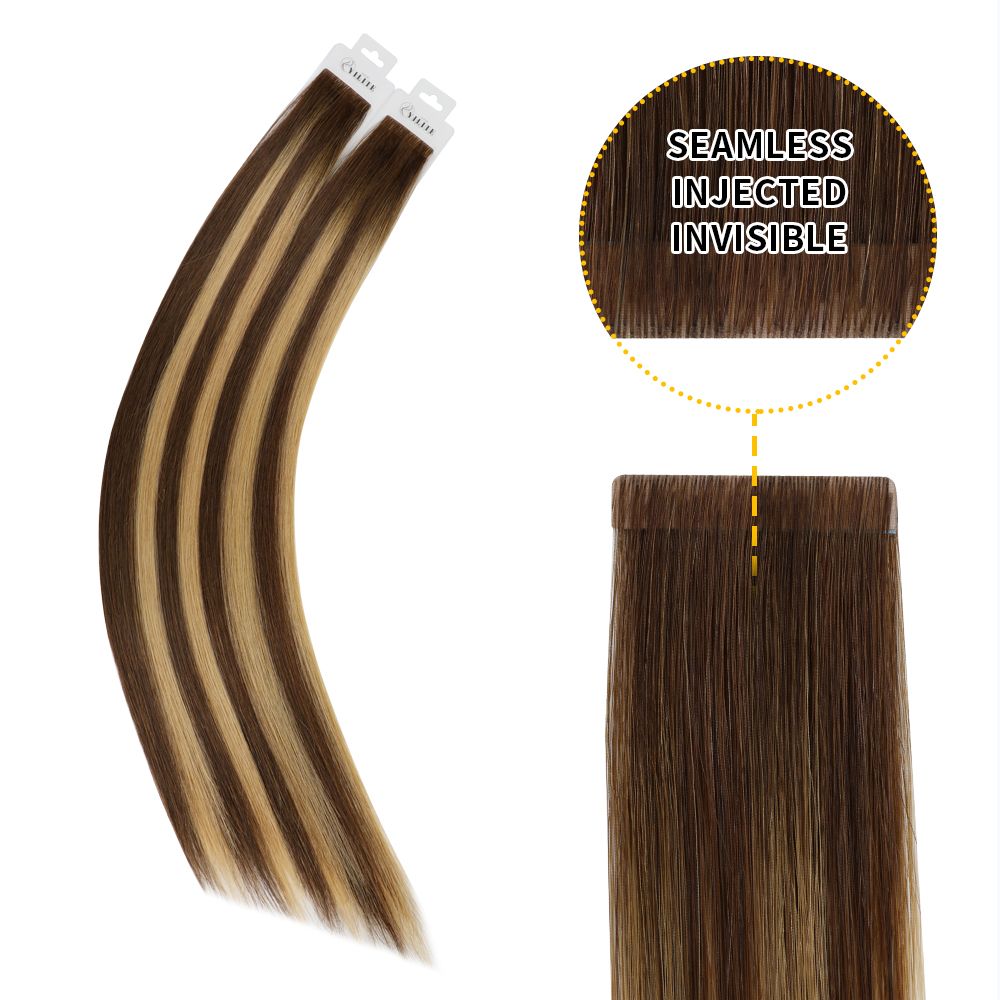
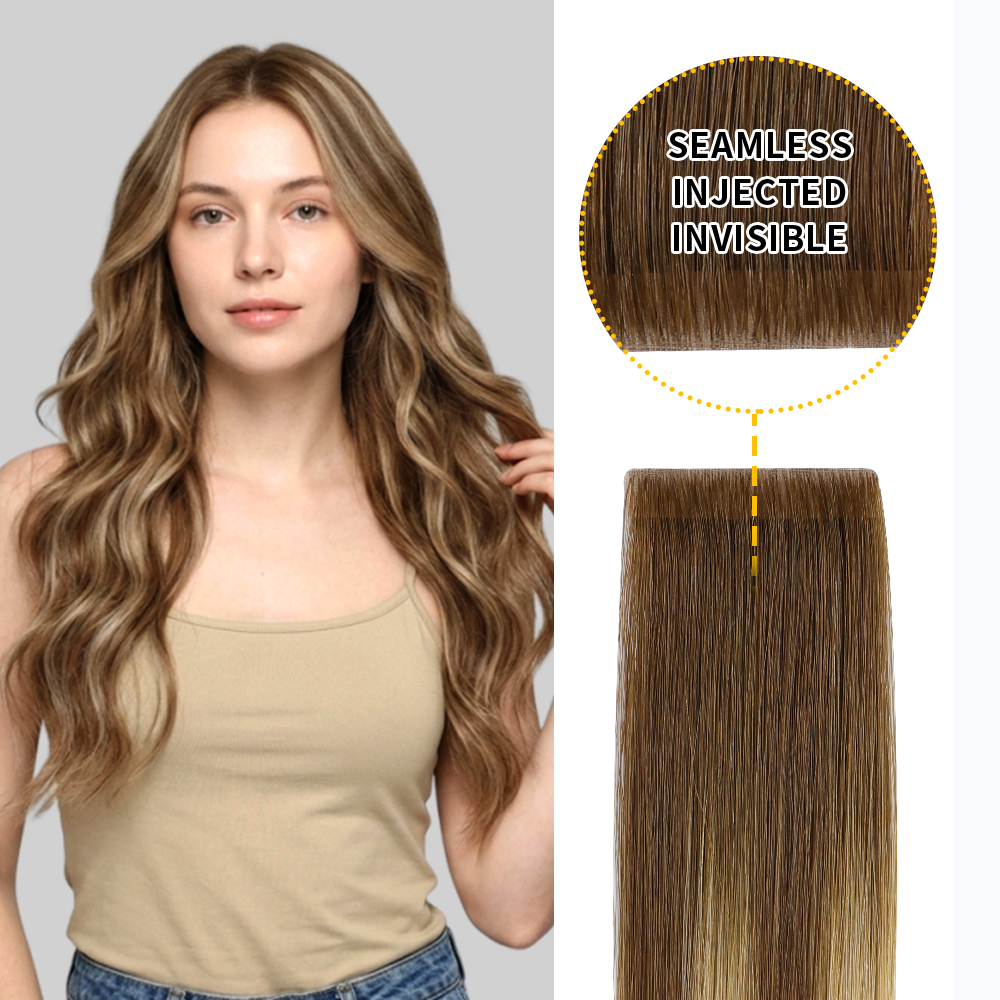
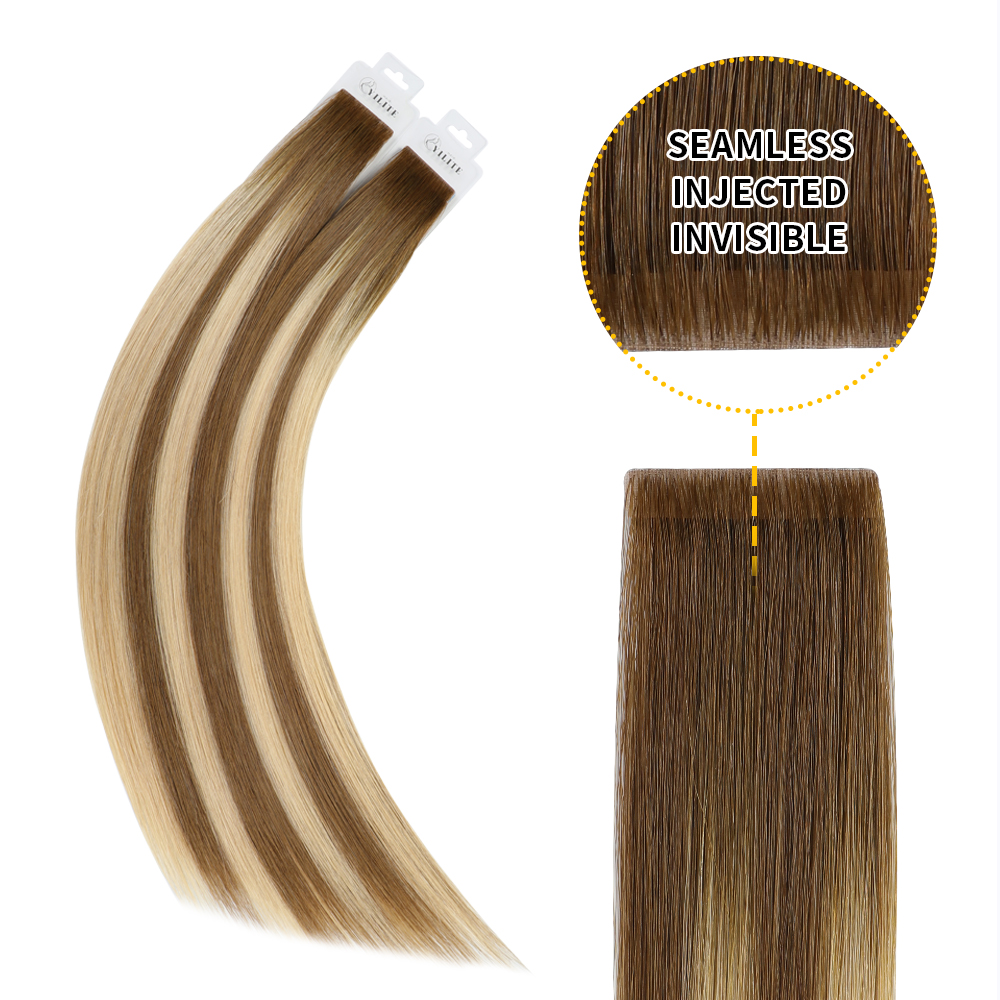
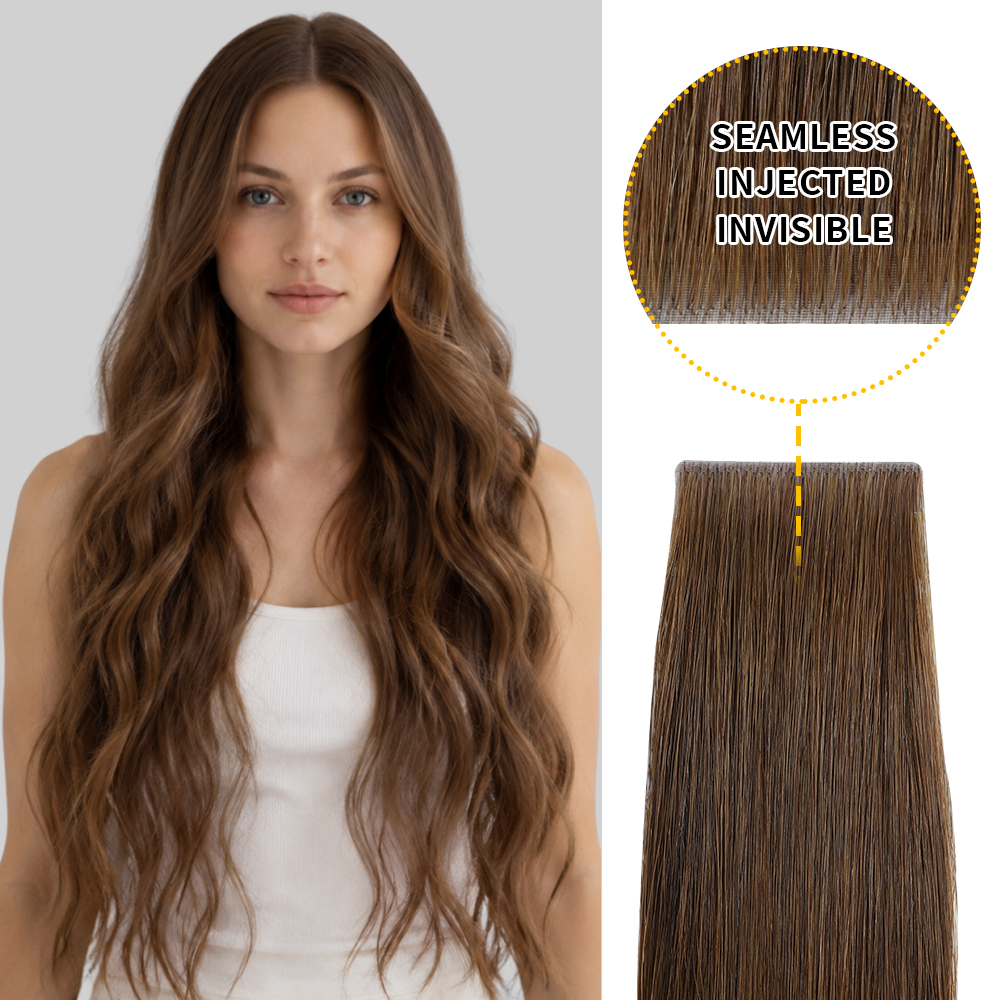
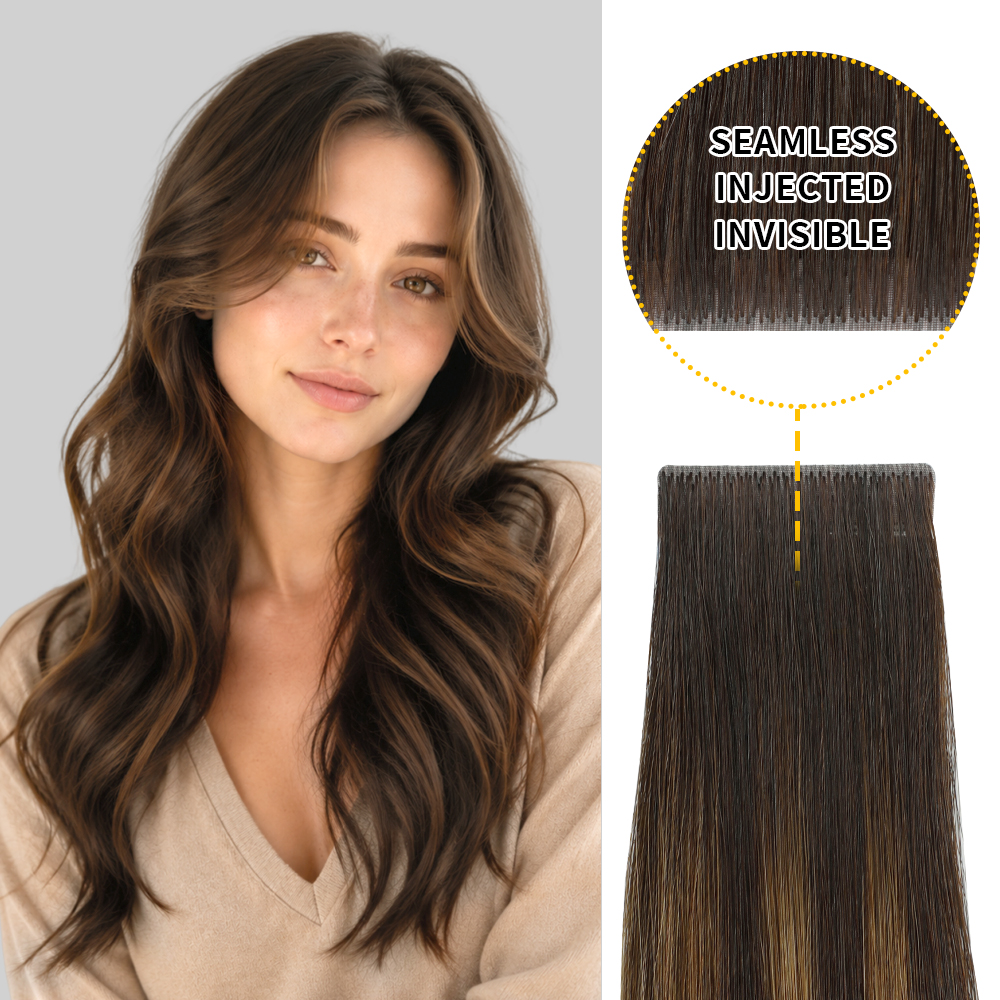
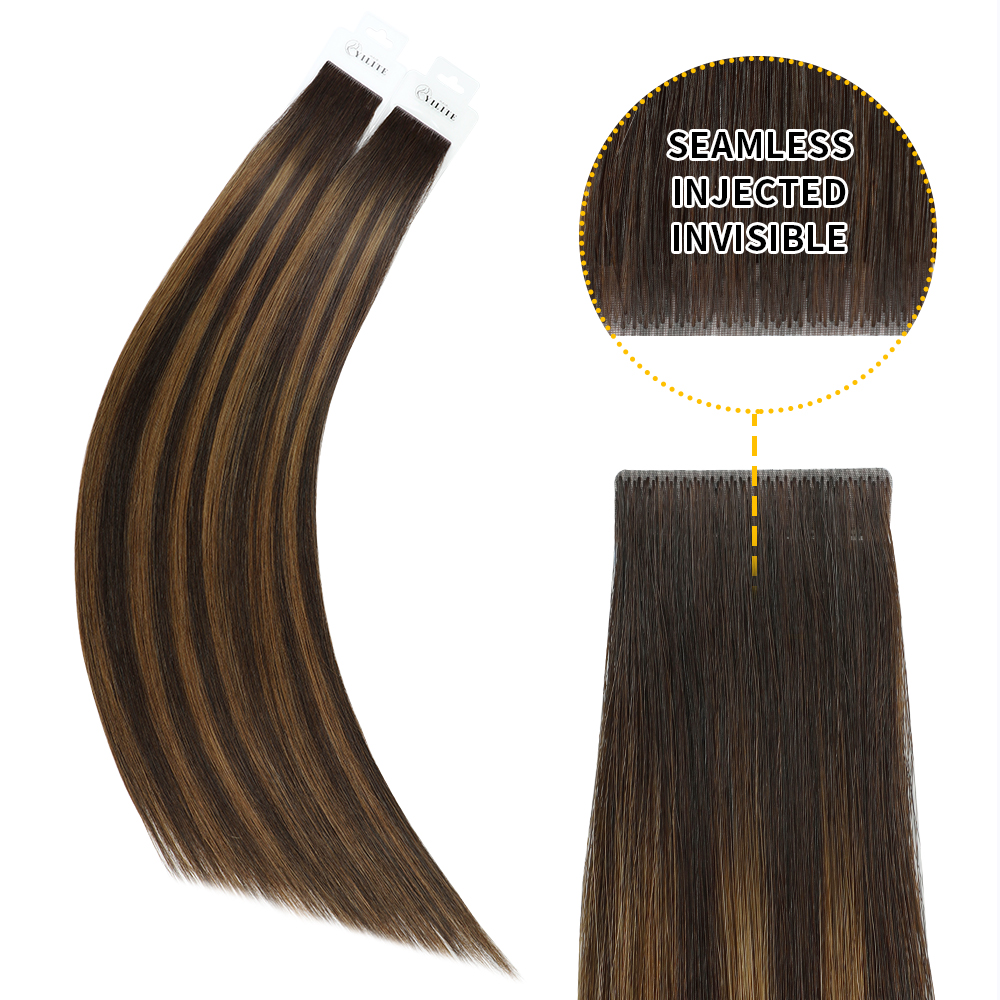
Lightweight, flexible options—like seamless tape ins made with virgin human hair—tend to sit flatter and feel more comfortable, especially for beginners.