Yes. Several types of hair extensions can be applied at home without professional assistance, including clip in extensions, halo extensions, ponytail extensions, and even tape in extensions for experienced users. For most beginners, clip ins and halo extensions are the easiest and safest options because they require no glue, heat, or special tools.
If you're looking for a temporary style change, DIY extensions can save both time and money while giving you the freedom to create different looks whenever you want.
Hair extensions are no longer just for celebrities or salon regulars. With technology updated, there are different types of hair extensions on the market and have become a popular way to transform look easily.
Whether it’s adding length and volume, or trying new styles, hair extensions a good choice. But not everyone wants to sit in a salon chair for several hours or pay high service fees. That’s where some DIY extensions come in. Some extensions need installed and removed by professional stylist, while some extensions allow DIY at home.
This guide will break down which types of extensions are DIY-friendly and what need to know when DIY extensions at home.
Why Choose DIY Extensions?
In addition to the cost of the hair extensions themselves, professional installation of U tip hair extensions/I tip extension may cost from a few hundred dollars to a few thousand dollars. However, if you choose some DIY extensions, you avoid this expense entirely.
Except for saving money and time, it’s also you can put them in whenever you want, take them out when you’re done, and experiment with styles at your own pace. Don’t need to locked into one style for several weeks or months. Test different looks effortlessly—long curls one day, a sleek ponytail the next.
One of the biggest advantages of DIY hair extensions is eliminating salon installation fees. While you'll still need to purchase the extensions themselves, applying them at home can significantly reduce the overall cost. If you're comparing prices across different extension types, read our How Much Do Hair Extensions Cost guide for a complete breakdown of product costs, salon fees, and long-term maintenance expenses.
DIY Hair Extensions Checklist: What You'll Need Before You Start
Before installing any DIY hair extensions, preparing the right tools can make the process much easier and help create a more natural result.
Basic Tools
- Tail comb for clean sectioning
- Hair clips to separate layers
- Mirror (or two mirrors for the back of your head)
- Extension-safe brush
- Heat protectant (if styling)
- Hair straightener or curling iron (optional for blending)
For Tape-In Extensions
- Sectioning clips
- Replacement tape tabs (if reinstalling)
- Hair extension pliers (optional)
- Clarifying shampoo before installation
Before Installation
✔ Wash and completely dry your hair.
✔ Avoid conditioner or oils near the roots.
✔ Match your extensions under natural daylight.
✔ Prepare all wefts before beginning.
Pro Tip
Having everything ready before you begin prevents uneven placement and reduces installation time.
While professional installation can add hundreds of dollars to the total investment, DIY-friendly extensions allow you to reuse the same hair multiple times, making them a cost-effective option over time.
Which DIY Hair Extension Is Right for You?
Before choosing an extension type, think about your lifestyle and styling goals.
| Goal | Best DIY Extension |
|---|---|
| Beginner-Friendly | Clip In Extensions |
| Fastest Installation | Halo Extensions |
| Everyday Ponytail | Ponytail Extensions |
| Long-Term Wear | Tape In Extensions |
| Least Damaging | Halo Extensions |
| Most Versatile Styling | Clip In Extensions |
This quick comparison can help narrow down your options before exploring each extension type in detail.
Which Are DIY-Friendly Hair Extensions?
Temporary hair extensions typically can be installed or removed by yourself at home. Here are the main DIY-friendly options:
Clip in extensions
Clip-ins are wefts hair with small clips. Different size wefts have different numbers of clips, such as 4 clips, 3clips, 2 clips, and 1 clip. Due to they are attach to natural hair by clips, so you can install and remove them quickly and easily. What you need to do is section your natural hair first, then snap the clips close to the hair roots and release the top layers to cover them.
在 Instagram 查看这篇帖子
Pros:
- Installation within 5 minutes if skilled.
- Can flexibly place it in the appropriate location.
- Reusable for months or one year with proper care.
Cons:
- May feel bulky or heavy if worn for a long time.
- Not suitable for fine hair as clips may be exposed.
- Need to remove them before going to bed or exercising.
DIY Tips
- Always backcomb the hair root area lightly before clipping for better grip.
- Layer the different sized wefts, with the 4 clip wefts placed at the widest part of the head.
- Blending your hair and extensions together with heat tools for a seamless look.
If you're new to clip ins, follow our complete guide on how to apply clip in hair extensions at home for step-by-step instructions and blending tips.
Halo Extensions
Halo extensions are one-piece wefts attached to a thin and invisible wire. The wire sits on the crown of your head just like a headband, while your natural hair cover the extension.
Pros:
- Can be installed in 2 minutes.
- No clips no glue = no damage.
- Comfortable for long wear and great for extension beginners.
Cons:
- Limited styling—best for wearing hair down or half-up.
- May slip if not adjusted and installed properly.
- Not secure enough for sports.
DIY Tips:
- Adjust the wire to fit your head snugly, avoid the risk of slipping.
- Tease a small amount of hair at the crown for better coverage.
- Curl or straighten them together for a seamless blend.
- Always remember to remove the extension before sleeping.
Ponytail Extension
Our ponytail extensions come with built-in comb and a wrap-around strand. You need to tie your hair into a ponytail first, then insert comb and wrap the strand around the base. The final step is secure with pins.
Pros:
- One-piece weft hair extensions—install only takes only a couple of minutes.
- Add length and volume to your thin ponytail instantly.
- Completely damage-free as this install method is safe and secure.
Cons:
- Limit styling flexibility—juts add length and volume to your ponytail looks.
- Risk of tension at the hairline if secured too tightly.
- Can feel heavy if worn too high or for long hours.
DIY Tips:
- Match the extension texture to your natural ponytail.
- Avoid wearing a tight ponytail hairstyle all day.
- Wrap a strand of extension hair around the base to hide Velcro for a polished finish.
- You can use lightweight hair spray or gel to tame flyaways and keep it sleek.
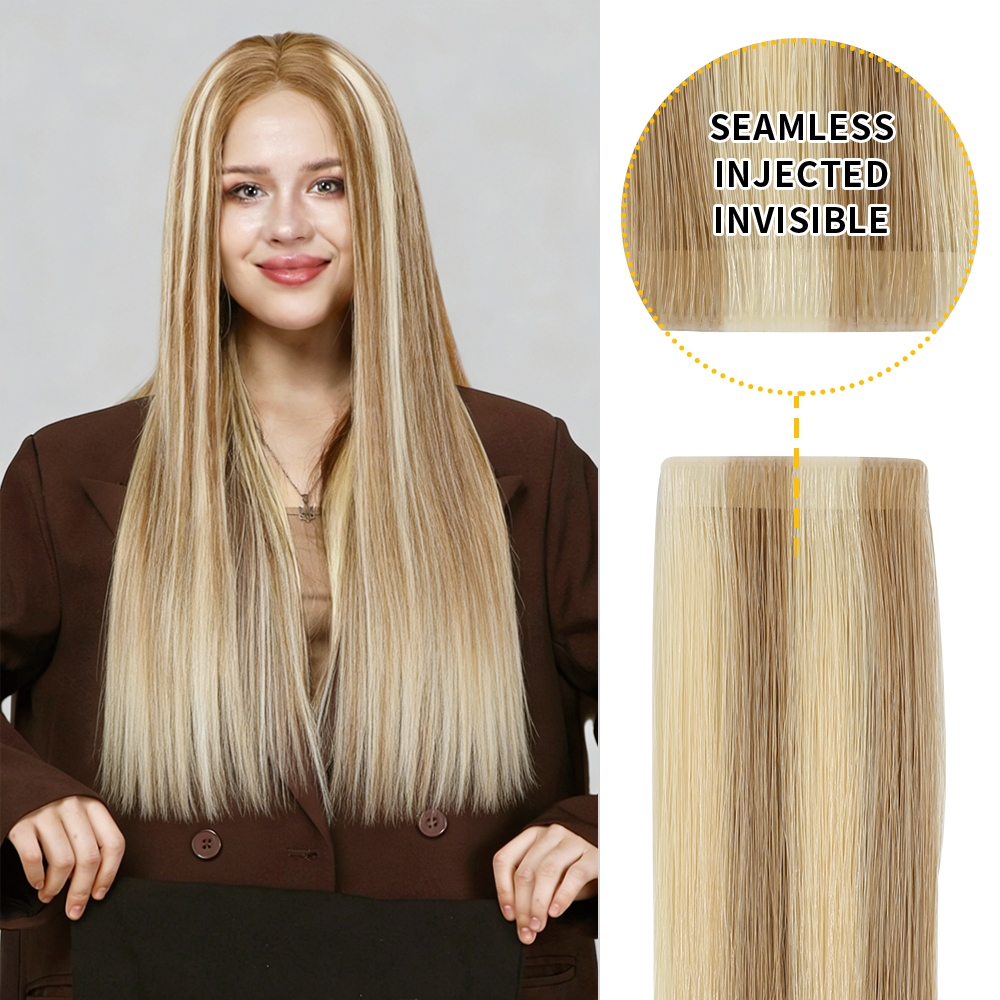
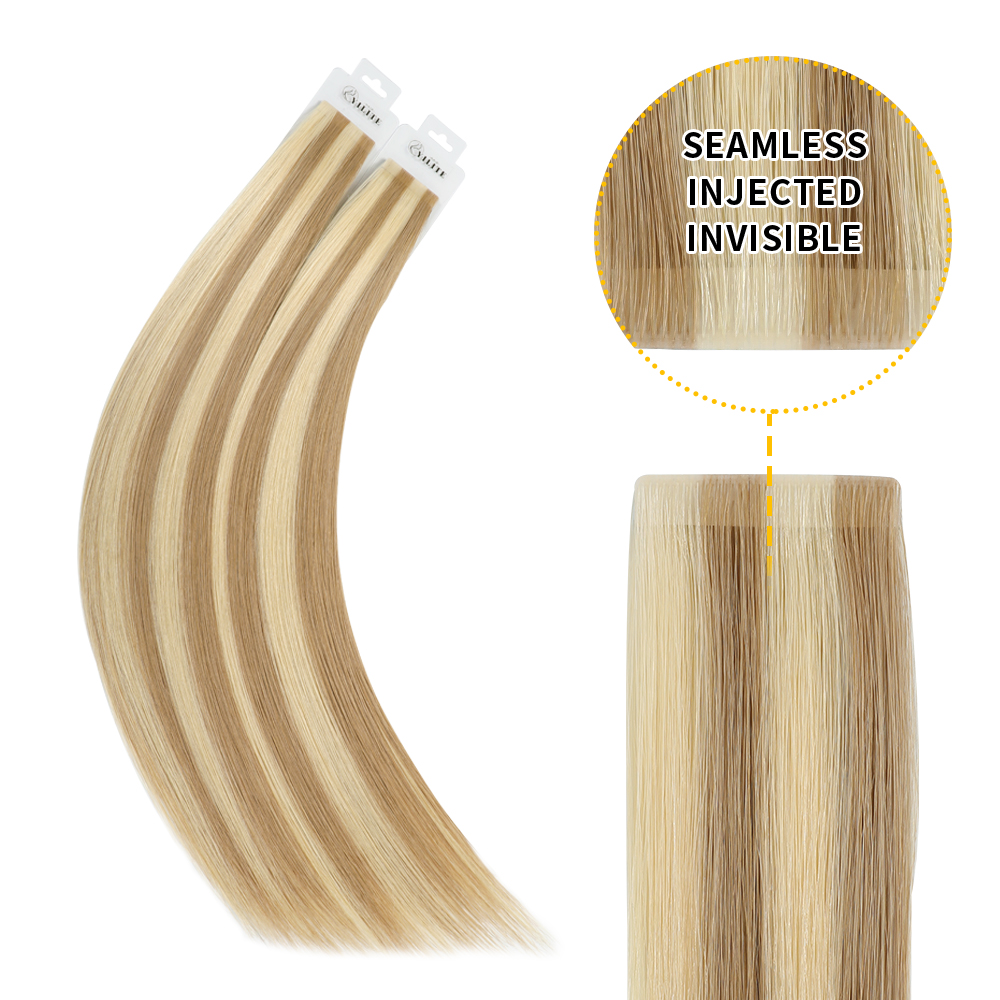
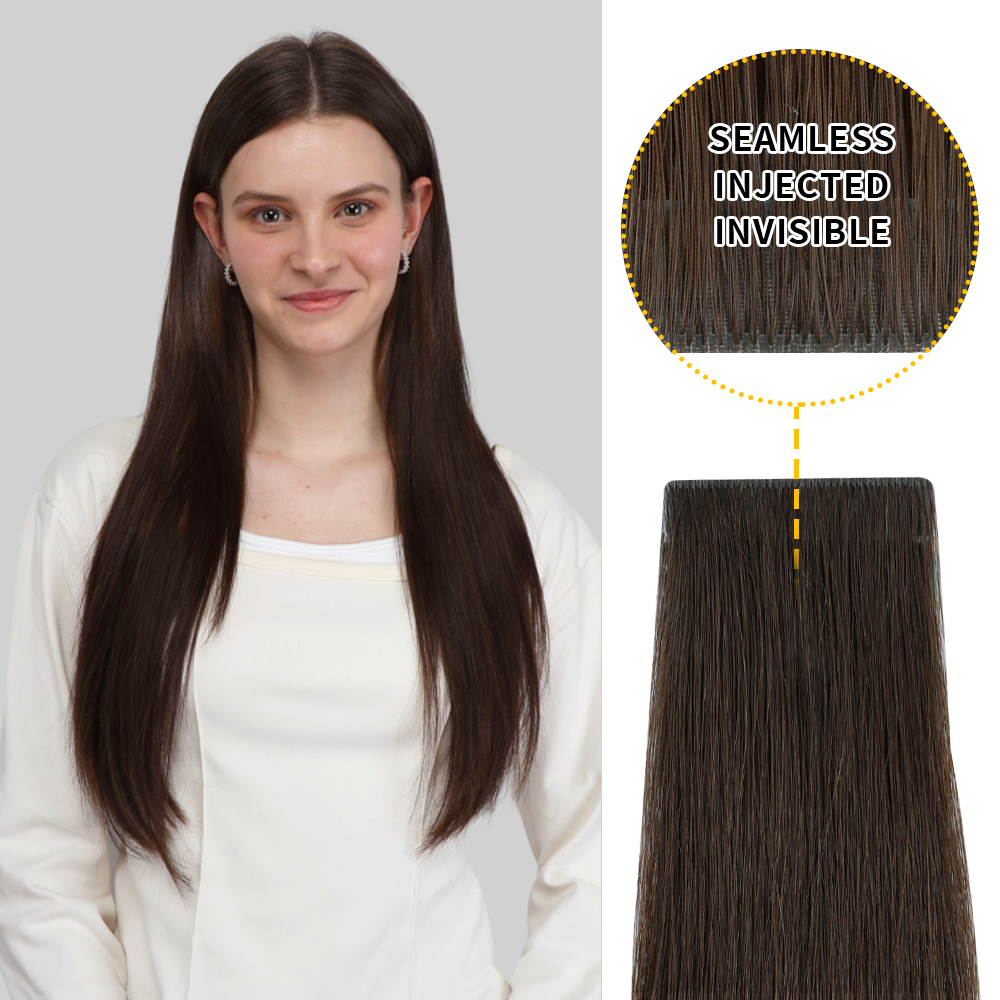
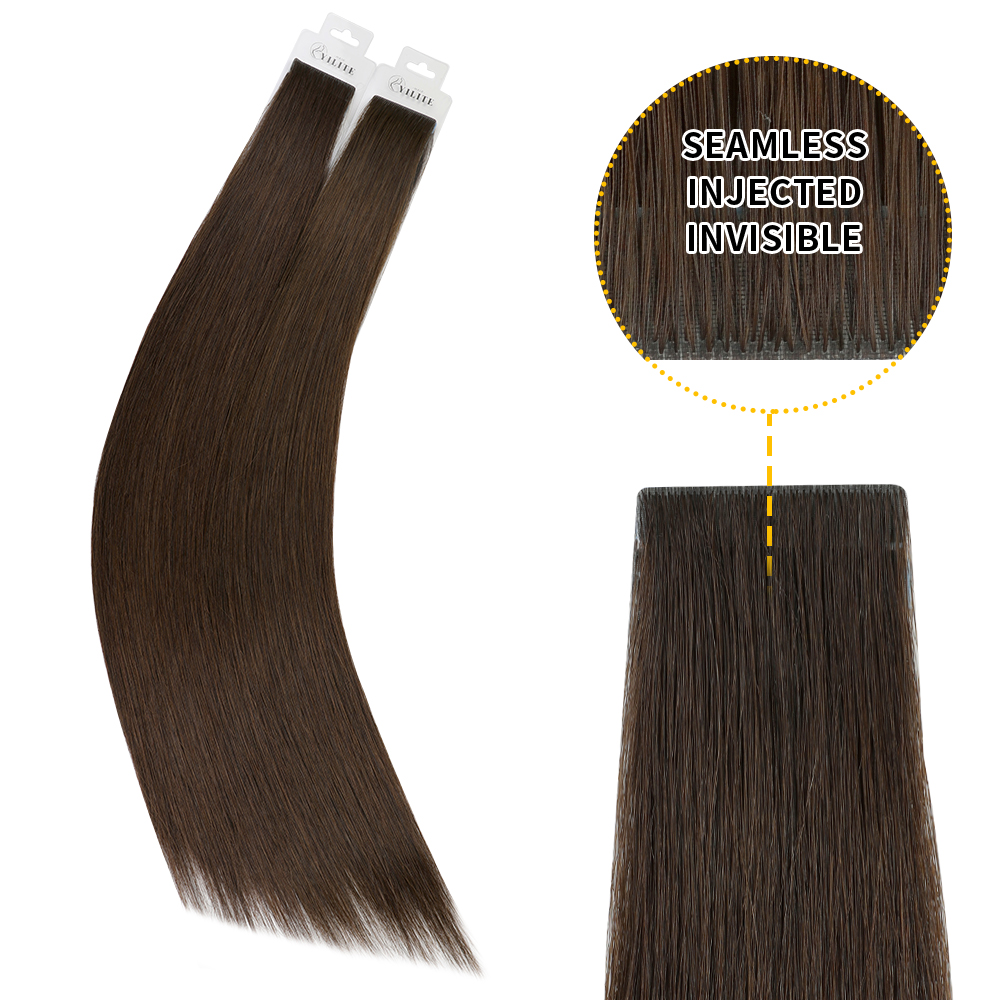
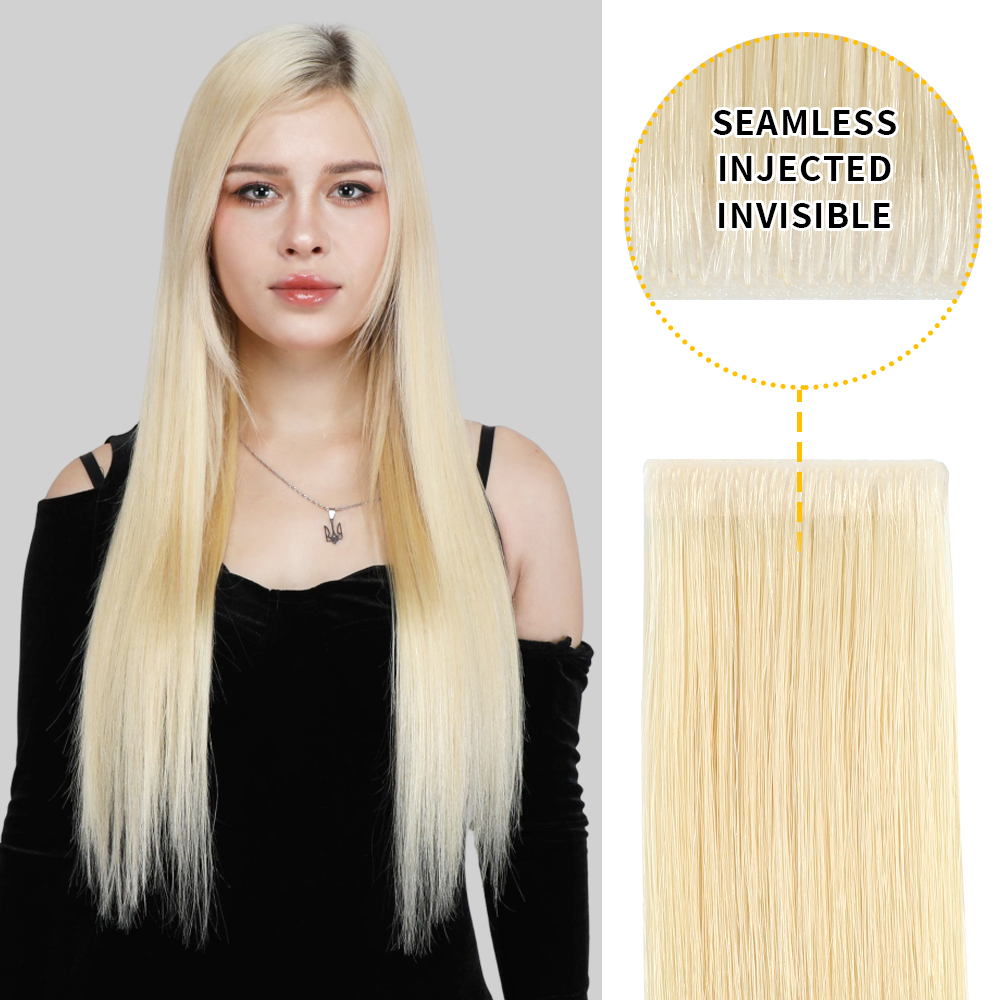
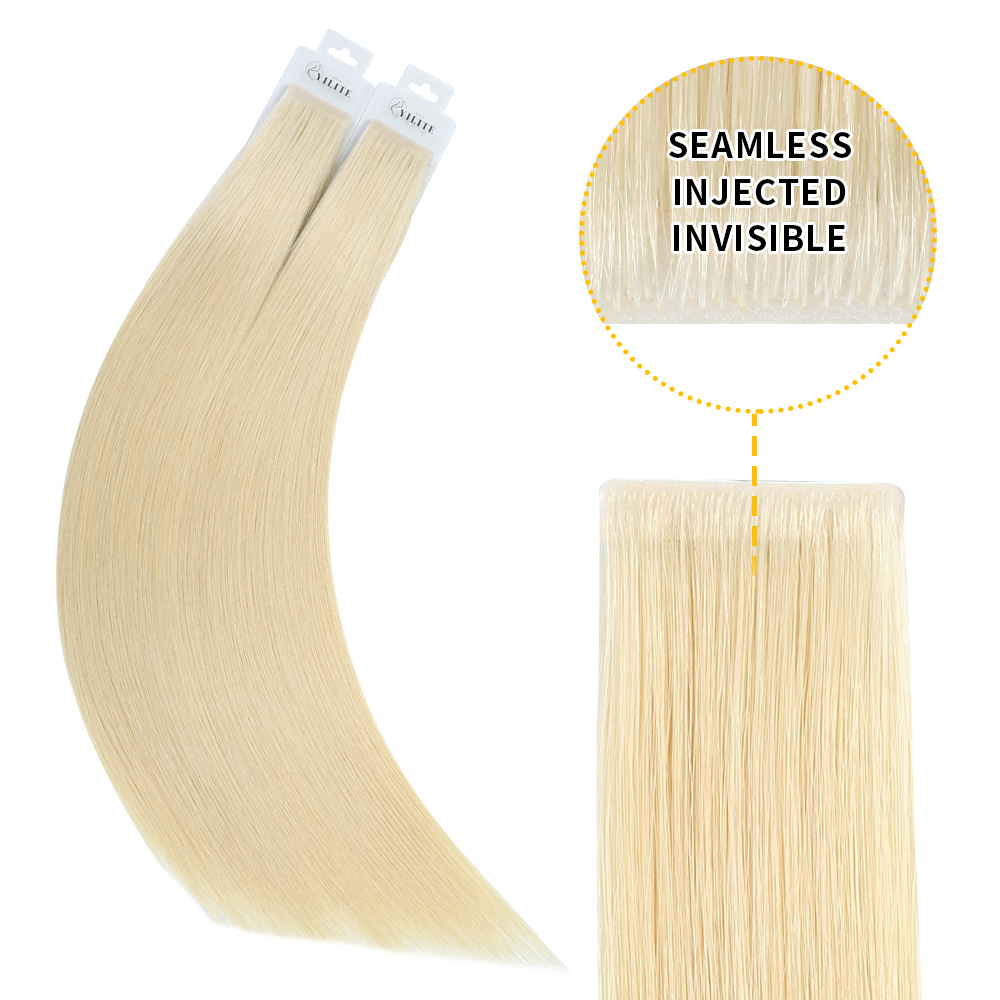
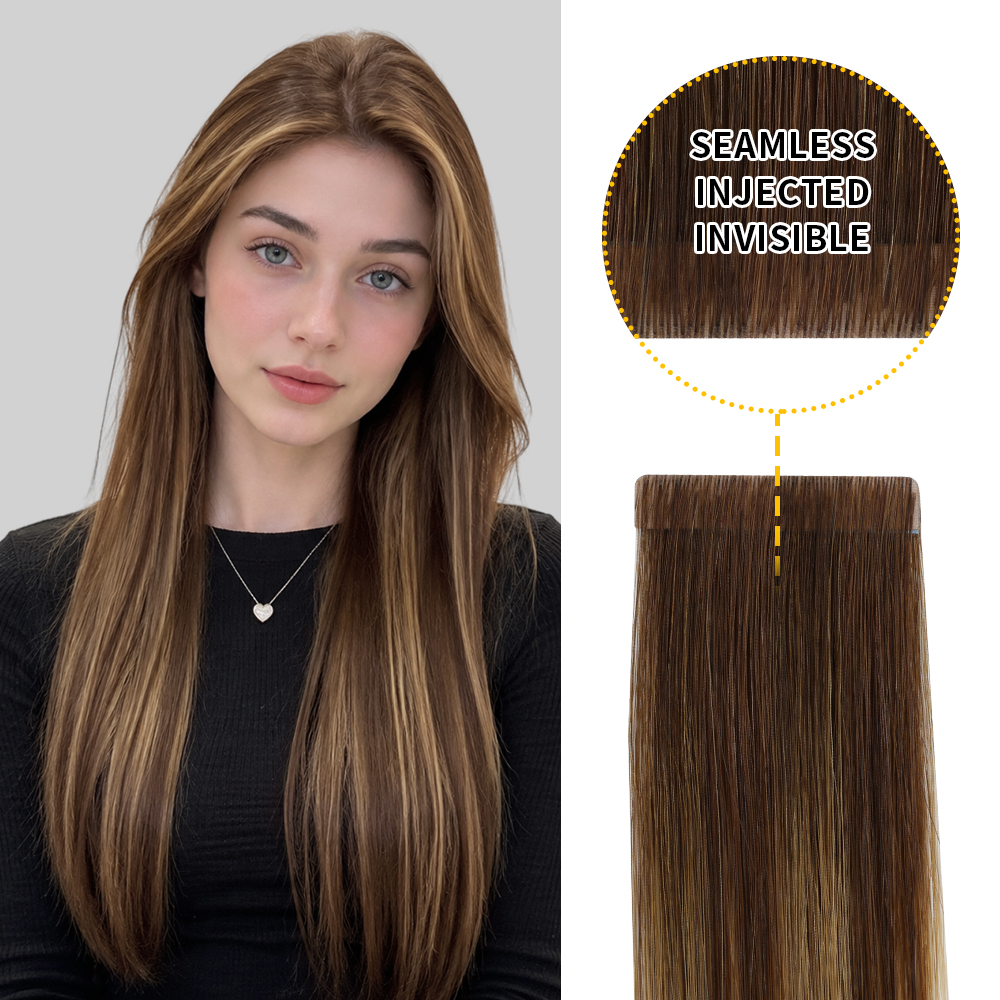
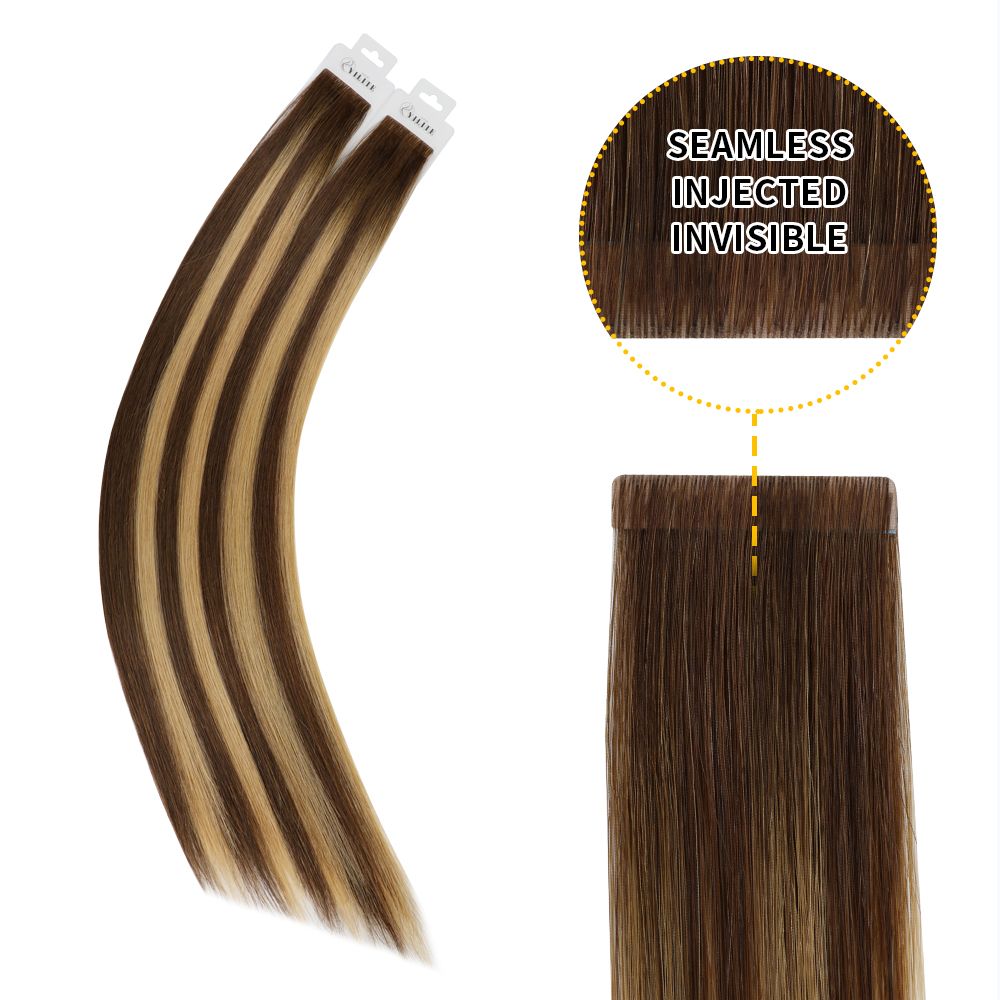
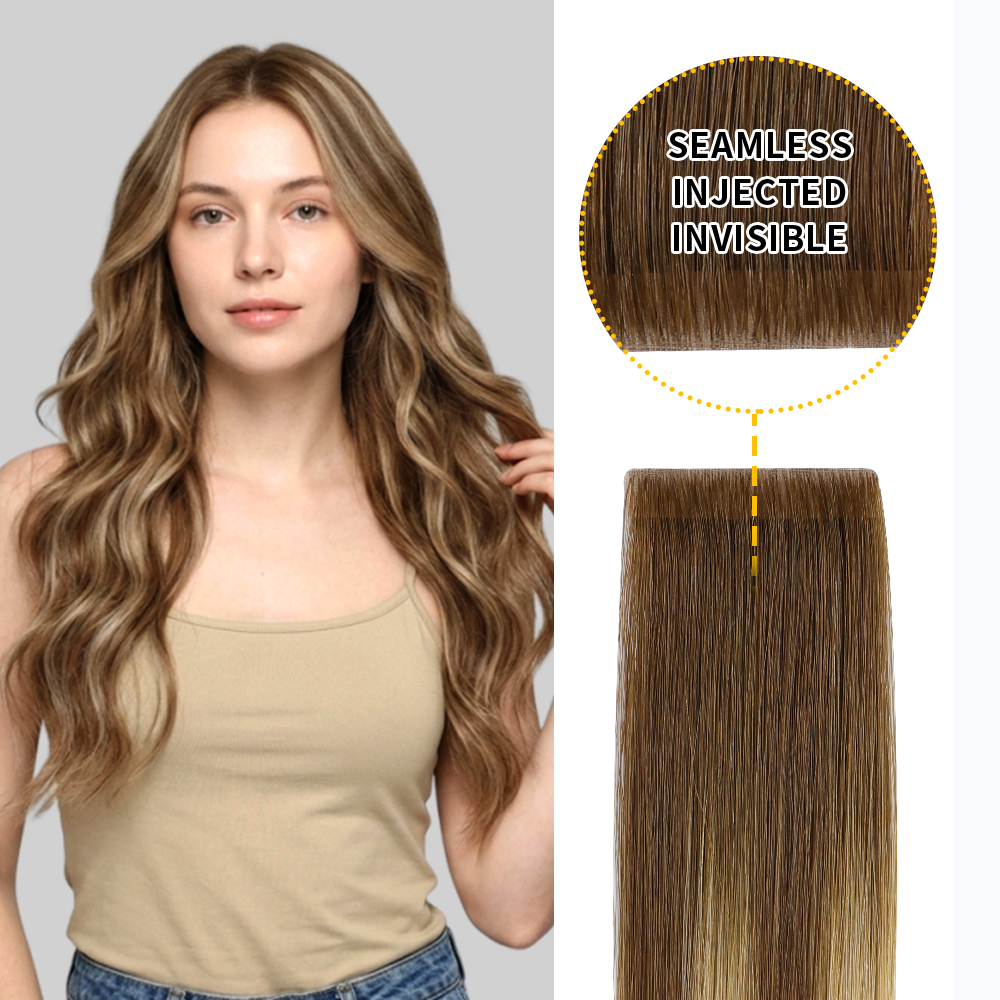
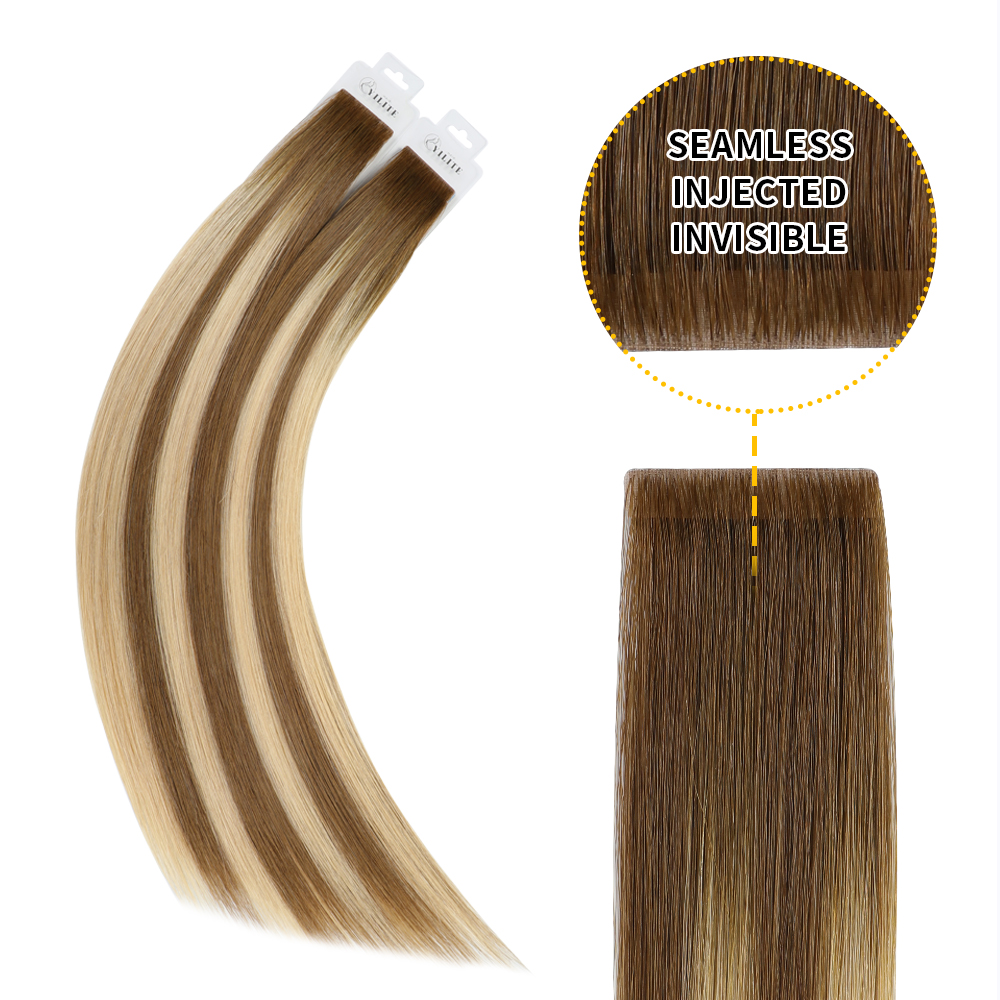
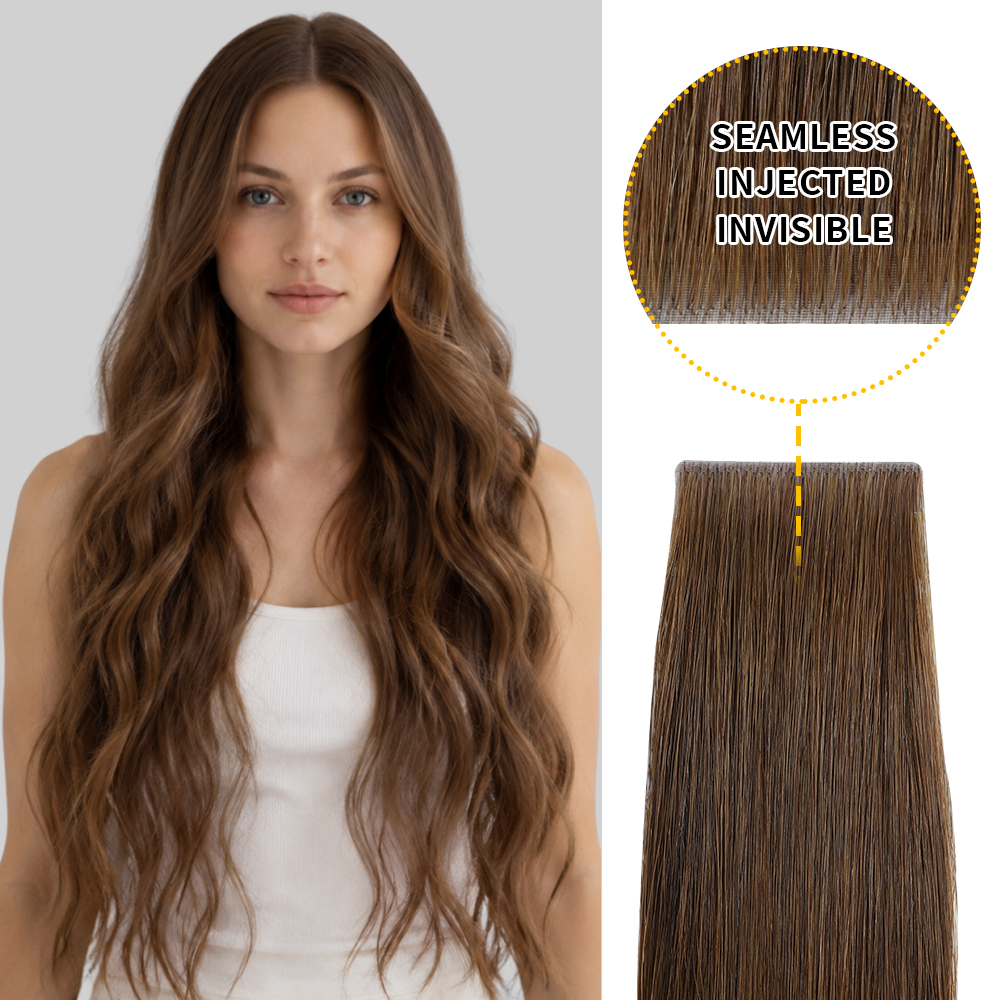
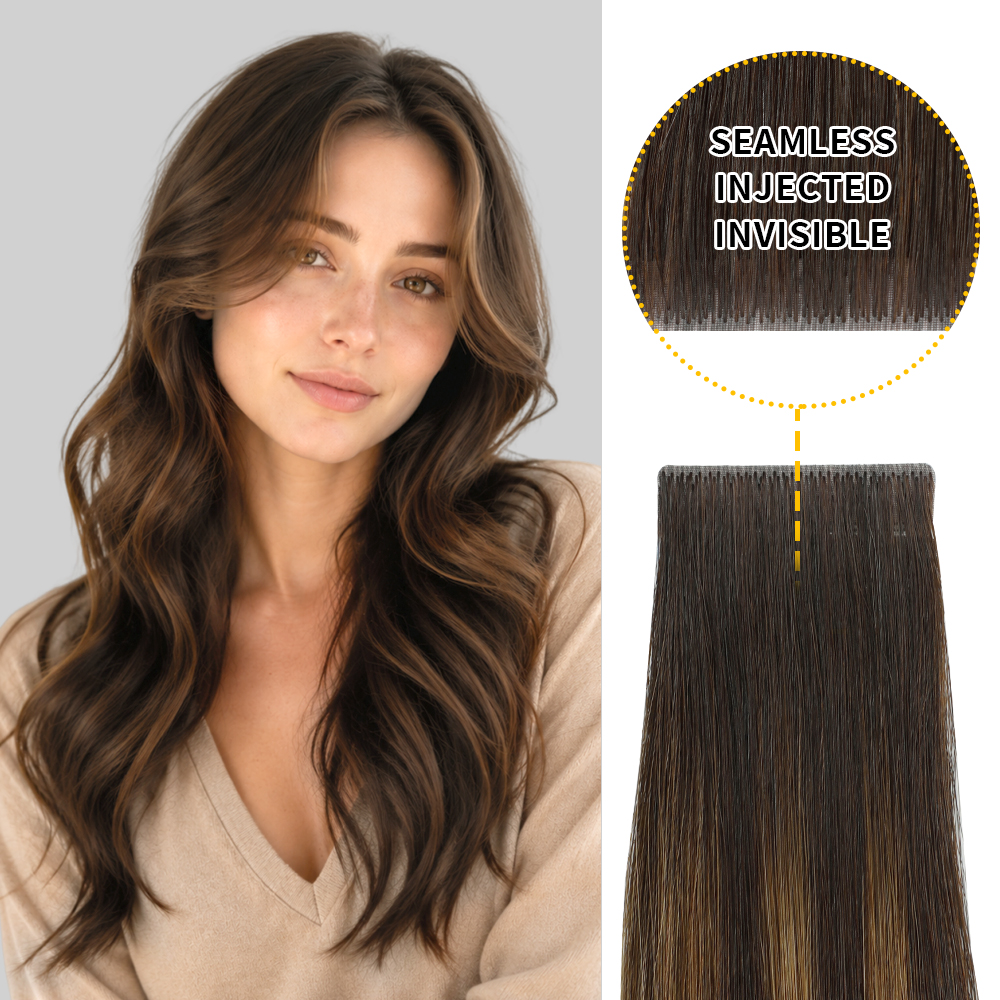
Tape-In Extensions
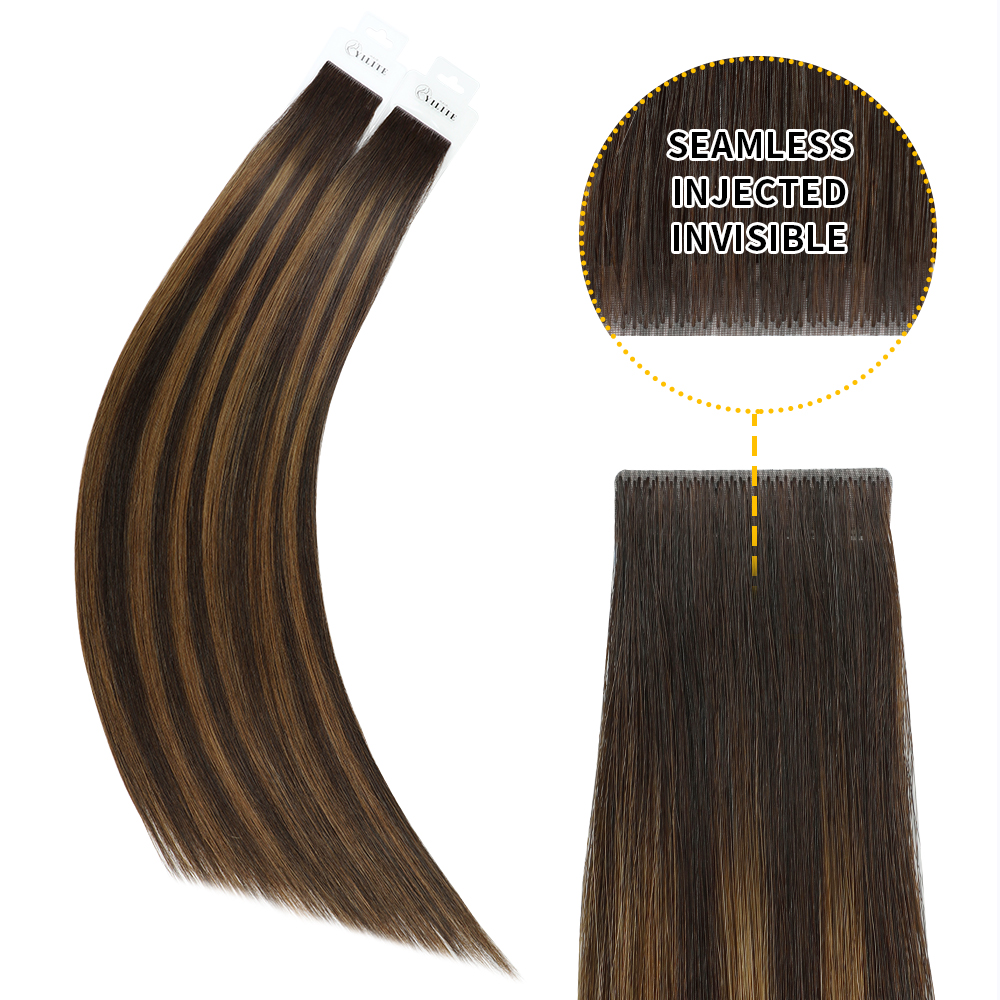
Tape in hair extensions are pre-taped wefts hair, usually installed using sandwich method. That means sandwich your own hair between two thin wefts and press them firmly. Some users like to ask a stylist to complete the application, while some people choose to install it themselves.
For some hair extension beginners or those who find it difficult to install, we still recommend having a hairstylist install it.
Pros:
- Lay flat against the scalp, giving a natural and seamless look.
- Lightweight and comfortable when worn for a long time.
- Last 6-8 weeks per installation with proper care.
Not sure whether invisible tape ins or traditional tape ins are right for you? Read our comparison of seamless vs regular tape in hair extensions to learn the key differences.
Cons:
- More challenging for beginners—requiresprofessional skills.
- Adhesive may weaken with oils or heavy styling products.
- May cause damage if not applied or removed.
DIY Tips:
- Installed with dry and clean hair.
- Avoid washing for at least 48 hours after installation.
- The tape needs to be removed and reinstalled after 6-8 weeks
When it's time for removal, proper technique is essential. Learn how to remove tape in hair extensions safely without damaging your natural hair.
DIY Hair Extension Difficulty Guide
Not all DIY hair extensions require the same level of skill.
| Type | Difficulty Level | Installation Time | Removal Time |
|---|---|---|---|
| Halo | Easy | 1–2 Mins | 1 Min |
| Ponytails | Easy | 2–5 Mins | 2 Mins |
| Clip Ins | Easy to Moderate | 5–10 Mins | 5 Mins |
| Tape Ins | Moderate to Advanced | 45–90 Mins | 30–60 Mins |
For first-time users, clip ins and halo extensions are usually the easiest options because they require minimal practice and can be removed instantly if adjustments are needed. If you're getting ready for work, school, or an event, clip ins and halo extensions offer the fastest transformation.
DIY Extensions vs Professional Extensions
| Feature | DIY | Professional |
|---|---|---|
| Cost | Lower | Higher |
| Installation | Home | Salon |
| Time | Minutes | 2–4 Hours |
| Reusable | Yes | Yes |
| Maintenance | Easier | Requires appointments |
| Best For | Beginners & occasional wear | Long-term wear |
Can DIY Hair Extensions Damage Your Hair?
One of the biggest concerns among first-time users is whether DIY extensions are harmful.
The answer depends more on how you wear them than which type you choose.
DIY extensions are generally safe when:
- They are lightweight.
- Installed correctly.
- Removed carefully.
- Worn according to the recommended schedule.
Damage is more likely when:
- Extensions are too heavy.
- Clips are attached to weak sections.
- Tape is removed without adhesive remover.
- Hair is pulled too tightly.
Choosing high-quality human hair extensions and following proper installation techniques greatly reduces these risks.
How to Choose the Right DIY Extension for Your Lifestyle?
Not every extension fits every routine.
Choose based on how you plan to wear them.
If you want everyday volume
Choose:
- Invisible Clip Ins
- Tape In Extensions
If you style your hair only for special occasions
Choose:
- Clip Ins
- Ponytail Extensions
If you travel frequently
Choose:
- Halo Extensions
If you exercise often
Choose:
- Tape Ins
If you're new to extensions
Choose:
- Halo Extensions
- Clip Ins
Thinking about your daily routine helps you choose extensions you'll actually enjoy wearing.
Common Mistakes to Avoid
Skipping prep: Extensions don’t stick or blend well on dirty, oily hair.
Overuse: Wearing semi-permanent extensions for too long can cause breakage.
Cheap hair: Synthetic or low-quality extensions tangle fast and look unnatural.
Wrong shade: A poor color match is the fastest way to make extensions obvious.
DIY Hair Extensions for Different Hair Types
Fine or Thin Hair
The best DIY options are:
-
Invisible Clip Ins
-
Halo Extensions
-
Seamless Tape Ins
These extensions add volume without putting excessive stress on delicate strands.
Medium Hair
Most extension types work well on medium-density hair. Clip ins and tape ins are particularly popular because they provide both volume and length.
Thick Hair
Classic Clip Ins and Halo Extensions often blend best with thick hair because they provide enough density to match the natural fullness of your hair.
How to Store DIY Hair Extensions Between Uses
Proper storage keeps your extensions soft, smooth, and tangle-free.
Follow these simple steps:
- Brush out tangles before storing.
- Make sure the extensions are completely dry.
- Fasten clips before placing them away.
- Store them flat or hang them in an extension storage bag.
- Keep them away from direct sunlight and moisture.
Proper storage can significantly extend the lifespan of human hair extensions.
Signs It's Time to Replace Your DIY Hair Extensions
Even high-quality human hair extensions eventually reach the end of their lifespan.
Consider replacing them if you notice:
- Excessive shedding
- Split or dry ends that cannot be restored
- Persistent tangling
- Loose clips or damaged wire
- Tape no longer adheres properly
- Color fading after repeated washing
Replacing worn extensions helps maintain a more natural appearance.
FAQs
Q: What are the easiest hair extensions to apply at home?
A: Halo extensions and clip in extensions are generally considered the easiest DIY hair extensions because they require no glue, heat, or professional tools.
Q: Can beginners install tape in extensions themselves?
A: Yes, but tape ins require more skill and precision than clip ins or halo extensions. Many beginners prefer professional installation for the first application.
Q: Which DIY hair extensions cause the least damage?
A: Halo extensions are often considered the least damaging option because they do not use clips, glue, tape, or heat.
Q: How long do DIY hair extensions last?
A: Clip ins, halo extensions, and ponytail extensions can last several months to over a year with proper care. Tape ins typically require reinstallation every 6–8 weeks.
Q: Can I sleep with DIY hair extensions?
A: Most removable extensions, including clip ins, halo extensions, and ponytail extensions, should be removed before sleeping.
Q: Are DIY hair extensions suitable for thin hair?
A: Yes. Lightweight invisible clip ins and halo extensions are popular choices for women with fine or thin hair.
Conclusion
As we mentioned above, these extensions are great options if you like to DIY extensions at home.
Clip-ins = best all-around option for beginners.
Halo extensions = the fastest, safest, and most comfortable choice.
Ponytail extensions = instant drama with no effort.
Tape-ins = semi-permanent and natural, but require practice.
Still, DIY isn’t always perfect. It requires learning proper techniques and patience.