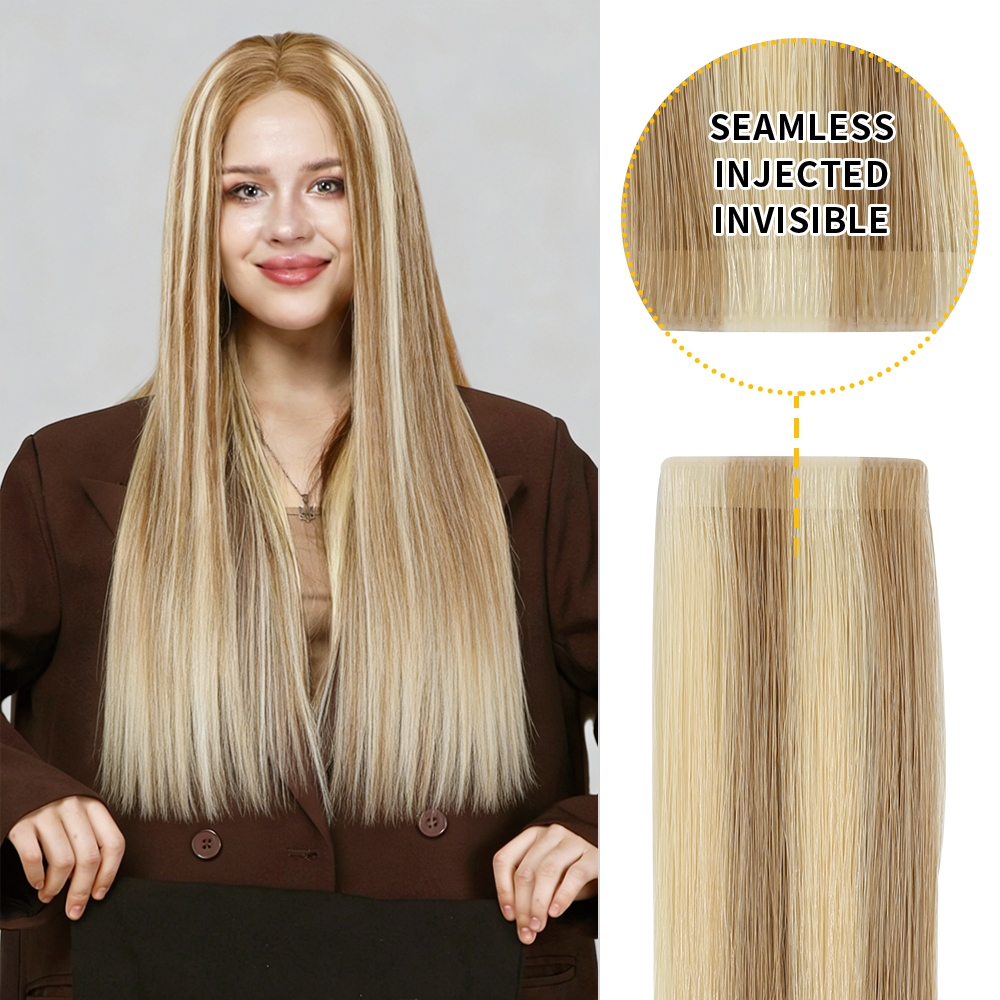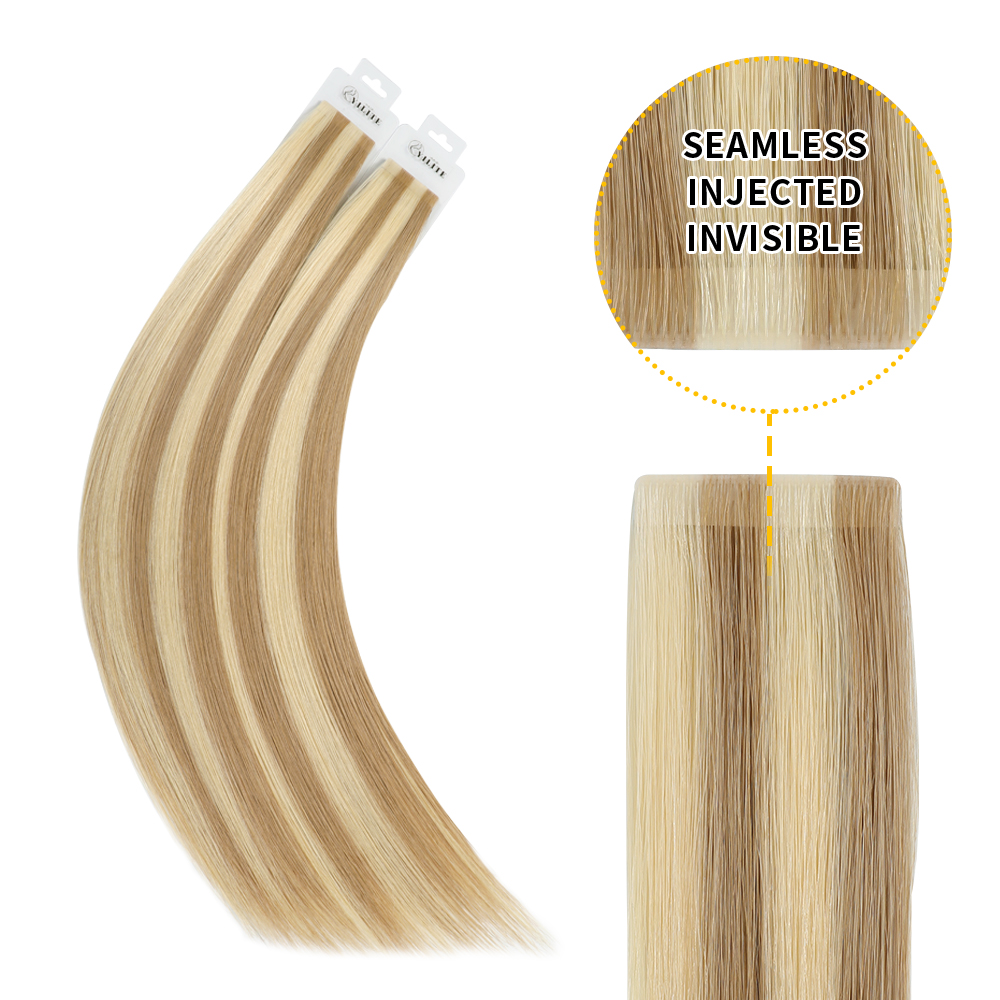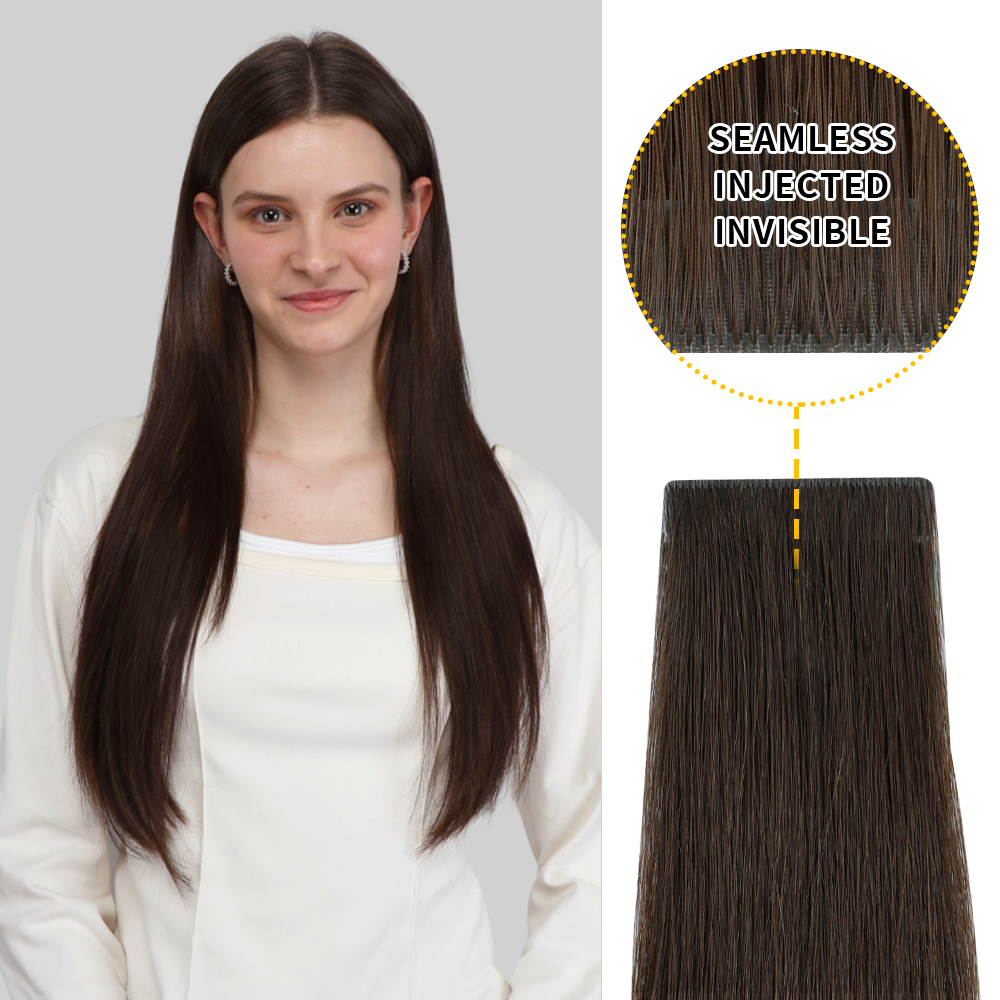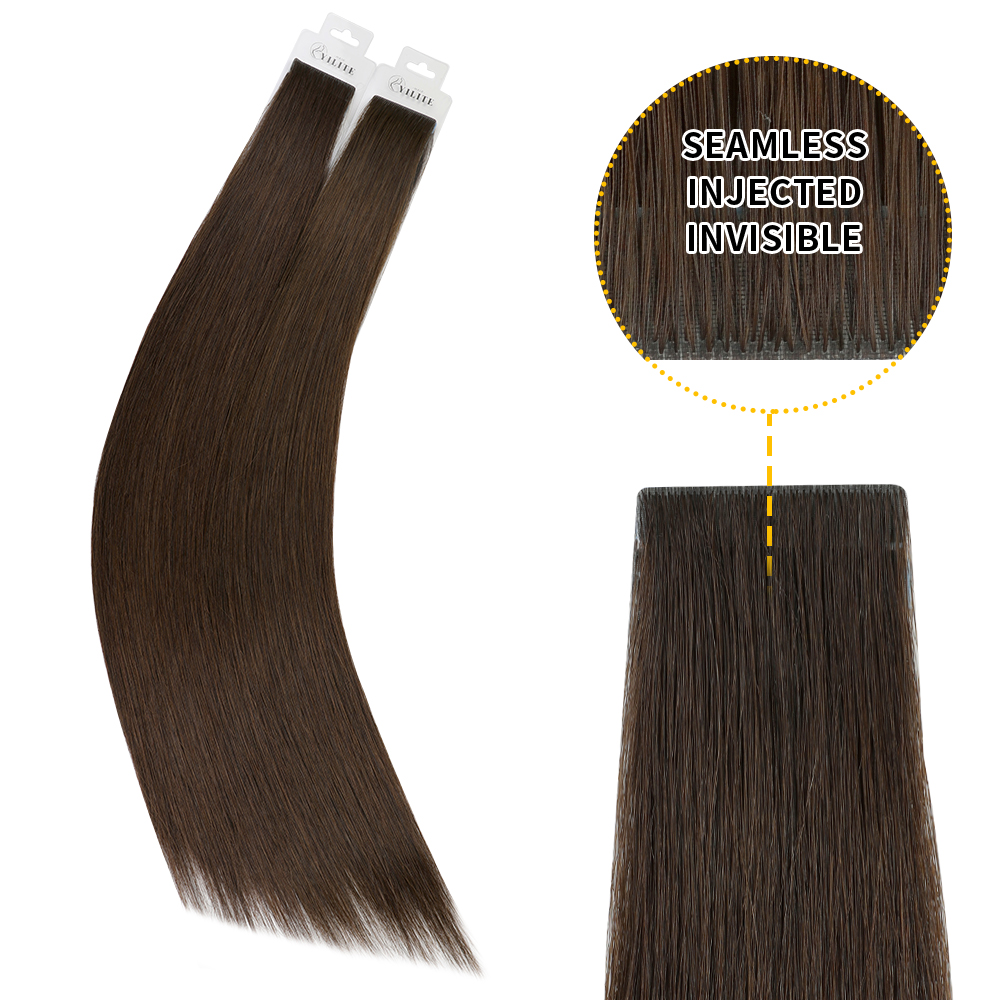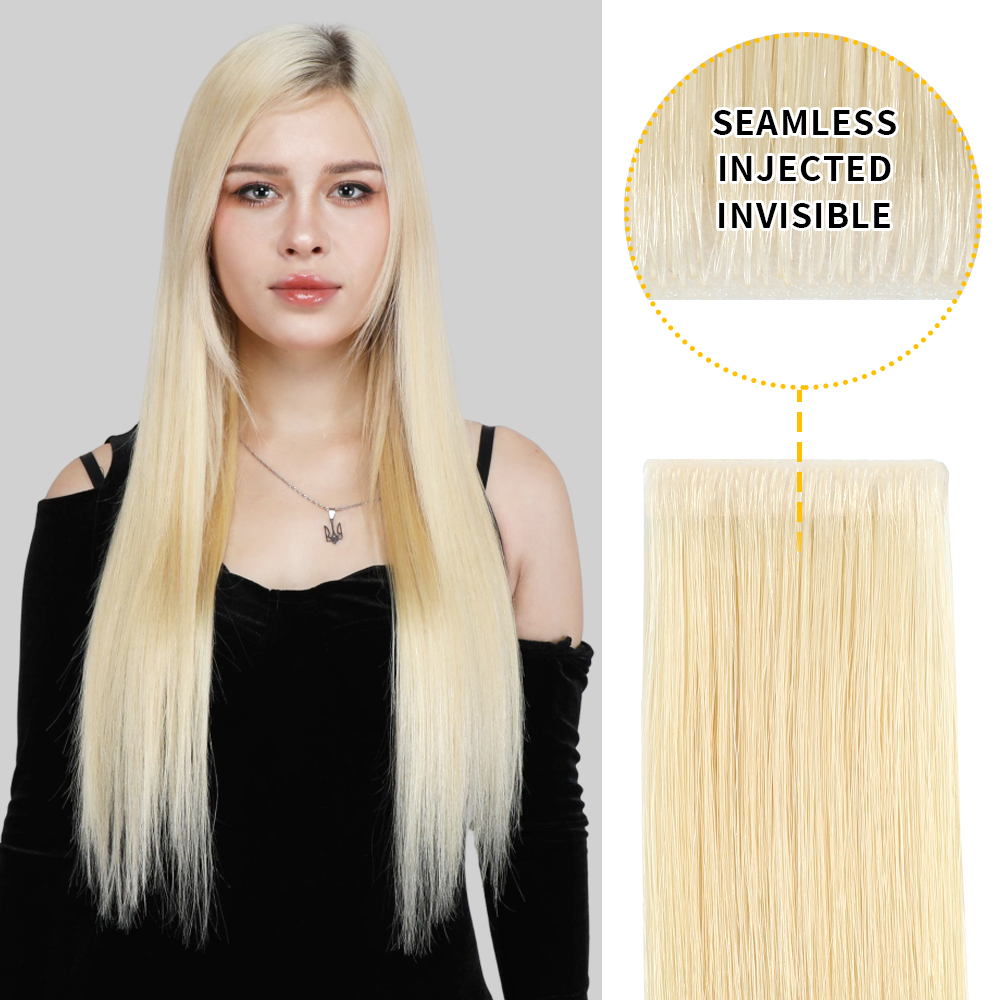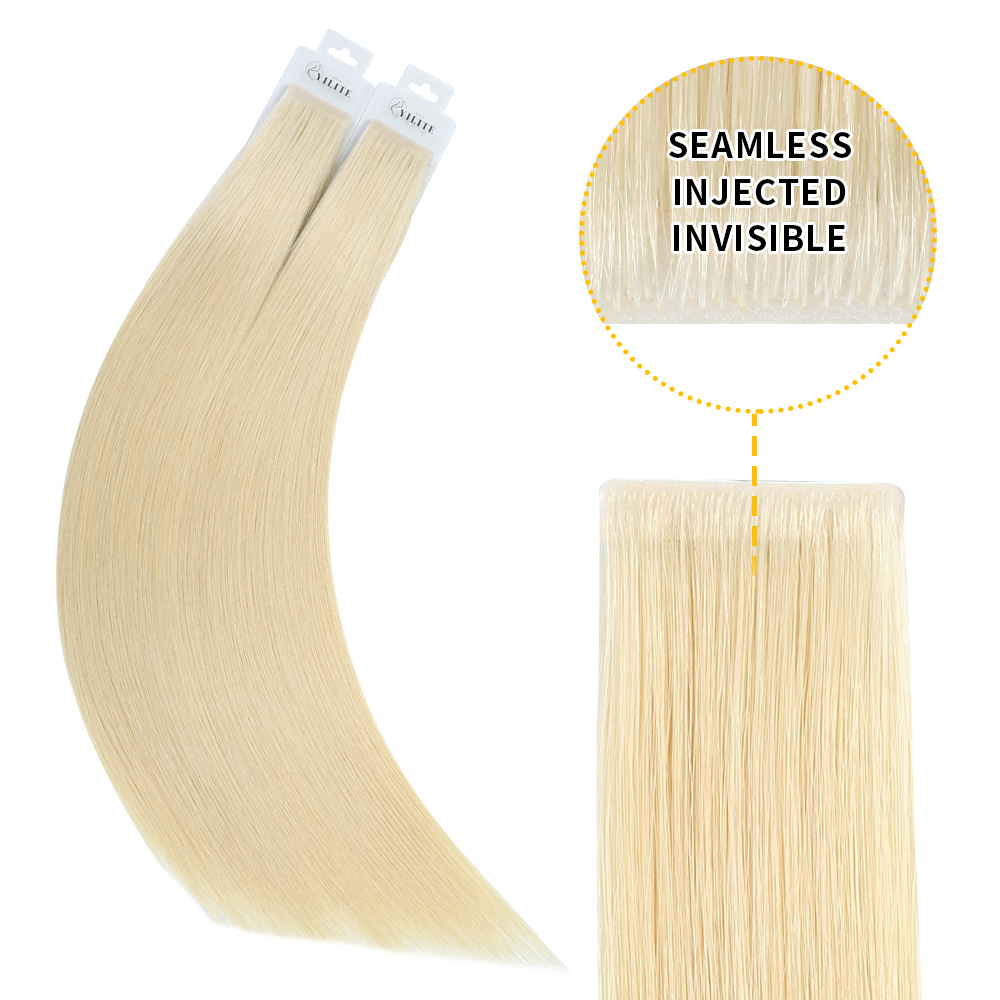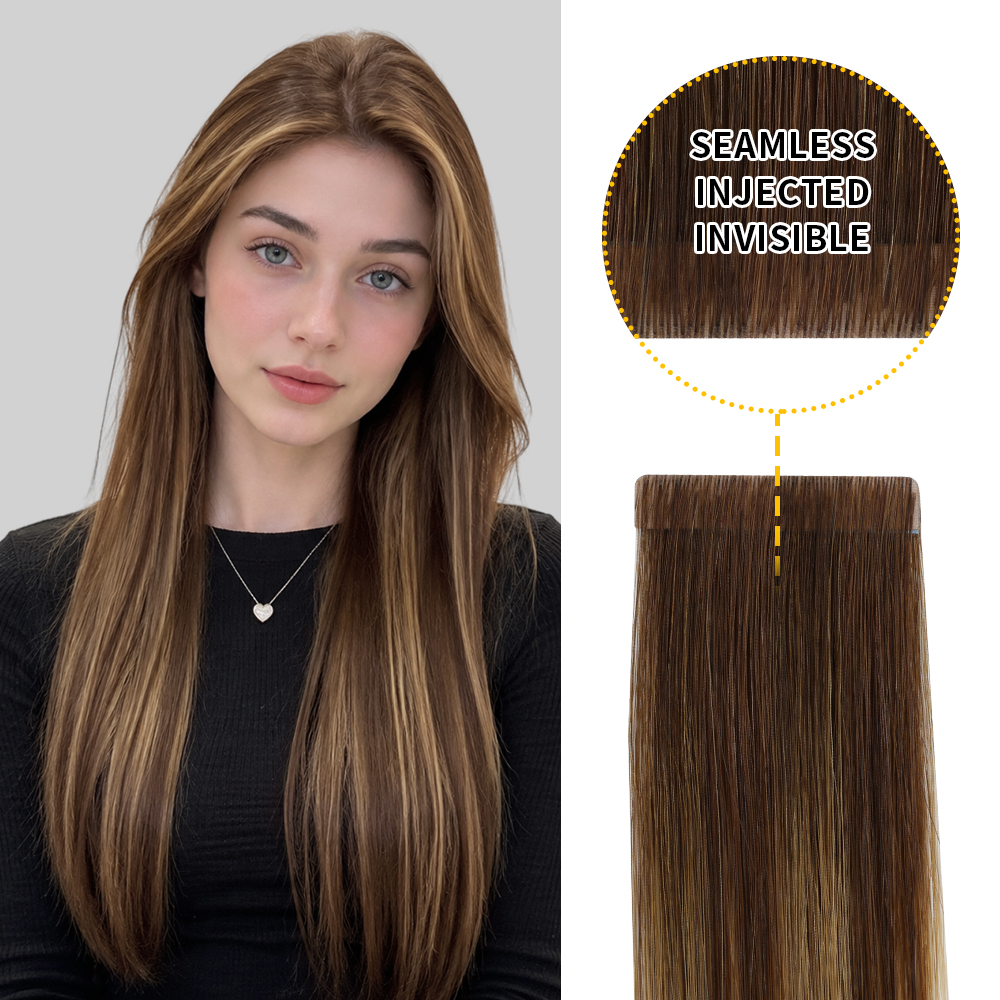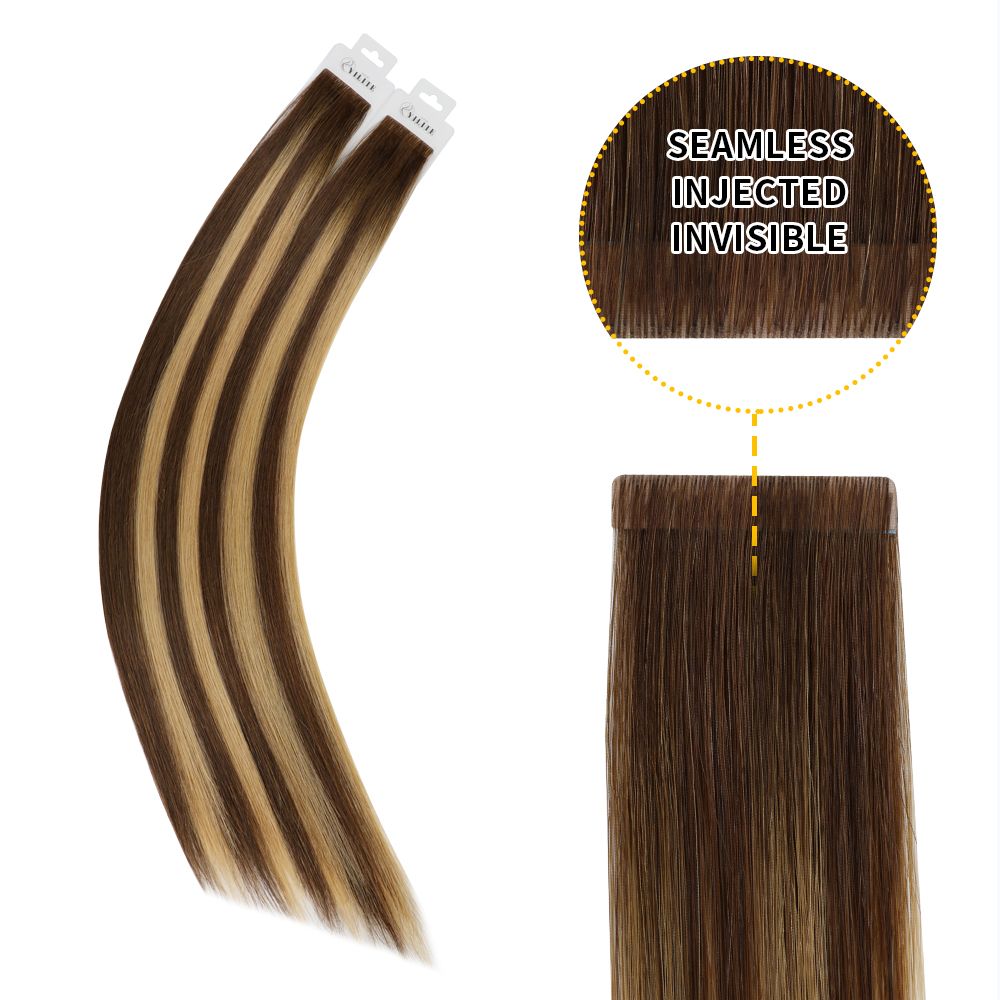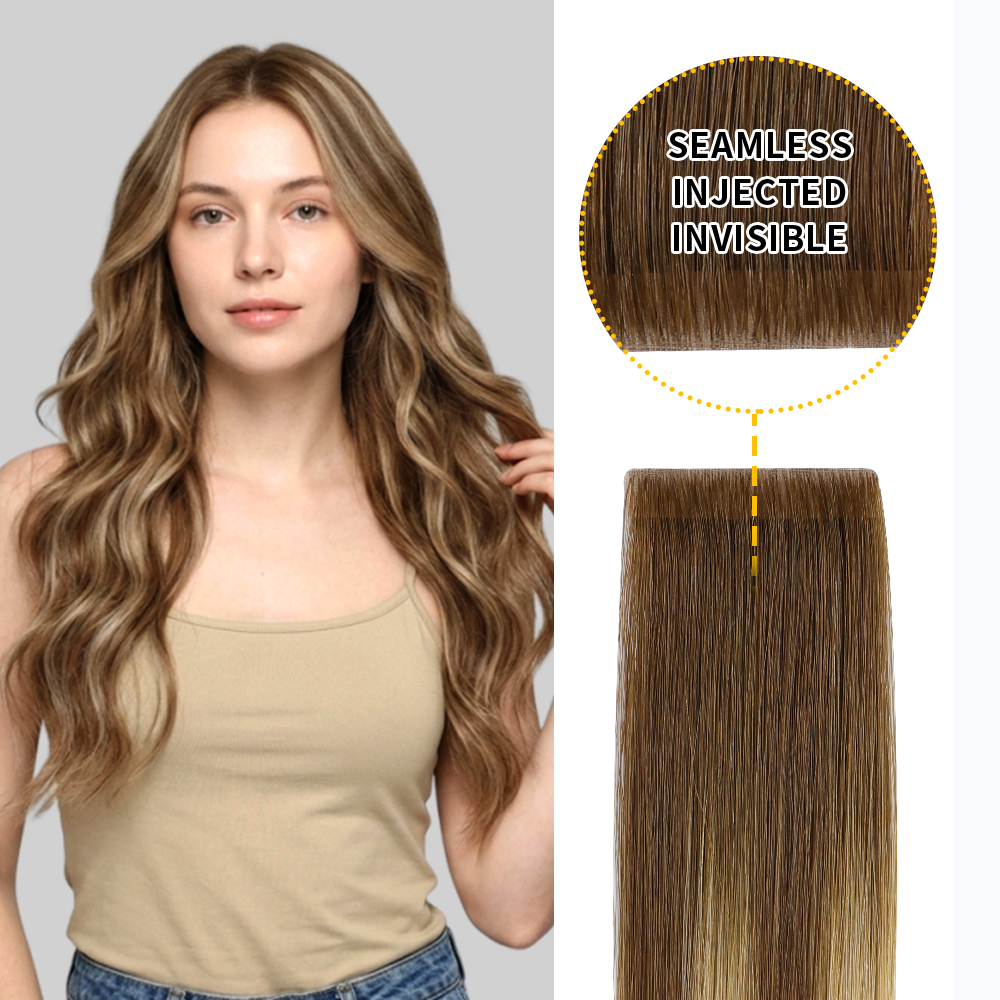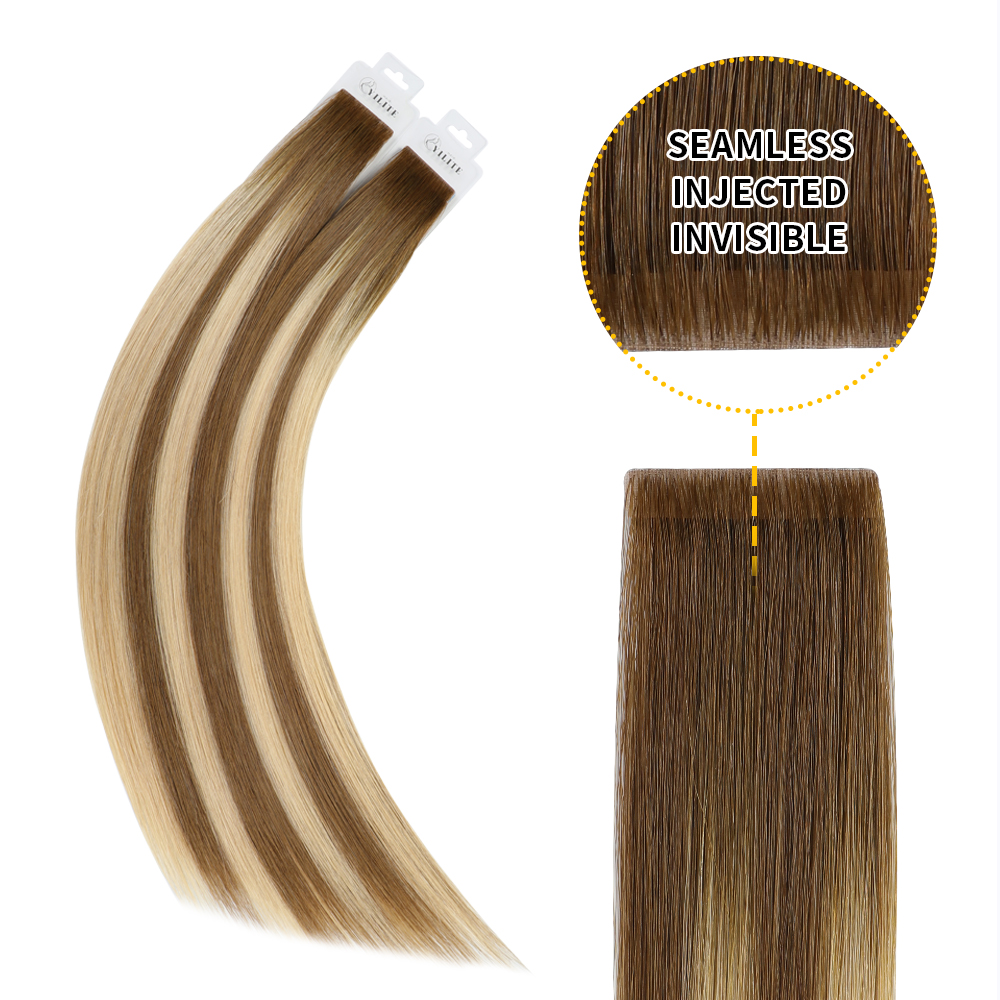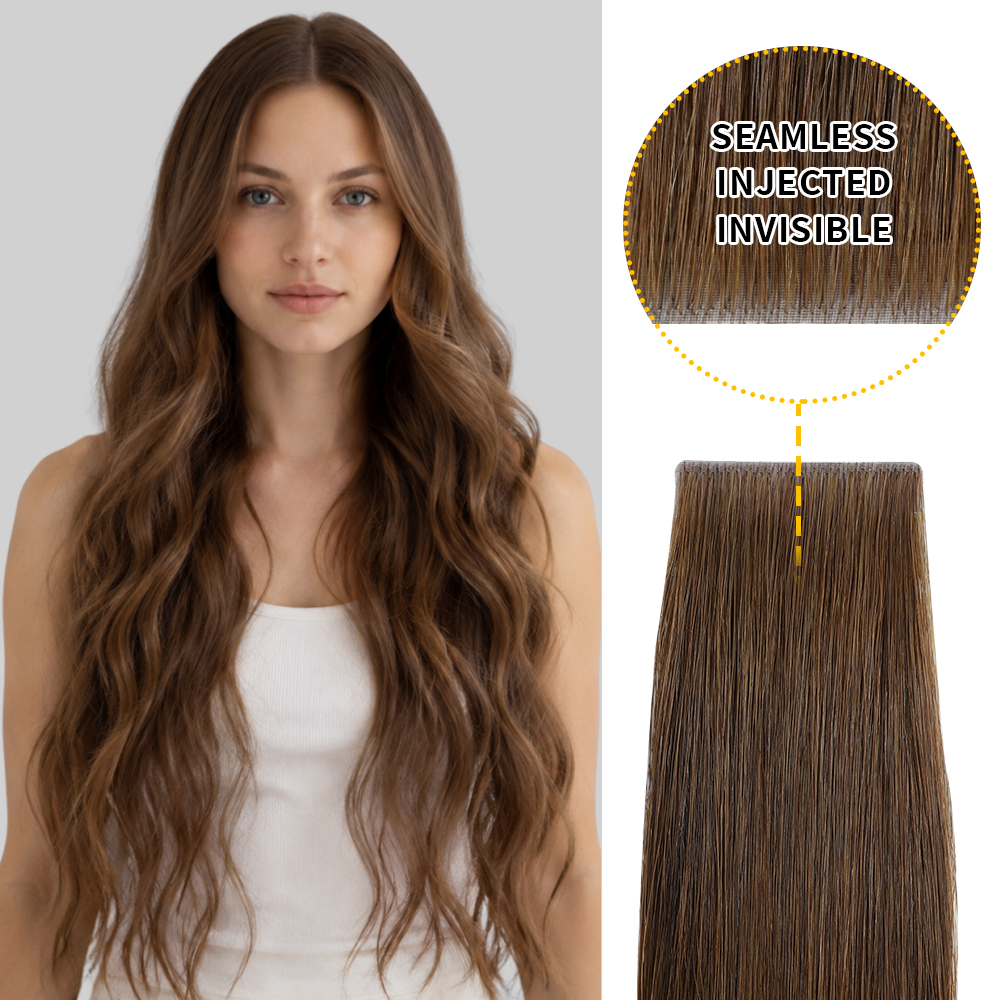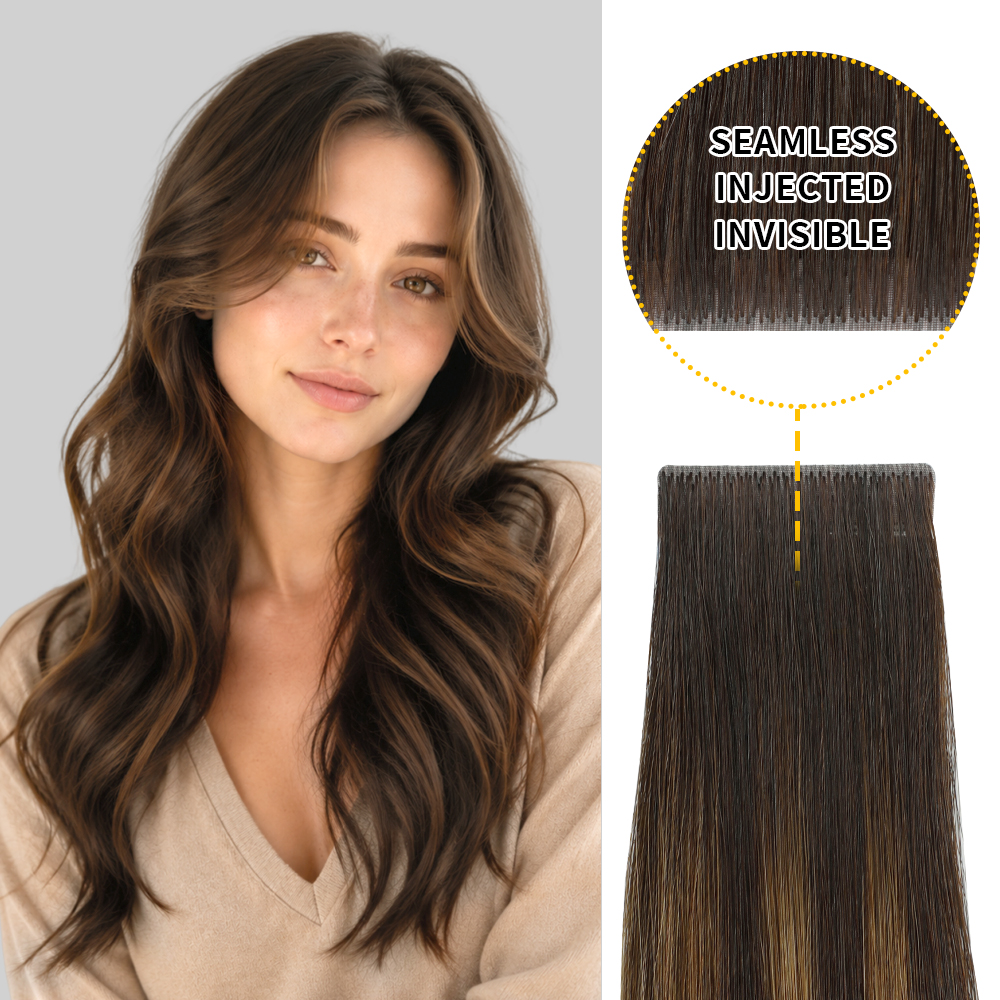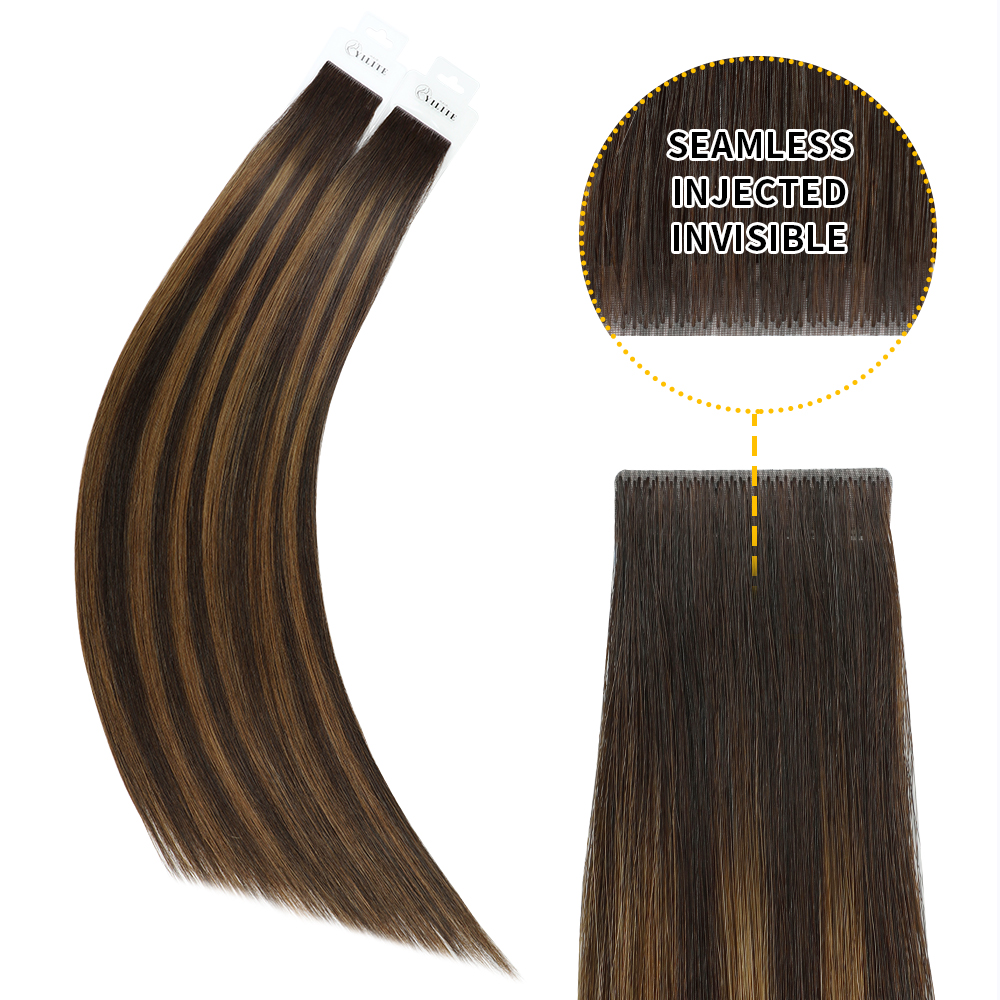
Invisible tape in hair extensions are a popular choice for adding length and volume while maintaining a natural-looking finish. With proper installation and care, tape-in extensions can be worn for several weeks before they need to be removed and reapplied.
However, removing tape-in extensions requires just as much care as installing them. Pulling the extensions apart before the adhesive has loosened can cause tangling, breakage, and unnecessary tension on your natural hair.
If you're wondering how to remove tape in hair extensions at home, this step-by-step guide explains the tools you need, how to loosen the adhesive, how to remove the extensions gently, and how to care for your hair afterward.
Although some people choose to remove tape-in extensions themselves, professional removal is recommended if you're inexperienced, have fragile hair, or encounter stubborn adhesive.
The safest way to remove tape-in hair extensions is to apply a remover specifically designed for tape-in adhesive, allow enough time for the bond to loosen, and gently separate the extension tabs without pulling on your natural hair. If the tabs resist separation, apply more remover as directed and wait longer. Never force them apart.
Get to know tape in hair extensions
There are different types of tape-in hair extensions, including traditional tape-ins, invisible tape-in extensions, and invisible tape weft hair extensions.
They all use adhesive tape to attach extension hair to sections of natural hair. Invisible tape-in extensions use a specialized base designed to create a flatter, more discreet appearance, while traditional tape-ins may have a different tab construction.
Regardless of the type, the removal principle is the same: the adhesive must be properly loosened before the extension is separated from the natural hair.
The exact removal process may vary depending on the adhesive and extension system, so always follow the instructions supplied with your extensions and remover.
How to remove tape in extensions at home?
Before removing your tape-in hair extensions, prepare the following tools:
-
A remover specifically designed for tape-in hair extension adhesive, such as a suitable tape-in hair extension remover
-
A pin-tail comb for sectioning
-
Hair clips to hold the surrounding hair out of the way
-
A suitable extension brush or wide-tooth comb
-
A towel to protect your clothing and keep the work area clean
-
Good lighting and a mirror
Allow enough time to work slowly through each attachment. Trying to remove every piece quickly can increase the risk of pulling or tangling your natural hair.
Before you start, read the remover's instructions, including how to apply it, how long to leave it on, and whether the product requires particular precautions. If you cannot identify the adhesive or determine which remover is compatible with it, consult a professional stylist.
Remove tape in hair extensions step-by-step
Step 1: Section Your Hair
Use hair clips to divide your hair into manageable sections. Start with a lower section where the tape tabs are easy to see, and secure the remaining hair out of the way.
Work with one tape attachment at a time instead of trying to remove several pieces together.
Make sure you can clearly see the attachment area before applying remover. Good visibility helps you distinguish the extension hair from your natural hair and reduces the risk of accidentally pulling your own strands.
Step 2: Identify the Tape Attachment
Before applying remover, locate the entire tape attachment and identify where the two adhesive tabs meet.
Gently separate the surrounding natural hair with your fingers or a pin-tail comb. Check whether any natural strands are caught between the tabs or tangled around the adhesive.
Do not pull trapped hair out of the adhesive. If your natural hair is stuck to the tape, you need to loosen the bond before attempting to separate the strands.
Pay particular attention to areas where the hair is tangled, where the tape has shifted, or where several strands appear caught together. If the attachment is difficult to see or your hair is tightly matted around it, stop and seek professional help rather than forcing the section apart.
Step 3: Apply Tape In Hair Extension Remover
Apply the tape-in hair extension remover to the adhesive area according to the product instructions.
Make sure the remover reaches the bond between the tape tabs as directed by the manufacturer. Allow it to work for the recommended amount of time so the adhesive can loosen.
Do not rush this step. The amount of time required depends on the adhesive and the remover being used.
Avoid substituting household products such as rubbing alcohol, oils, or other solvents without confirming that they are compatible with the adhesive and extension system. An unsuitable product may irritate the scalp, affect the extension hair, or fail to loosen the bond properly.
If your remover requires additional application time, follow its directions rather than trying to speed up the process by pulling.
Step 4: Gently Separate the Tape Extensions
Once the adhesive has loosened, gently test whether the tape tabs can separate with minimal resistance.
Use your fingers to carefully open the tabs and release the extension from your natural hair. Keep the movement controlled and avoid pulling downward on the extension or tugging at the roots.
If the adhesive remains firmly attached, stop and apply more remover according to its instructions. Allow additional time before testing the bond again.
Never force the tabs apart or use a comb to pry stubborn adhesive away from your hair. If the extension will not release easily after repeated attempts, professional removal is the safer option.
Step 5: Repeat the Removal Process
Continue working through your hair one attachment at a time. Make sure each extension has been released before moving on to the next section.
After removing each piece, set it aside carefully if you intend to reuse it. Avoid pulling sticky tabs through loose hair, as this can spread adhesive residue and create additional tangles.
Once all the extensions have been removed, check your hair for remaining adhesive and tangles before brushing through it.
You may notice some loose hairs after removing tape-in extensions. Natural hair sheds as part of its normal growth cycle, and hairs that have already shed may remain caught around the attachment area until the extensions are removed.
However, significant breakage, persistent scalp pain, or unusual hair loss should not automatically be considered normal. If you notice these symptoms, stop handling the affected area and seek advice from a qualified professional.
How to Remove Tape Residue from Your Hair
Removing the extensions does not always mean all the adhesive has disappeared. Some sticky residue may remain on your natural hair or on the tape tabs.
Here's how to handle it carefully:
- Identify the remaining residue. Check the hair near each former attachment point before brushing.
- Use a compatible remover. Apply an adhesive-removal product suitable for the tape system, following its instructions.
- Work gently through the hair. Once the residue has loosened, separate the strands carefully with your fingers or a suitable comb.
- Avoid aggressive brushing. Sticky hair can catch on a brush, increasing the risk of breakage.
- Cleanse as directed. After the residue has been removed, wash your hair according to the remover's instructions to remove remaining product.
If residue remains stubbornly attached, do not scrape it off with your fingernails or pull it out with a comb. Repeat the recommended removal process if the product instructions allow it, or ask a professional stylist for help.
For a more general explanation of adhesive removal, see our related guide: How to Dissolve Hair Extension Glue.
How to Care for Your Hair After Removing Tape-In Extensions
Once your tape-in extensions are removed, give your natural hair some gentle attention before deciding whether to reinstall another set.
1. Wash Away Remaining Product
Cleanse your hair as directed by the remover manufacturer. Make sure any remaining remover and adhesive residue are dealt with before applying other products.
2. Detangle Gently
Start at the ends and work upward with an appropriate brush or wide-tooth comb. If you encounter a knot, separate it carefully rather than pulling through it.
3. Condition the Hair
Apply conditioner to the mid-lengths and ends to help improve softness and manageability. Choose products appropriate for your hair's condition.
4. Check Your Scalp and Hair
Look for areas of irritation, breakage, or unusual thinning. If your scalp feels painful or irritated, or you notice significant hair loss, seek professional advice before reinstalling extensions.
5. Decide When to Reinstall
There is no single waiting period that suits everyone. The right timing depends on your natural hair's condition, scalp comfort, and the extension method you plan to use next.
A professional stylist can help determine whether your hair is ready for another installation.
For more information about avoiding damage to natural hair, read our guide to the least damaging hair extensions.
Should You Remove Tape-In Extensions Yourself?
DIY removal may be possible for some tape-in systems, but it is not always the best choice.
Consider professional removal if:
-
You have never removed tape-in extensions before.
-
You cannot identify the adhesive or the correct remover.
-
The tape tabs will not separate easily.
-
Your natural hair is tangled around the attachment points.
-
Your hair is fragile, heavily processed, or already breaking.
-
You experience scalp pain, irritation, or unusual hair loss.
Professional removal is particularly helpful when multiple attachments are difficult to access or when you want to reuse the extension hair.
The most important rule is simple: if an extension does not release easily, do not pull harder.
Watch the Video: How to Remove Tape-In Hair Extensions
Watch the video below for a visual demonstration of tape-in hair extension removal.
As you follow the demonstration, pay attention to how the remover is applied and how the tabs are separated only after the adhesive has loosened. Do not copy a technique that conflicts with the instructions for your own extension system or remover.
FAQs About Removing Tape-In Hair Extensions
1. Can I remove tape-in hair extensions at home?
Some tape-in extensions can be removed at home using a compatible tape extension remover and the correct technique. However, DIY removal is not suitable for everyone.
If you are inexperienced, have fragile hair, or encounter stubborn adhesive, professional removal is recommended.
2. What is the safest way to remove tape-in hair extensions?
Use a remover designed for the specific tape adhesive, allow the bond to loosen as directed, and separate the tabs gently without pulling on your natural hair. If the bond remains difficult to remove, stop and seek professional assistance.
3. How long does it take to remove tape-in extensions?
The time required depends on the number of attachments, how securely the adhesive is bonded, the condition of your hair, and your experience with removal.
Do not rush the process to meet a particular time limit. Allow enough time for each attachment to loosen properly.
4. How do I remove sticky tape residue from my hair?
Use a remover compatible with the adhesive and follow its instructions. Once the residue has loosened, gently separate the hair and cleanse it as directed.
Avoid pulling, scraping, or aggressively brushing sticky strands.
5. Will my hair fall out after removing tape-in extensions?
Some loose hairs may become noticeable during removal because naturally shed hairs can remain trapped around the attachment points while extensions are worn.
However, significant breakage, persistent pain, or unusual hair loss should not be dismissed as normal. If these occur, seek professional advice.
6. Can I reuse tape-in extensions after removing them?
Reuse depends on the condition of the extension hair, the attachment base, and the manufacturer's instructions. The old adhesive generally needs to be removed and replaced with compatible replacement tape before reinstallation.
If the extension hair is severely tangled, damaged, or shedding excessively, it may not be suitable for reuse.
7. Can I use oil to remove tape-in extensions?
Do not assume that oil is suitable for every tape-in adhesive. Different adhesive systems may require different removal products.
Use a remover compatible with your extension system and follow its instructions. If you are unsure which product is appropriate, consult a professional stylist.
8. Should I wash my hair immediately after removing tape-in extensions?
You may need to wash your hair to remove leftover remover and adhesive residue, but the correct timing and method depend on the product used.
Follow the remover's instructions and cleanse gently. Avoid aggressive scrubbing or detangling while residue remains in the hair.
In Short
Learning how to remove tape in hair extensions safely starts with using the right remover and allowing enough time for the adhesive to loosen.
Work through each attachment carefully, separate the tabs without pulling, and remove any remaining residue before detangling and washing your hair.
Although some tape-in systems can be removed at home, professional assistance is the better choice when the adhesive will not release, your hair is tangled, or you are concerned about damage.
If you plan to reuse your extensions, check the condition of both the hair and the attachment base before reinstalling them. Gentle removal and appropriate aftercare can help protect your natural hair and keep reusable extensions in better condition.
Have you removed tape-in extensions at home? Let us know and welcome to share your experience and tips with other readers.