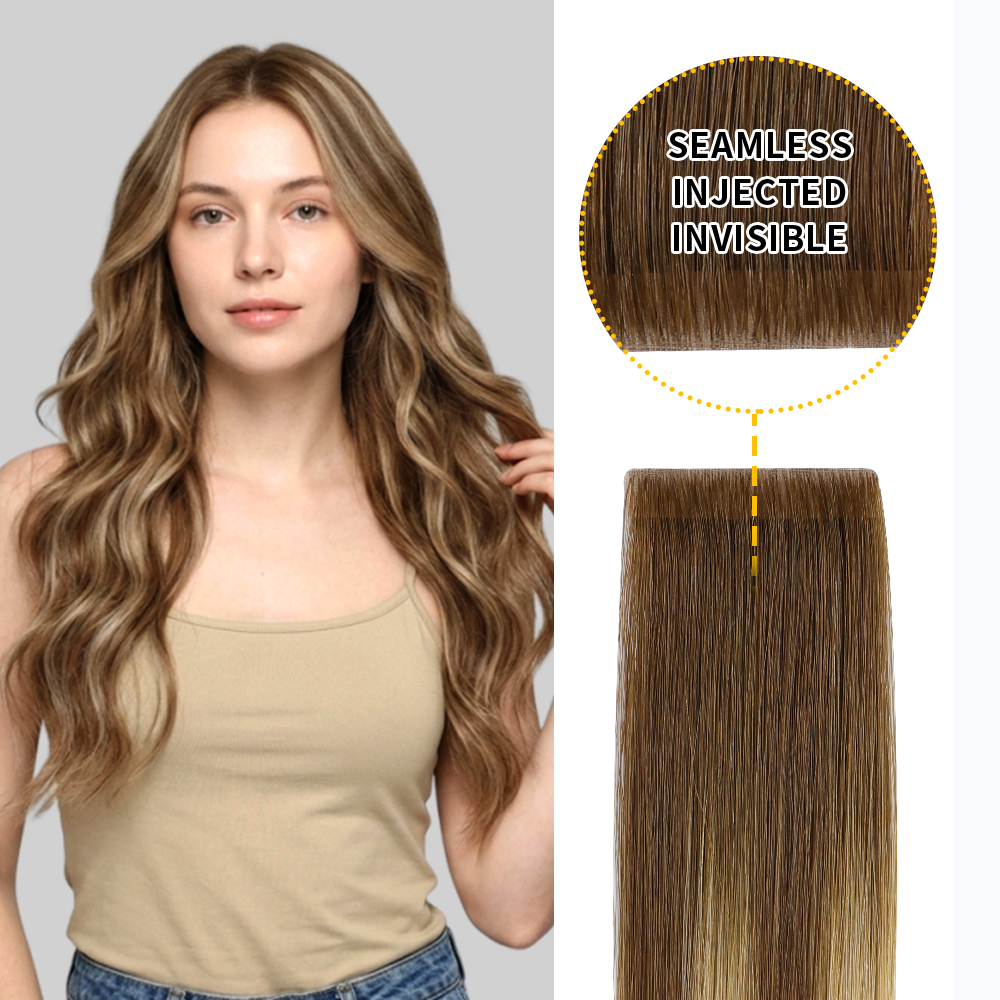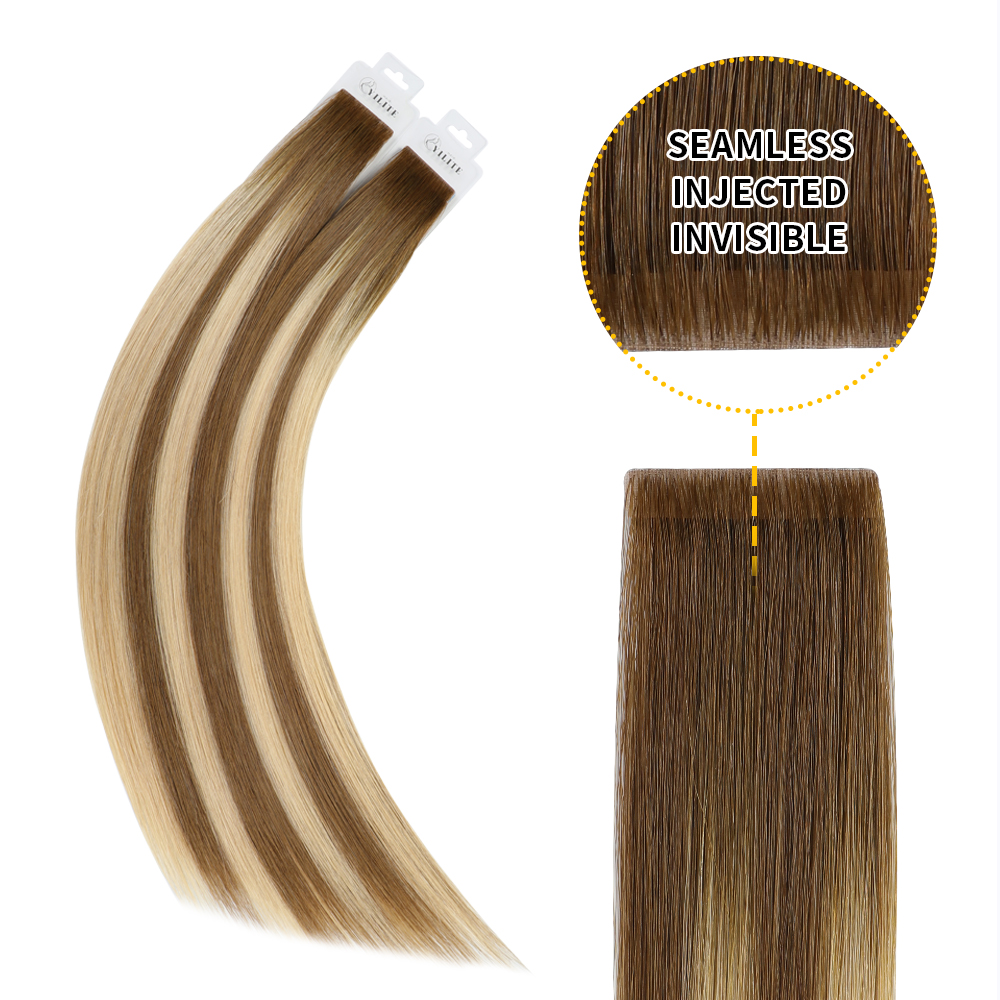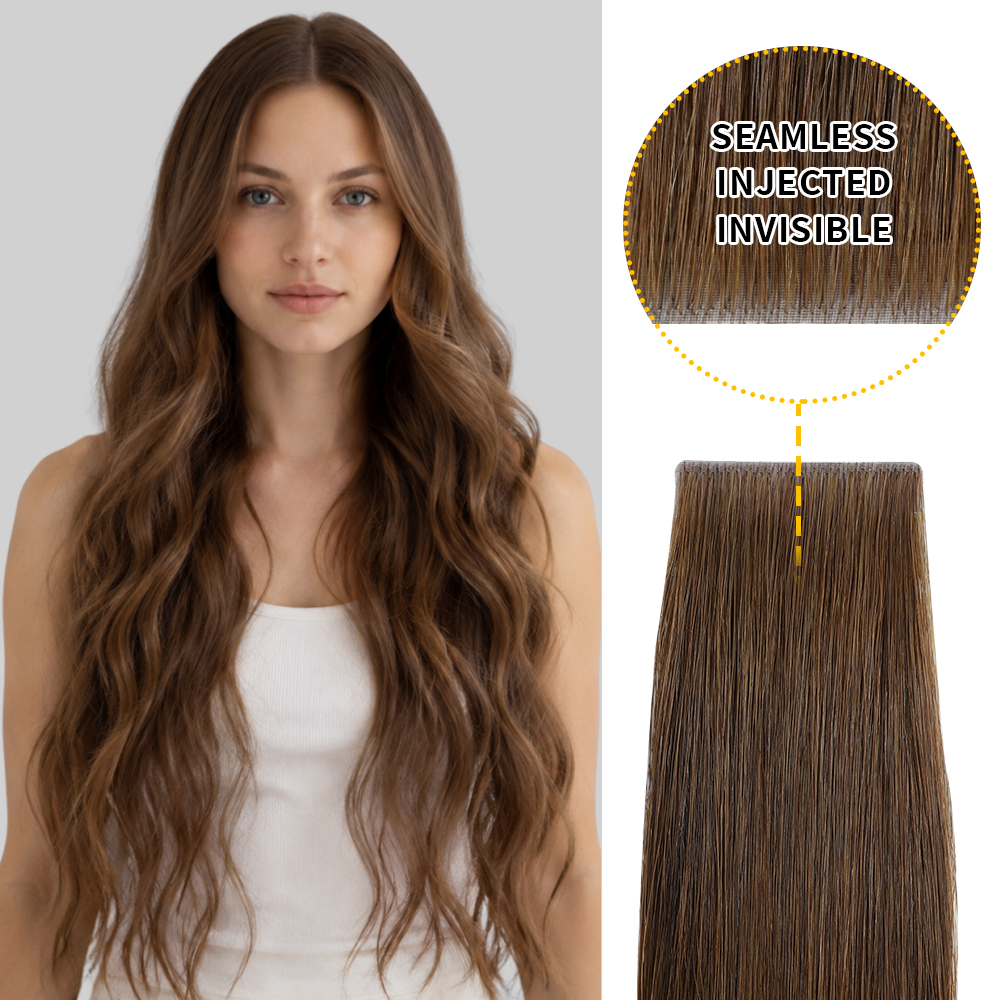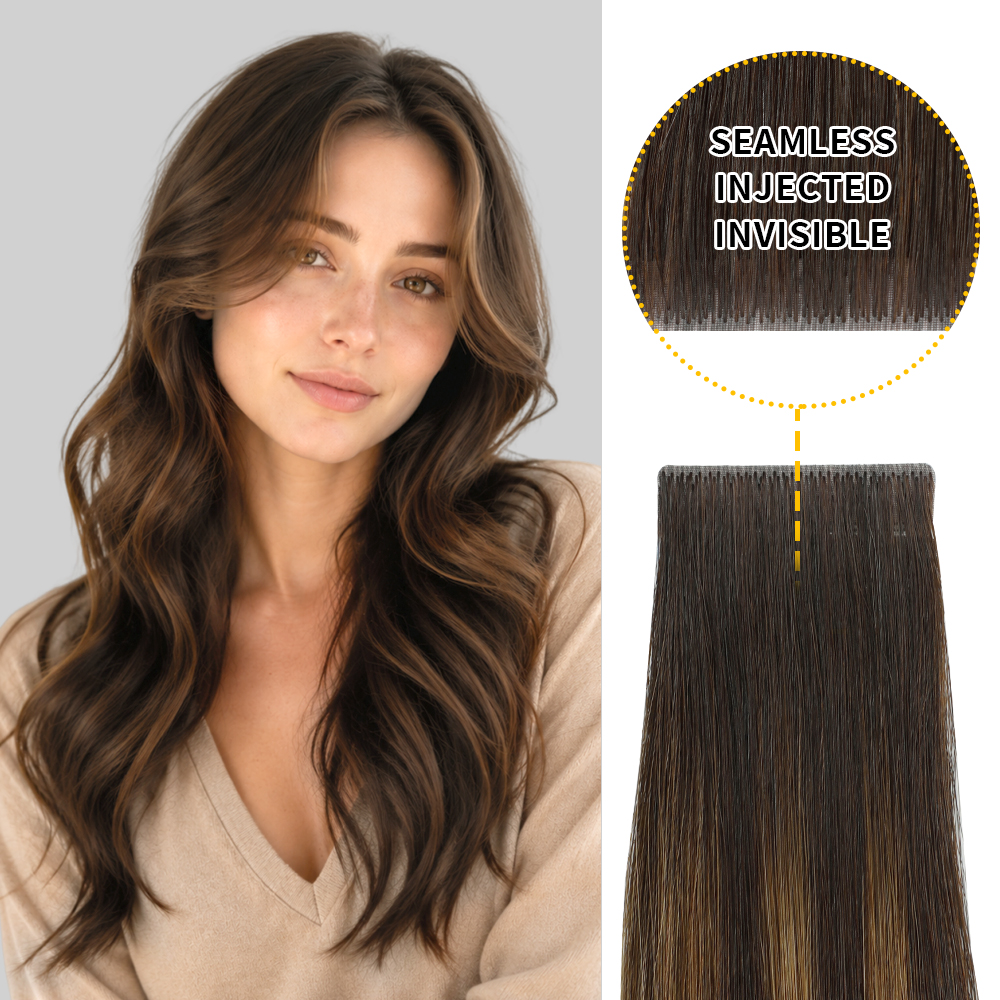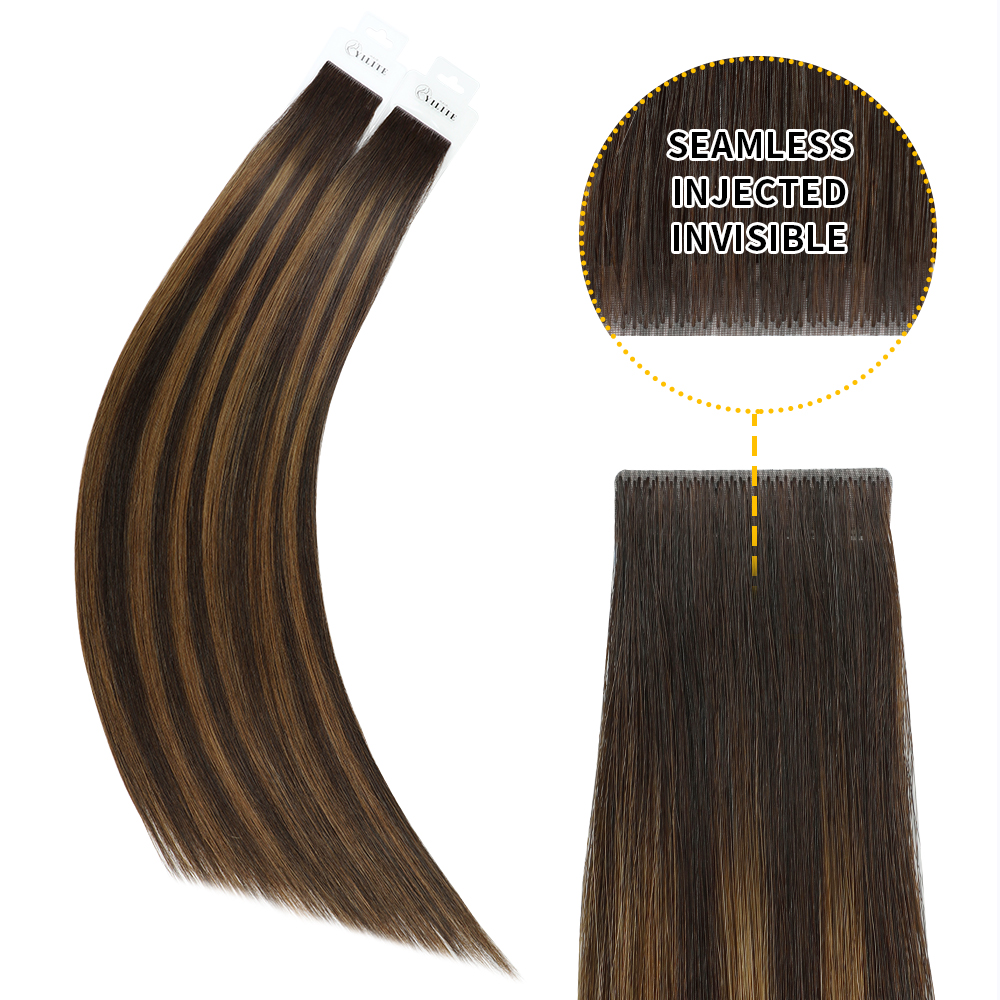
Butterfly weft hair extensions have quickly become a favorite in professional salons because they combine comfort, flexibility, and reliable structure. For stylists, they offer more control during installation; for clients, they feel lighter on the scalp and blend naturally with their hair.
This guide walks you through how to install butterfly wefts properly step-by-step and covers key tips, precautions, and best practices to ensure safe, long-lasting results.
What Makes Butterfly Wefts Unique?
Butterfly wefts aren’t just another weft type—they’re carefully engineered for performance and safety. The wefts feature a flexible, perforated seam with small, evenly spaced holes. During installation, sections of natural hair are gently pulled through these openings and secured with micro-beads. This allows:
- Even distribution of hair weight across the scalp
- Less tension on fragile strands
- A flatter, more natural finish compared with traditional machine-tied wefts
Additionally, the wefts can be cut anywhere along the seam without unraveling, giving stylists complete control over placement, density, and blending, especially around delicate areas like the hairline and temples. For fine or thin hair, this is a game-changer.
For a deeper dive into why butterfly wefts are preferred for thin hair, check out our guide on why butterfly wefts are ideal for thin hair.
Tools and Preparation
Before starting, ensure you have the right tools. Preparation is key: it’s not just about extensions—it’s about maintaining healthy hair.
Essential tools include:
Butterfly wefts of chosen length
Micro-beads
Bead applicator or loop tool
Sectioning clips
Tail comb
Extension-safe brush
Stylist prep tips:
Assess hair density, texture, and scalp sensitivity.
Shampoo and thoroughly detangle hair—extensions adhere best to clean hair.
Section hair into layers for organized and precise placement.
Plan how many wefts you’ll need based on desired volume and natural hair strength.
Step-by-Step Installation
Step 1: Start at the Nape
Create a clean horizontal section at the nape and clip the rest of the hair upward. This establishes a stable foundation.
Step 2: Insert Micro-Beads
Take small sections of natural hair and gently pull them through the perforations in the weft. Secure each with a micro-bead, ensuring it’s snug but not tight. Overly tight beads are one of the most common causes of breakage.
Pro Tip: Always check bead tension by gently tugging. It should feel secure yet comfortable.
Step 3: Layer Upwards
Move upwards, repeating bead placement for each row. Adjust weft placement according to hair density and the client’s desired volume. For clients with fine hair, use lighter density wefts and maintain consistent spacing to avoid overloading fragile strands.
Step 4: Cut and Customize
Butterfly wefts allow precise customization. Cut only what’s necessary to blend seamlessly with natural hair. Avoid stacking too many wefts in one area, which can create tension and discomfort.
Step 5: Style and Finish
Once installed, gently brush and style. Apply heat protectant if using hot tools, and check for natural movement and even blending. Educate the client on proper maintenance to ensure long-term hair health.
Common Mistakes Stylists Make
Even experienced stylists occasionally run into issues:
Excessive tension: Can cause hair breakage or traction alopecia.
Skipping move-ups: Extensions should be repositioned every 6–8 weeks.
Wrong bead placement: Avoid fragile hairlines and temples.
Overloading hair: Match weft density to the client’s natural hair strength.
For guidance on how long extensions last and proper maintenance, see our guide on how long butterfly wefts last.
Aftercare Tips for Clients
Proper home care is just as important as installation:
- Brush gently with an extension-safe brush, starting at the ends
- Shampoo roots only; condition mid-length to ends
- Avoid heavy oils near beads
- Sleep with hair braided or on a silk pillowcase
- Follow scheduled move-ups to prevent tension and slippage
Stylist Insight: Protecting Natural Hair
Professional stylists don’t judge a weft by its design alone. They focus on the entire system:
- Matching weft density to hair strength
- Even spacing between rows
- Adjusting bead tension for comfort
- Avoiding fragile areas like temples or hairline
- Consistent move-up schedule
When these principles are followed, breakage and thinning are rare, and clients often see healthier hair over time.
Final Thoughts
Butterfly wefts, when installed properly, provide a balance of comfort, flexibility, and durability. Stylists benefit from easier, faster installation and customization, while clients enjoy natural-looking, lightweight results that protect hair health.
For a full overview of safety and hair health with butterfly wefts, check out our guide on will butterfly wefts damage your hair.
Quick FAQs
Q: Can butterfly wefts damage my natural hair?
A: When installed correctly and maintained regularly, butterfly wefts are one of the safest weft options available.
Q: Can they be cut?
A: Yes. They can be customized without unraveling, allowing precise placement and density control.
Q: Are butterfly wefts suitable for fine hair?
A: Absolutely. Their lightweight, flat-seam design minimizes tension and protects fragile strands.
Q: Who should avoid them?
A: Clients with bald patches, active medical hair loss, or those unable to commit to move-ups should consider alternatives like hair patches or toppers.