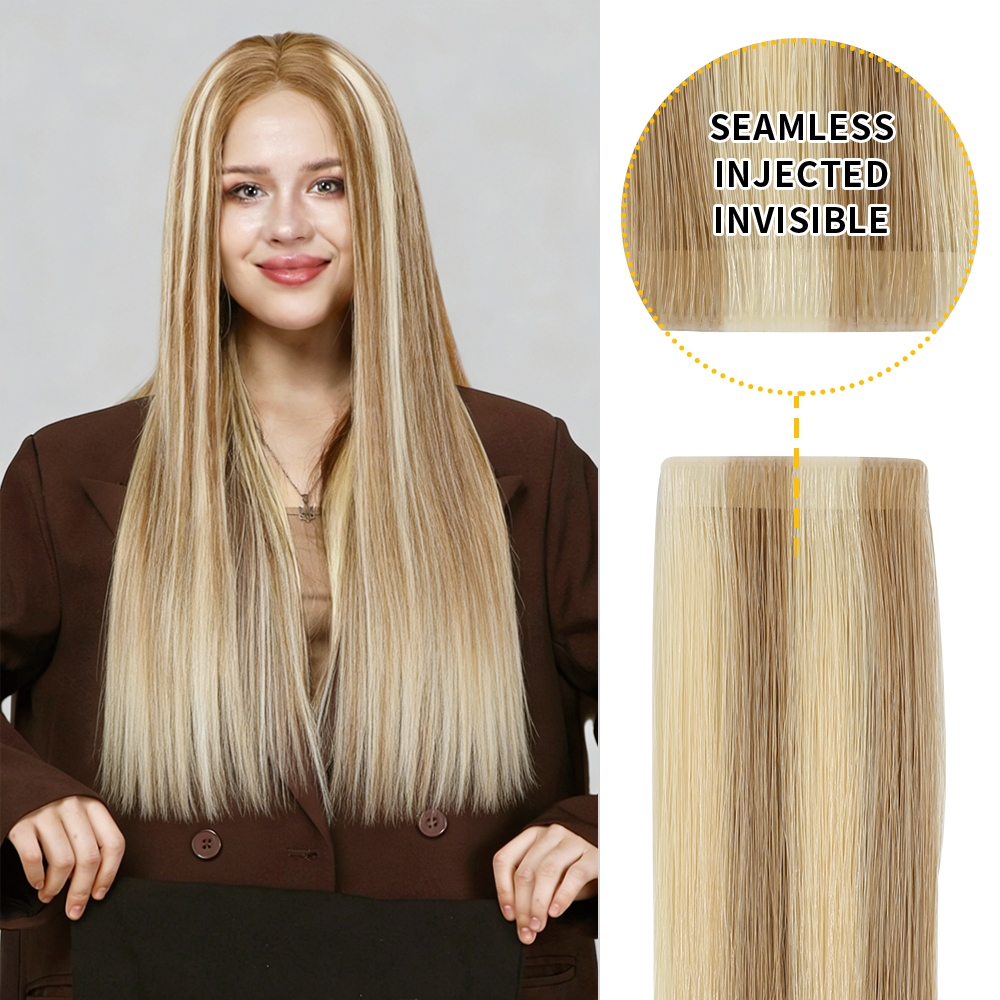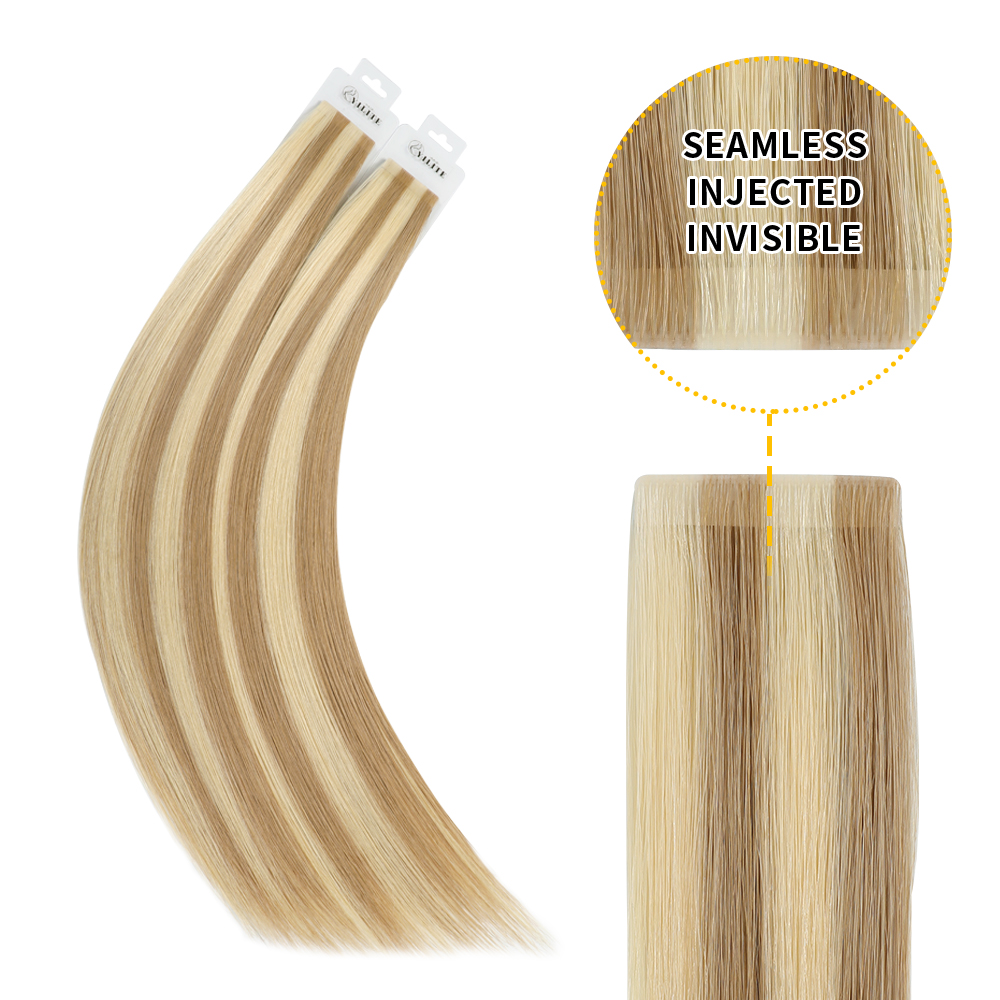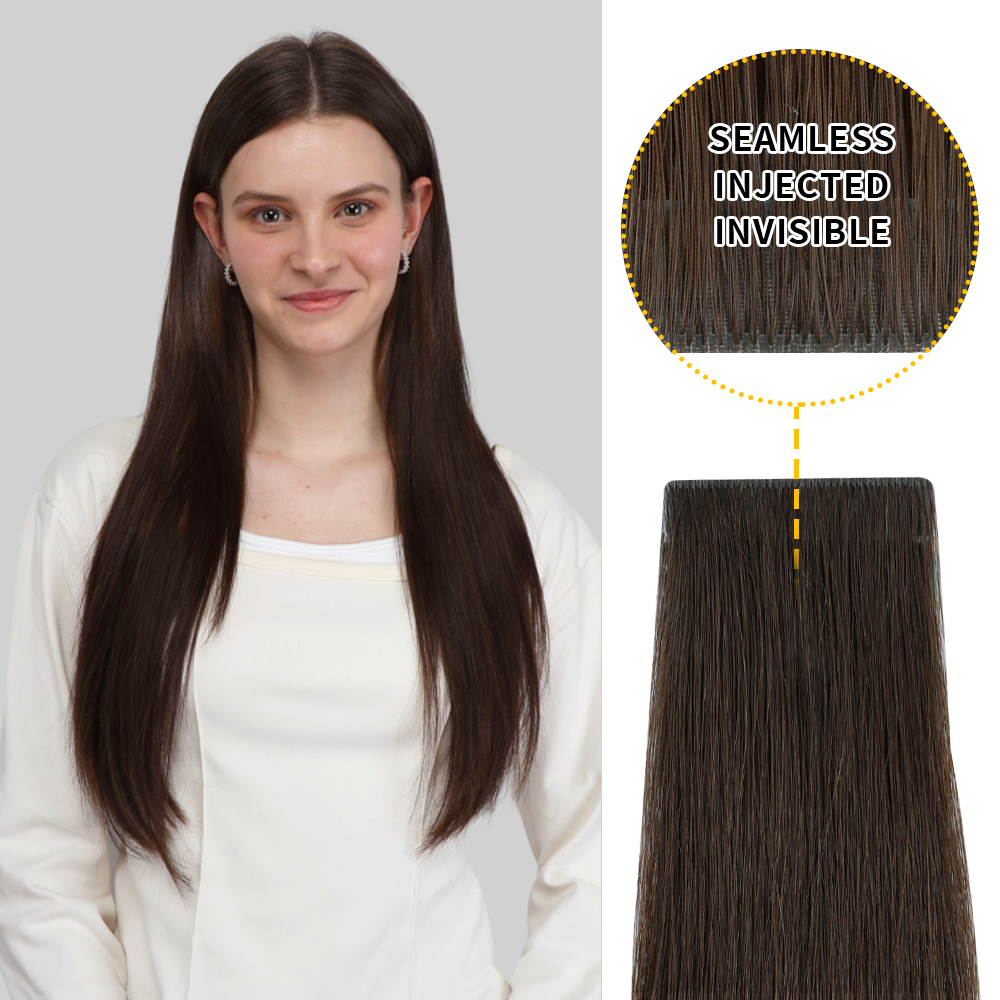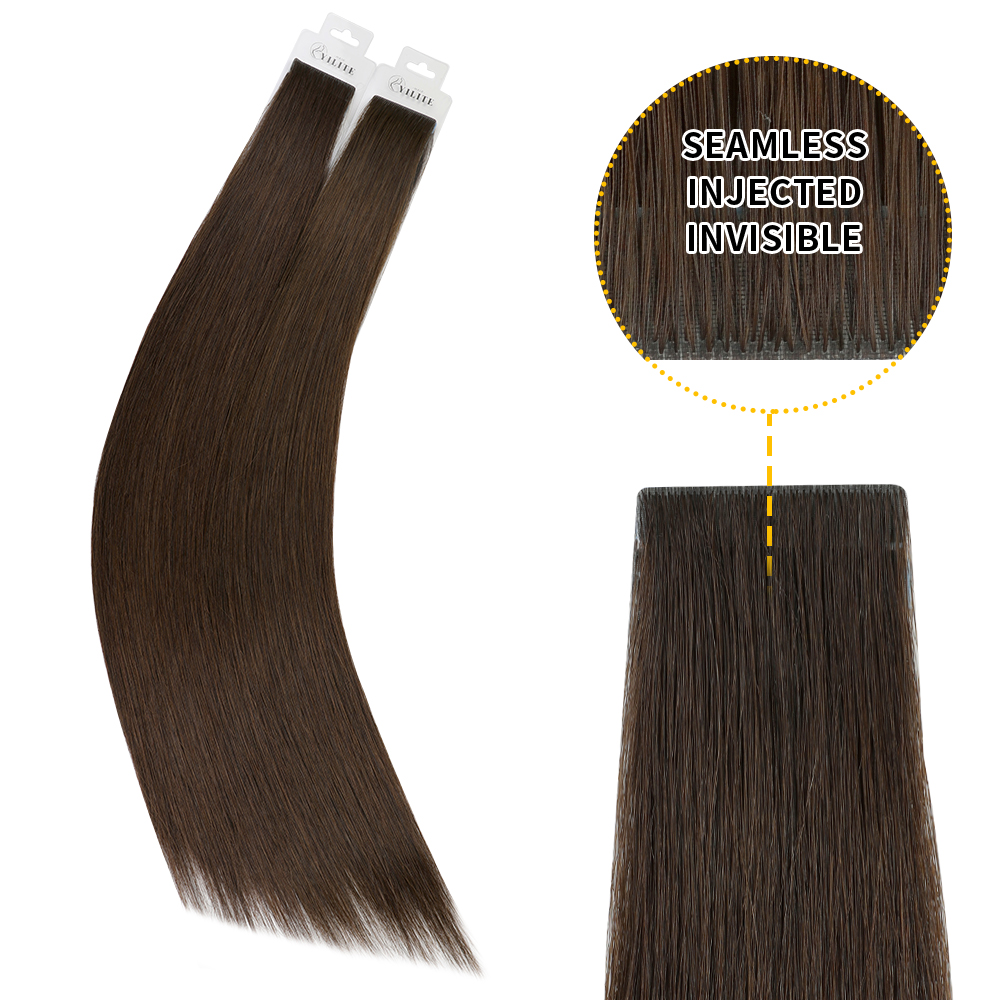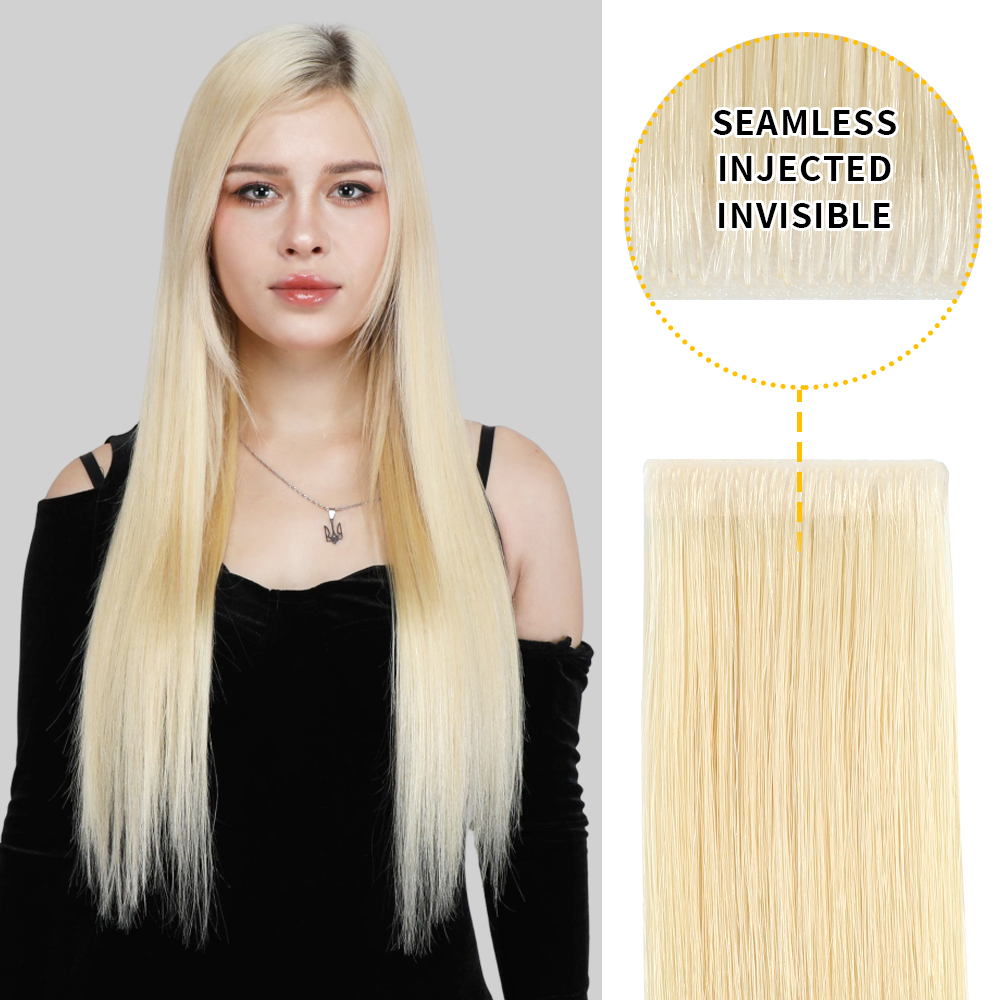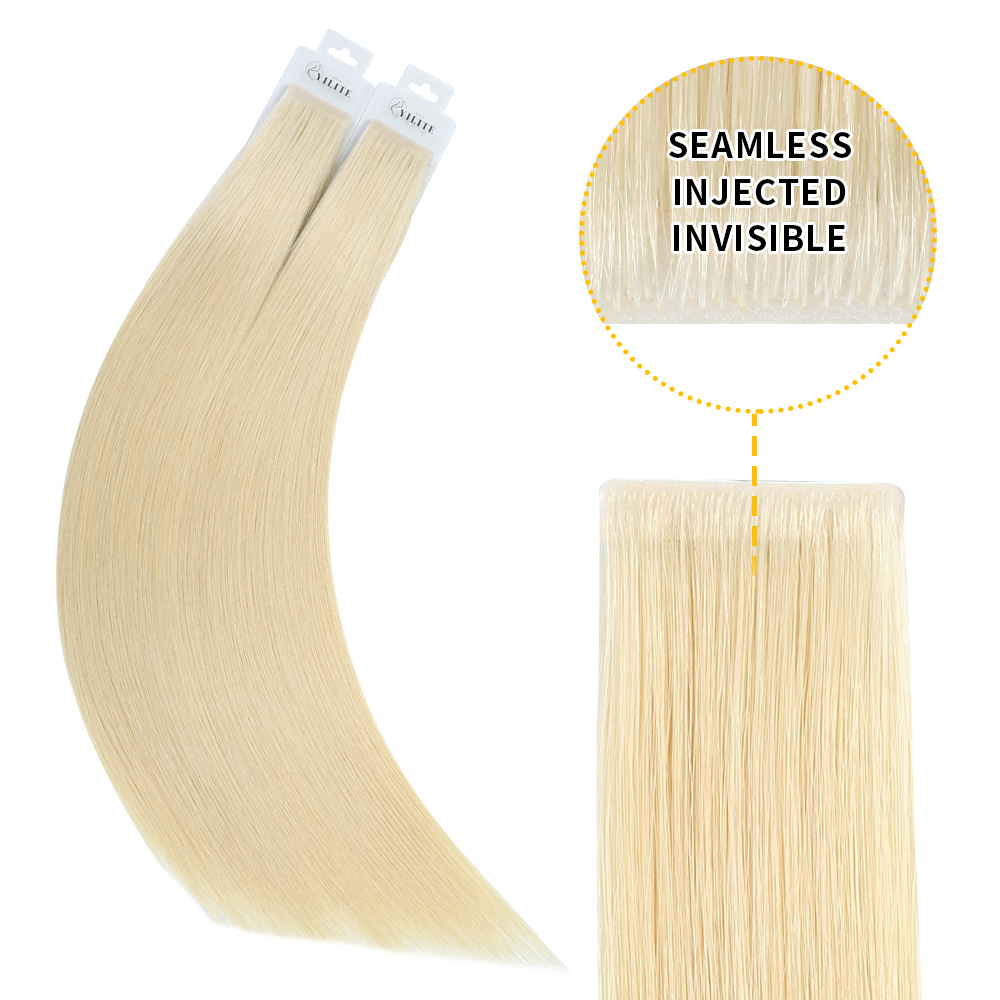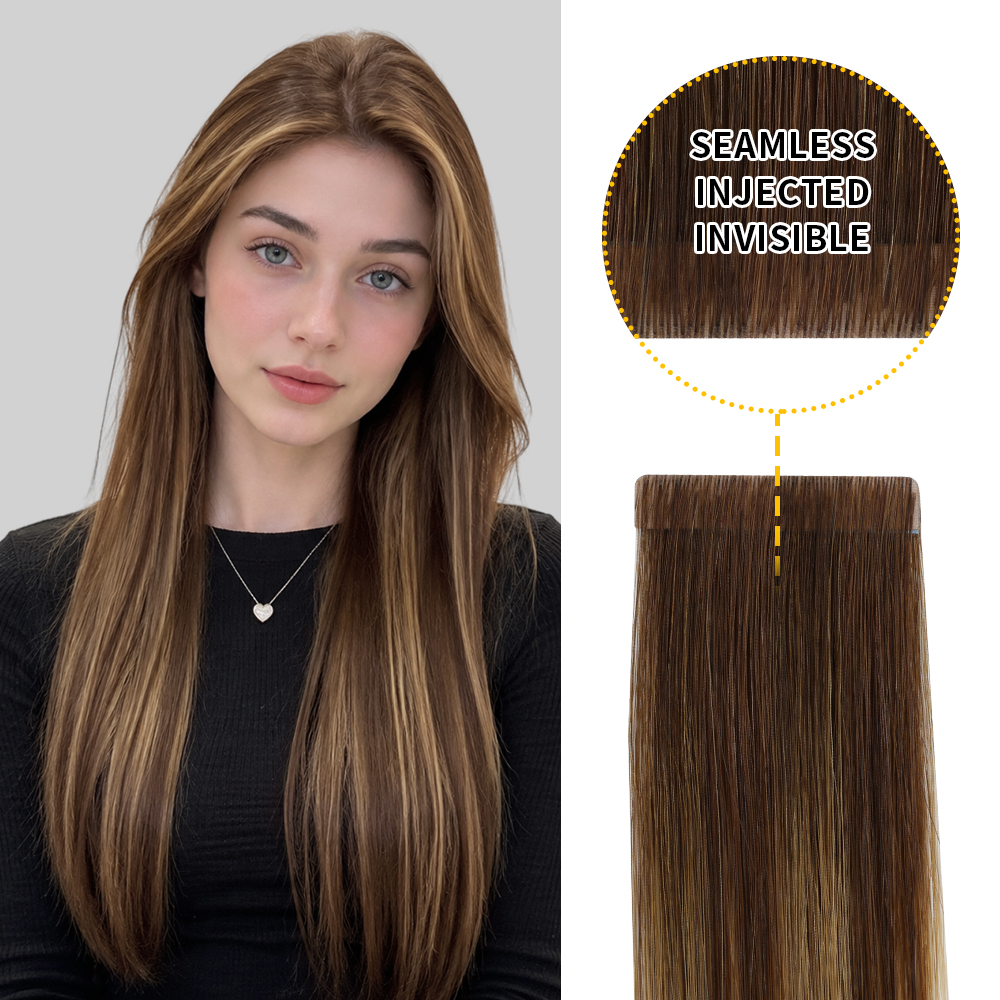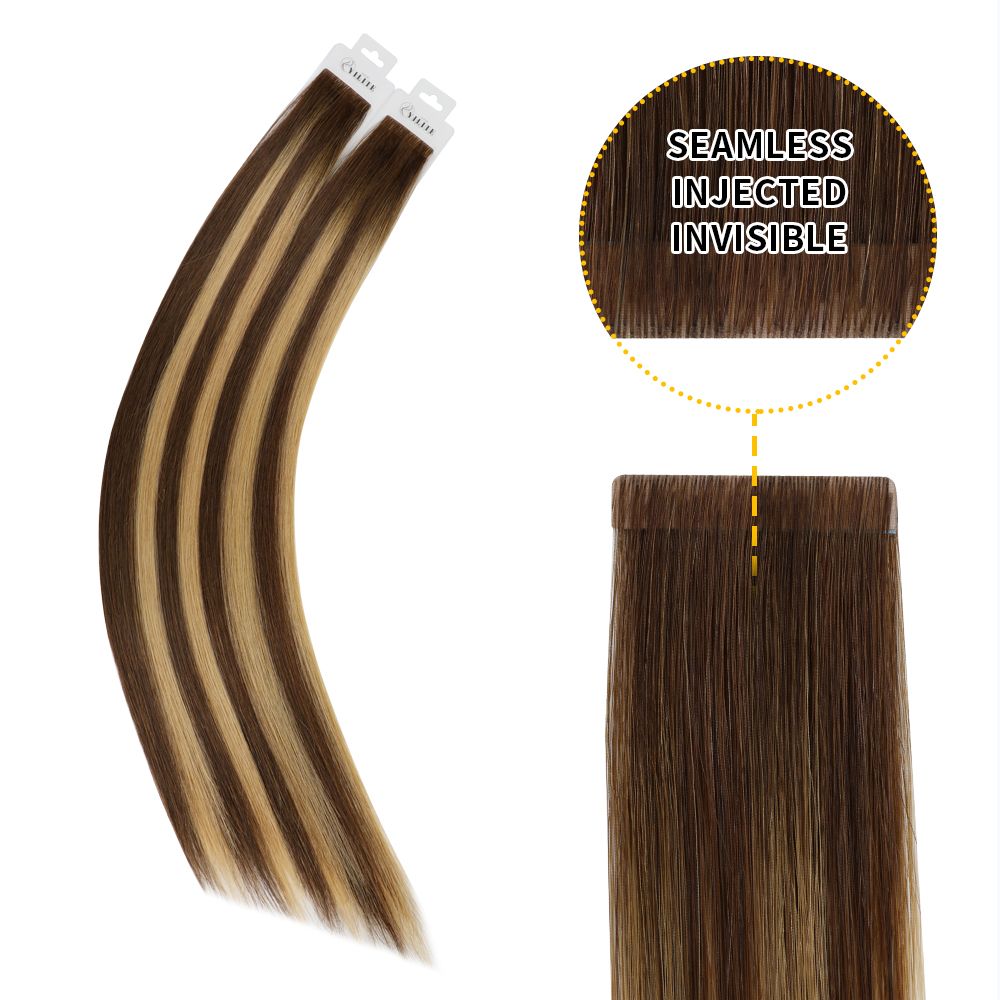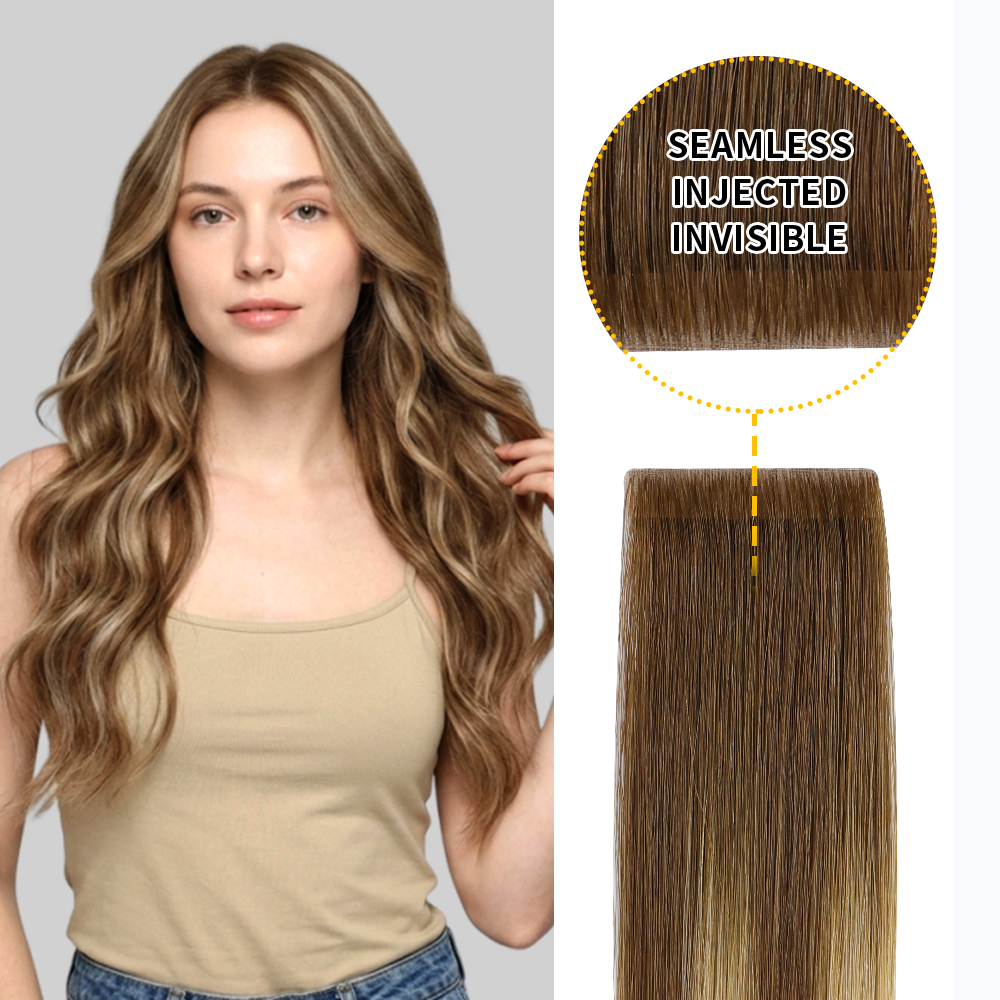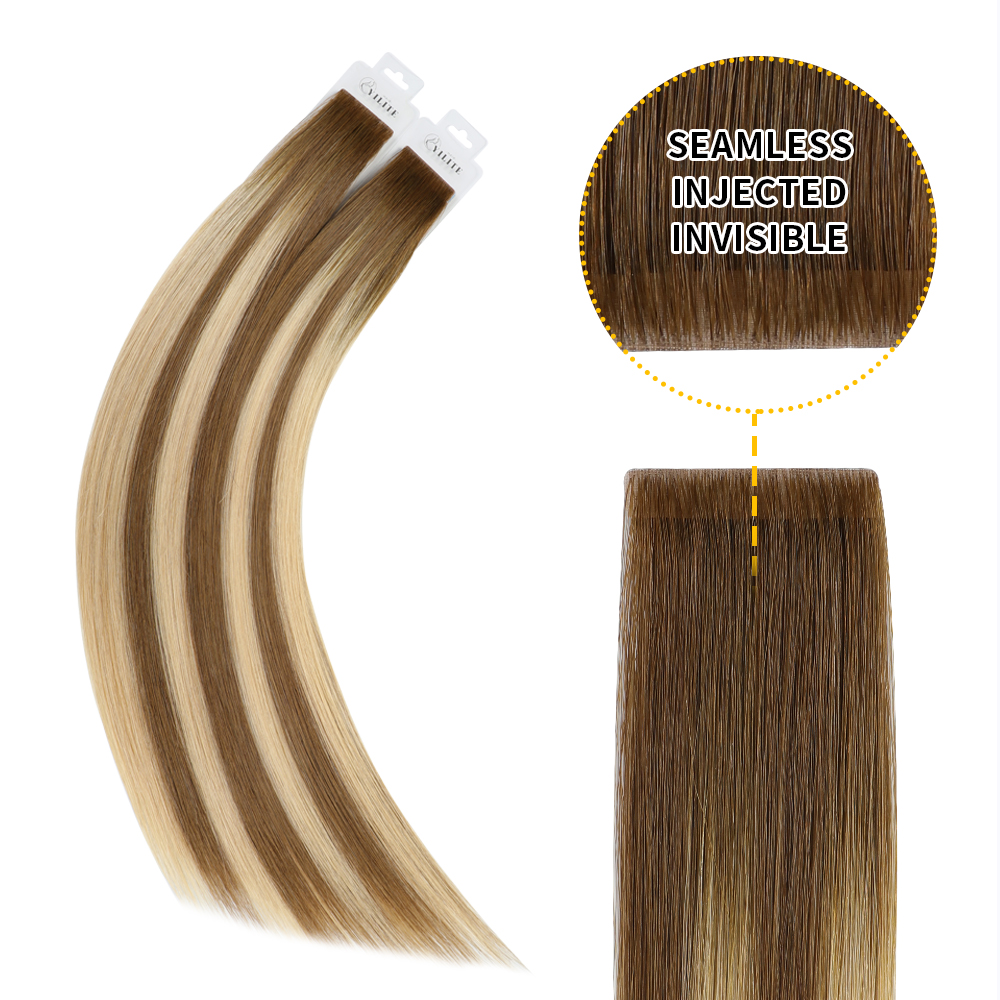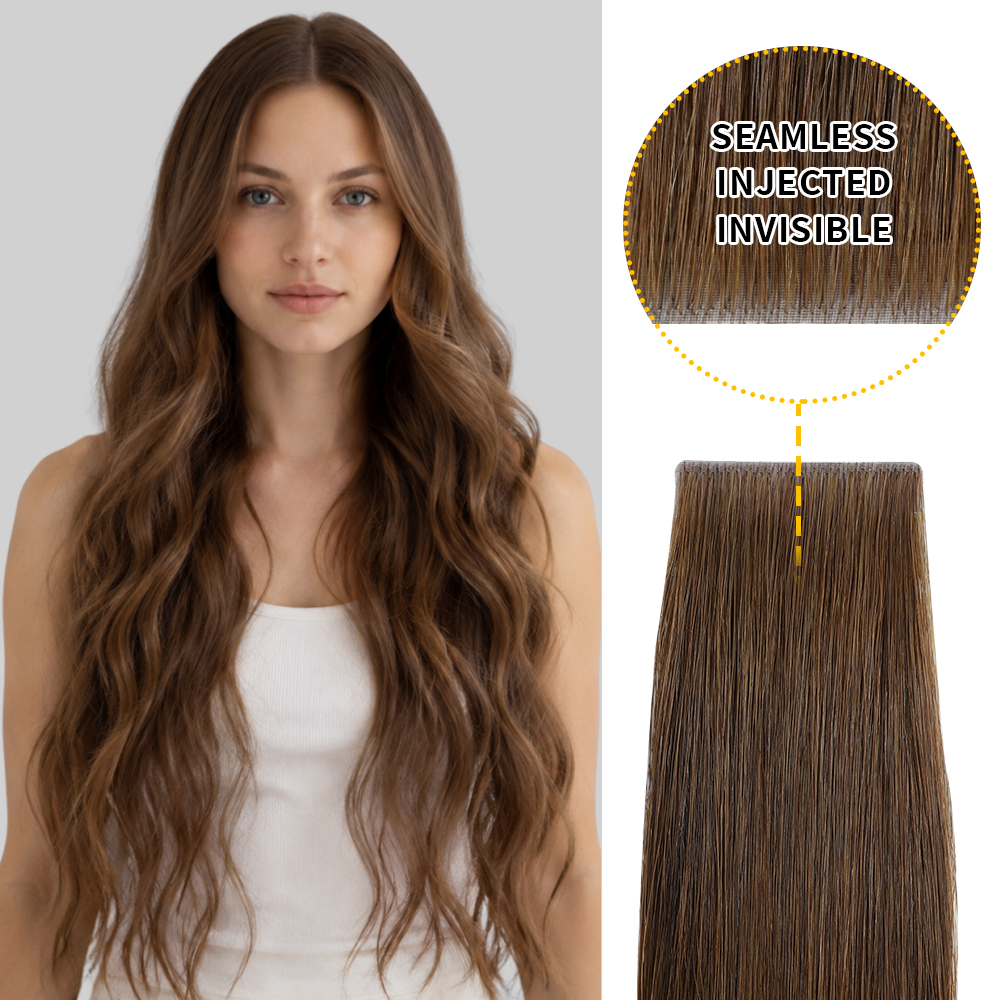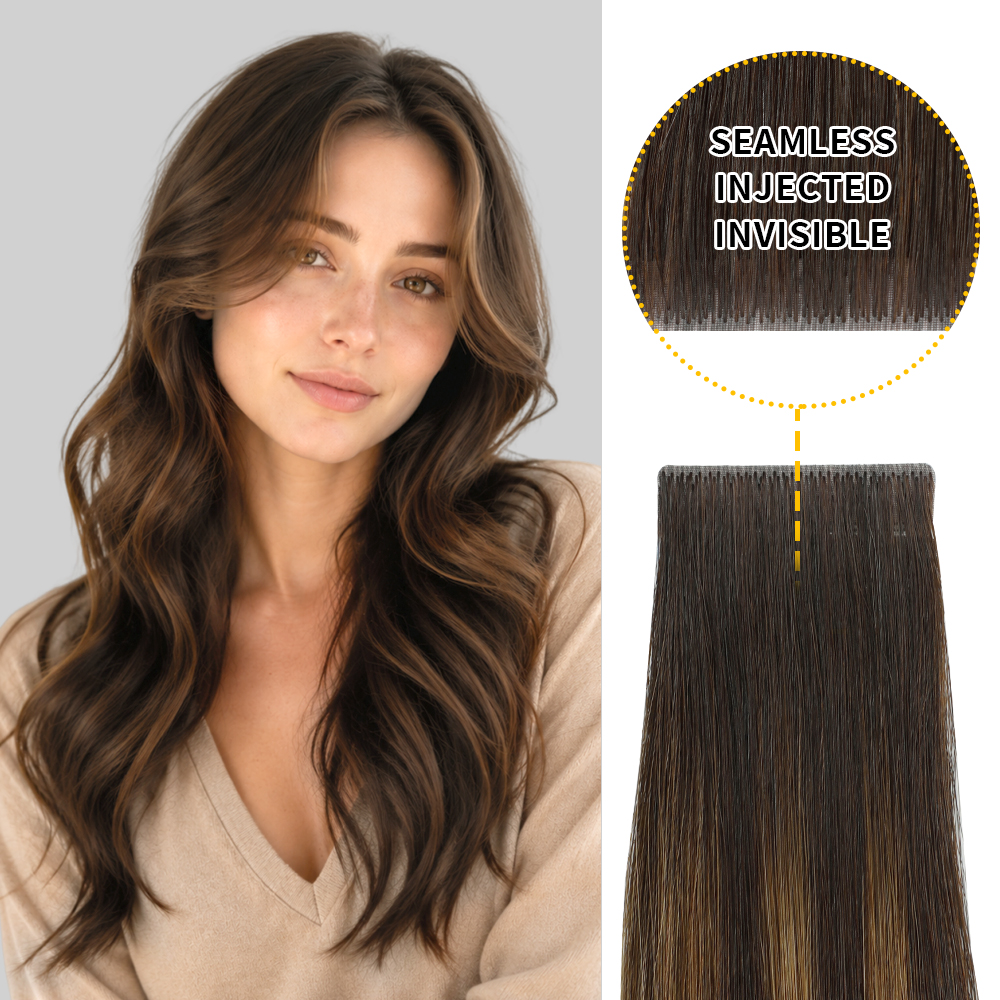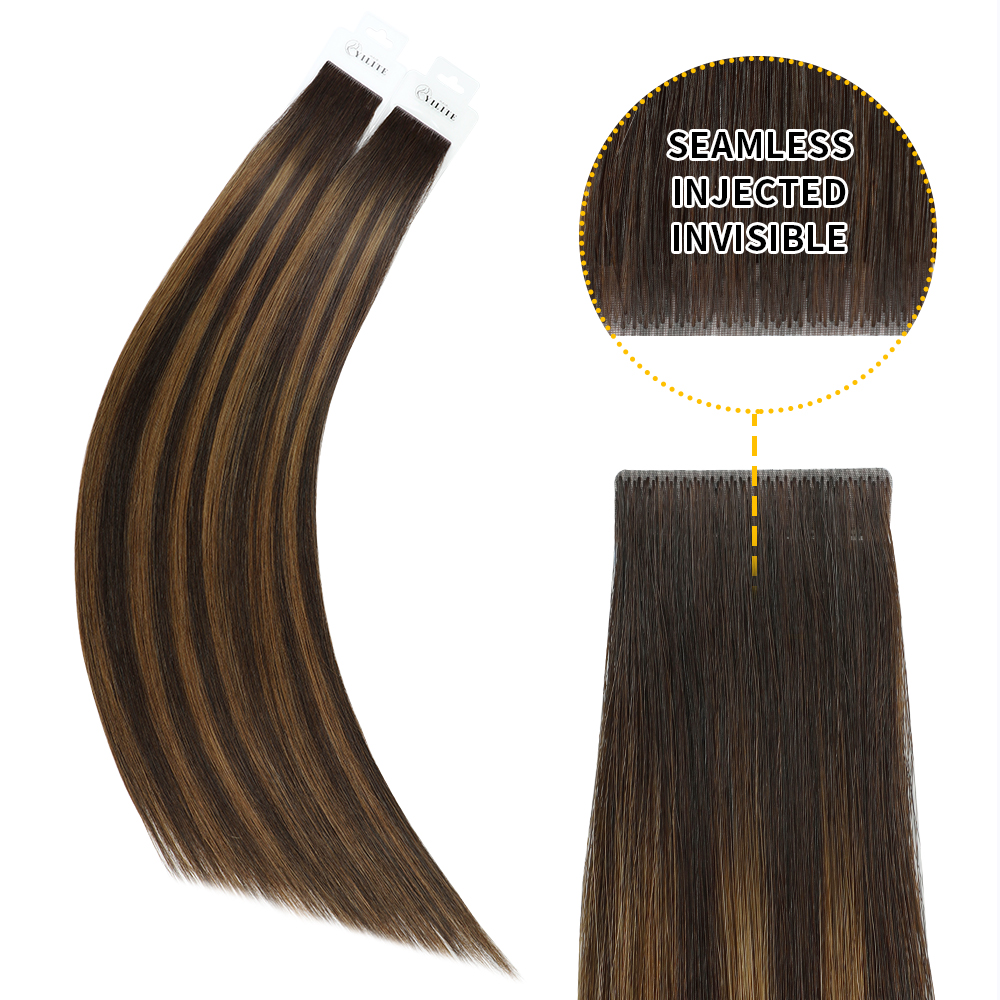
There are many reasons to love tape-in hair extensions! They are a popular way to add length and volume while maintaining a flat, discreet finish.
If you're wondering how to put in tape-in hair extensions, the simple process involves creating clean sections, positioning the adhesive wefts correctly, and securing small sections of natural hair between the tape tabs.
Learning how to apply tape-in hair extensions requires attention to detail, especially when it comes to section size, adhesive contact, and placement. Although tape-ins may look simple to install, professional application is recommended, particularly for beginners. Incorrect placement or poor bonding can lead to slipping, tangling, discomfort, or unnecessary tension on your natural hair. But if you’re a DIY hair extensions fanatic, you might want to try applying tape in hair extensions by yourself.
In this step-by-step guide, we'll explain how to install tape-in hair extensions, what tools you need, and how to achieve a natural-looking result.
Quick Answer
To put in tape-in hair extensions, start with clean, dry, detangled hair and create a neat horizontal section. Position one tape-in weft beneath a suitable section of natural hair, then place the matching weft on the opposite side to sandwich the hair between the adhesive tabs. Continue in horizontal rows, leaving enough natural hair to conceal the attachments.
For beginners, professional installation is recommended to help ensure correct placement and reduce the risk of hair damage.
Illustrated Tutorial on Installing Tape-In Hair Extensions
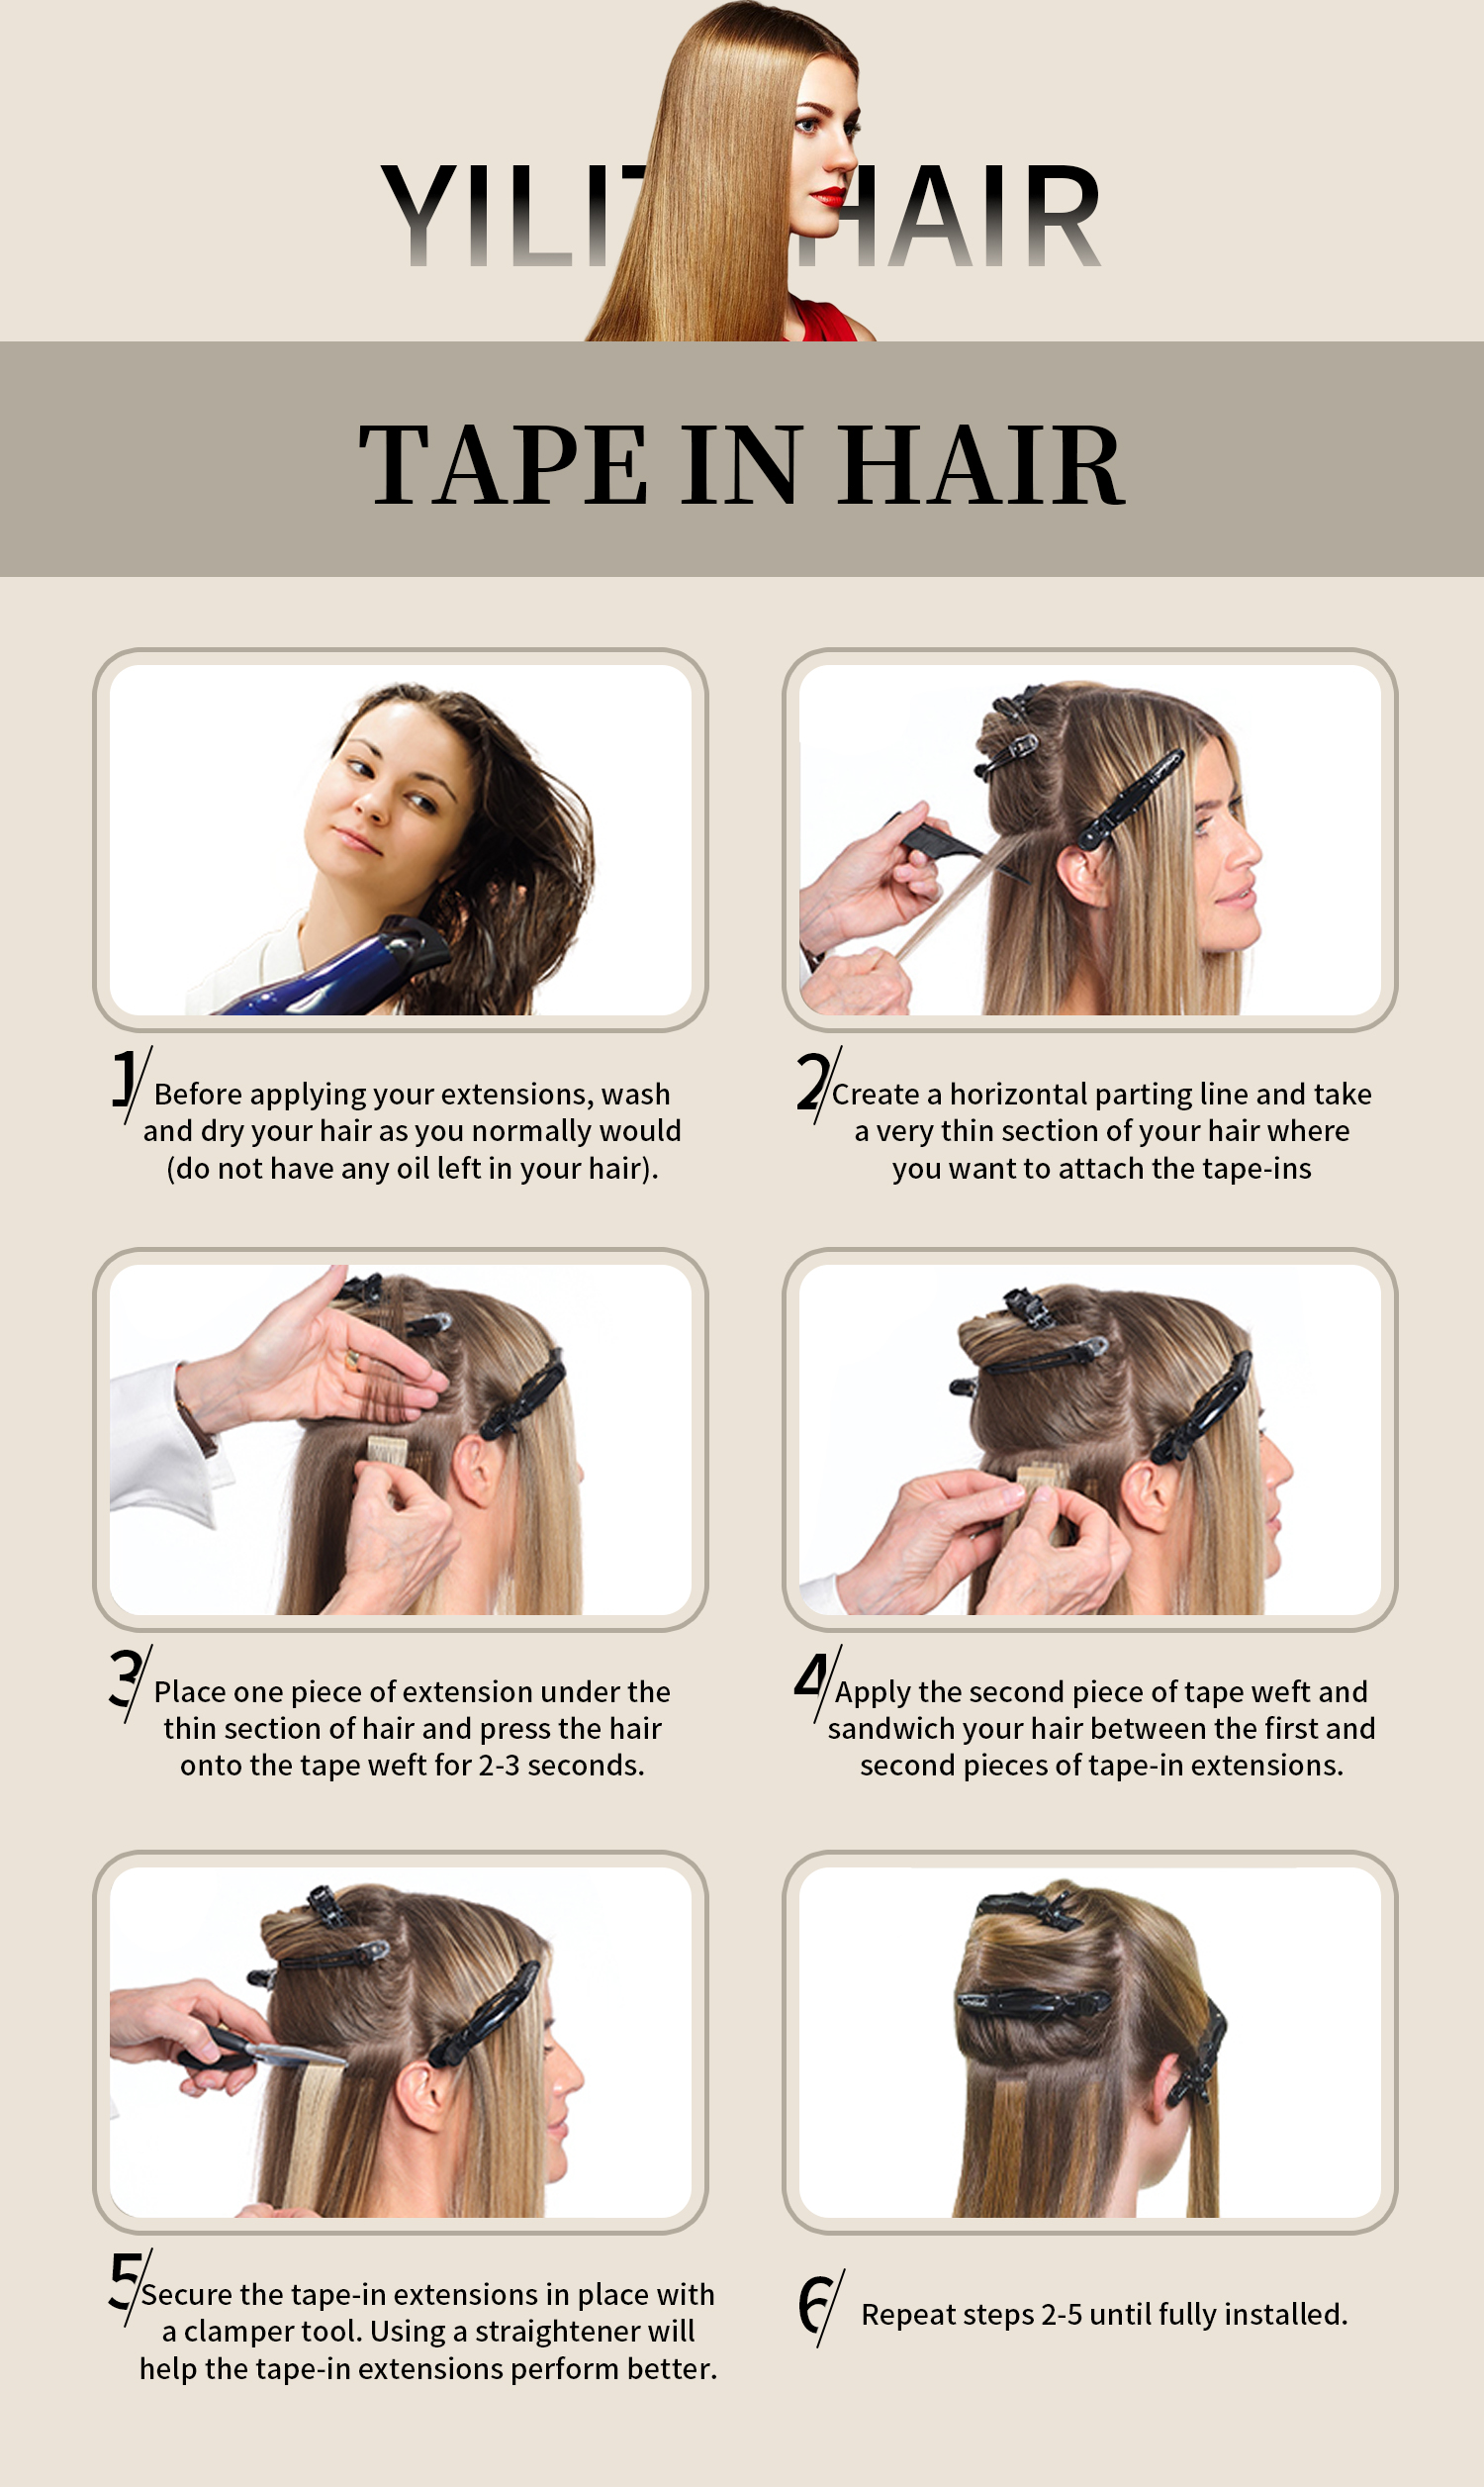
Visual demonstrations can make it easier to understand how to create clean sections, position the wefts, and sandwich the natural hair between the adhesive tabs. You can also learn how to install other types of hair extensions.
What You Need to Apply Tape-In Hair Extensions
Before you begin, gather the following supplies to make the tape-in hair extension application process more organized:
-
Tape-ins: Choose a shade, length, texture, and weight that complement your natural hair.
-
Tail comb: Helps create clean, even sections.
-
Sectioning clips: Hold the rest of your hair out of the way while you work.
-
Tape-in extension applicator (optional): May help with positioning, depending on the tool and installation method.
-
Mirror: Helps you check the placement and overall result.
Choosing the Right Tape-In Hair Extensions
The right extensions should complement your natural hair in color, texture, length, and density. The amount of hair you add should also be appropriate for the condition of your natural hair.
If you prefer a flatter, more discreet attachment, consider YILITE Invisible Tape-In Hair Extensions. Their low-profile design is intended to create a discreet finish when the extensions are installed correctly and covered by enough natural hair.
Keep in mind that no extension type is completely invisible on every head of hair. Your natural hair density, haircut, parting, and installation technique all affect how well the attachment points are concealed.
How to Put In Tape-In Hair Extensions Step by Step
Before You Begin: Prepare Your Hair
Start with clean, completely dry, detangled hair. Avoid applying oils, conditioners, leave-in products, or styling products near the roots and bonding area if they could interfere with adhesion.
Do not begin installation if your scalp is irritated or your natural hair is significantly damaged or breaking. In these situations, consult a qualified stylist before adding extensions.
Step 1: Gather Your Tools and Prepare Your Hair
Once your hair is ready, organize your tape-in extensions and installation tools within easy reach.
Gently brush your natural hair to remove tangles. Lay out the extension wefts so you can select the appropriate pieces as you work.
Before starting, check that the extension color matches your natural hair in natural light. A close color match helps create a more seamless result after installation.
Pro tip: Keep a mirror nearby so you can inspect the back and sides of your head throughout the process.
Step 2: Section Your Hair
Use a tail comb to create a clean horizontal part near the nape of your neck. Clip the hair above the part out of the way so the lower section is easy to access.
The section should be wide enough for the extension weft you plan to apply. Keep the parting neat and avoid leaving loose strands from neighboring sections mixed into the bonding area.
Continue creating horizontal sections as you work upward toward the crown.
Why this matters: Clean sectioning helps the extensions lie flat, distributes their weight more evenly, and makes it easier to conceal the attachment points beneath your natural hair.
Step 3: Choose the Right Amount of Natural Hair
Before removing the adhesive backing, select a small, even section of natural hair for the extension.
The section must be suitable for the specific tape-in system. If too much natural hair is trapped between the adhesive tabs, the bond may not hold as intended. If too little hair supports the extension, the attachment may feel uncomfortable or place unnecessary tension on a few strands.
Follow the manufacturer's instructions for the appropriate section size and amount of hair.
Pro tip: If you're unsure whether a section is suitable, ask an experienced stylist to demonstrate the correct technique before attempting a full installation.
Step 4: Position the First Tape-In Weft
Take one tape-in extension and position it beneath the selected section of natural hair, following the manufacturer's recommended placement.
Keep the adhesive away from direct contact with the scalp. The extension should sit close enough to the roots for a discreet finish, but it should not pull tightly against the scalp or cause discomfort.
Before exposing the adhesive, double-check that:
-
The weft is straight and aligned with the part.
-
The selected hair section is even.
-
No unwanted strands from neighboring sections are caught in the attachment.
-
The placement allows comfortable movement and maintenance.
Once the position is correct, remove the protective backing according to the product instructions.
Step 5: Sandwich the Hair Between Two Tape-In Wefts
Place the selected section of natural hair onto the exposed adhesive surface. Then position the second tape-in extension on the opposite side, aligning the two adhesive tabs so the natural hair is sandwiched between them.
Press the tabs together using the method and pressure recommended by the manufacturer.
The two pieces should align evenly, with no unnecessary hair caught between the adhesive surfaces. Avoid touching the adhesive with your fingers or allowing oil, conditioner, or other residue to contaminate it.
Important: The natural hair should not be pulled tightly between the two tabs. If the section is uneven or the placement feels uncomfortable, reassess it before proceeding. If a bond is misplaced, follow the manufacturer's correction or removal instructions rather than pulling the extensions apart.
Step 6: Repeat the Application in Horizontal Rows
Continue applying the extensions section by section, gradually working upward from the nape toward the crown.
For a balanced result:
-
Follow consistent horizontal partings.
-
Distribute the extensions according to your natural hair density and desired coverage.
-
Leave enough natural hair around the sides and upper layers to conceal the attachment points.
-
Avoid placing extensions where they may be exposed by your normal parting or hairstyle.
-
Keep the amount of added hair appropriate for the natural hair supporting each attachment.
You may not need to use every piece in a set. The goal is to create a balanced blend, not to install as many extensions as possible.
If you're installing tape-in extensions for the first time, professional assistance is recommended to help you determine suitable placement, section size, and weight distribution.
Step 7: Check the Installation and Blend Your Hair
Once the installation is complete, gently check the extensions without pulling on the bonds.
Look for uneven rows, exposed tabs, overlapping attachments, or sections that feel too tight. The extensions should not cause pain, persistent pulling, or scalp discomfort.
After confirming that the installation is secure, blend the extensions with your natural hair using a gentle brush and your preferred styling method.
If your extensions are made from human hair and approved for heat styling, you can use suitable heat tools according to the care instructions. Keep excessive heat away from the adhesive attachment points, as heat can affect some bonding systems.
If any extension feels painful, unusually tight, or unstable, do not ignore the problem. Seek professional advice and have the placement assessed.
How Long Do Tape-In Hair Extensions Last?
How long tape-in hair extensions last depends on the adhesive system, natural hair growth, installation quality, and maintenance routine.
Some professionally installed tape-ins may be worn for several weeks before maintenance is needed. However, the often-quoted 6–8 weeks should be treated as a general reference, not a universal rule for every product or wearer.
As your natural hair grows, the attachment points move farther from the scalp. This can affect how the extensions look, how easily they tangle, and how much tension they place on your hair.
Follow the maintenance schedule recommended by your stylist and the extension manufacturer. Do not wait until the bonds become severely loose or tangled before arranging maintenance.
Can You Reuse Tape-In Hair Extensions?
Many tape-in extensions can be reused if the hair remains in good condition and the product is designed for reapplication. However, the number of times they can be reused varies according to hair quality, wear, removal technique, and maintenance.
A set of tape-ins can usually be reused 2 to 4 times before the quality of hair extensions starts to deteriorate. To reapply the tape, you can use replacement tape, which is specifically designed for tape hair extensions. To make sure you find the right tape replacement, check out the guide to the best tape for tape in hair extensions.
Important: Do not reuse extensions simply because the hair still looks good. The adhesive, attachment area, and overall condition must also be suitable for another application.
Common Mistakes to Avoid When Installing Tape-In Hair Extensions
Understanding common installation mistakes can help you recognize when a technique needs adjustment.
-
Using sections that are too thick: Excess natural hair between the adhesive tabs can interfere with bonding.
-
Allowing adhesive to touch the scalp: Attachments that sit too close to the scalp may cause discomfort and make movement difficult.
-
Installing extensions on oily or product-coated roots: Residue may interfere with adhesion.
-
Using too much extension hair: Excessive weight can strain the natural hair supporting the bonds.
-
Ignoring discomfort: Pain, persistent pulling, or scalp irritation should not be considered a normal part of wearing extensions.
-
Attempting to fix a misplaced bond by pulling it apart: Follow the appropriate removal or correction instructions instead.
If you are uncertain about the section size, placement, or adhesive technique, a qualified stylist can help you avoid problems that may be difficult to correct after installation.
FAQs About Applying Tape-In Hair Extensions
1. How do you apply tape-in hair extensions at home?
Applying tape-in extensions at home involves preparing your hair, creating clean sections, positioning the adhesive wefts, and pressing the tabs together according to the product instructions. Because correct placement and bonding are important, professional installation is generally recommended, especially for beginners.
2. How long does it take to install tape-in hair extensions?
Installation time varies depending on the number of extensions, the condition and density of your natural hair, and the installer's experience. A full installation can take considerably longer than applying a few pieces, so allow enough time for careful sectioning and placement rather than rushing.
3. Why are my tape-in hair extensions slipping?
Slipping may occur if the bonding surfaces are contaminated, the natural hair section is unsuitable, the tabs are not aligned properly, or the adhesive has deteriorated. Avoid trying to repair a loose bond by pulling or pressing it repeatedly. Have the installation assessed and follow the manufacturer's maintenance instructions.
4. How long should you wait before washing your hair after installing tape-ins?
The appropriate waiting period depends on the adhesive system. Follow the instructions provided with your specific extensions or by your stylist rather than assuming every tape-in product requires the same amount of time.
5. Can you curl or straighten tape-in hair extensions after installation?
Human-hair extensions may be heat-styled if the manufacturer permits it. Use a suitable heat protectant and avoid directing excessive heat at the adhesive bonds. Always follow the product's care instructions.
Final Thoughts
Learning how to put in tape-in hair extensions involves more than attaching two adhesive tabs. Clean sectioning, suitable hair sections, correct placement, and careful maintenance all contribute to a natural-looking result.
While this guide explains the basic steps involved in tape-in hair extension application, professional installation is the safer choice for many first-time users. If you choose to apply extensions at home, follow the instructions for your specific product and stop if you experience pain, excessive pulling, or scalp irritation.
With the right extension system and appropriate care, tape-ins can be a useful option for adding length and volume while maintaining a discreet finish.
Have questions about tape-in hair extensions or choosing the right replacement tape? Leave a comment below.