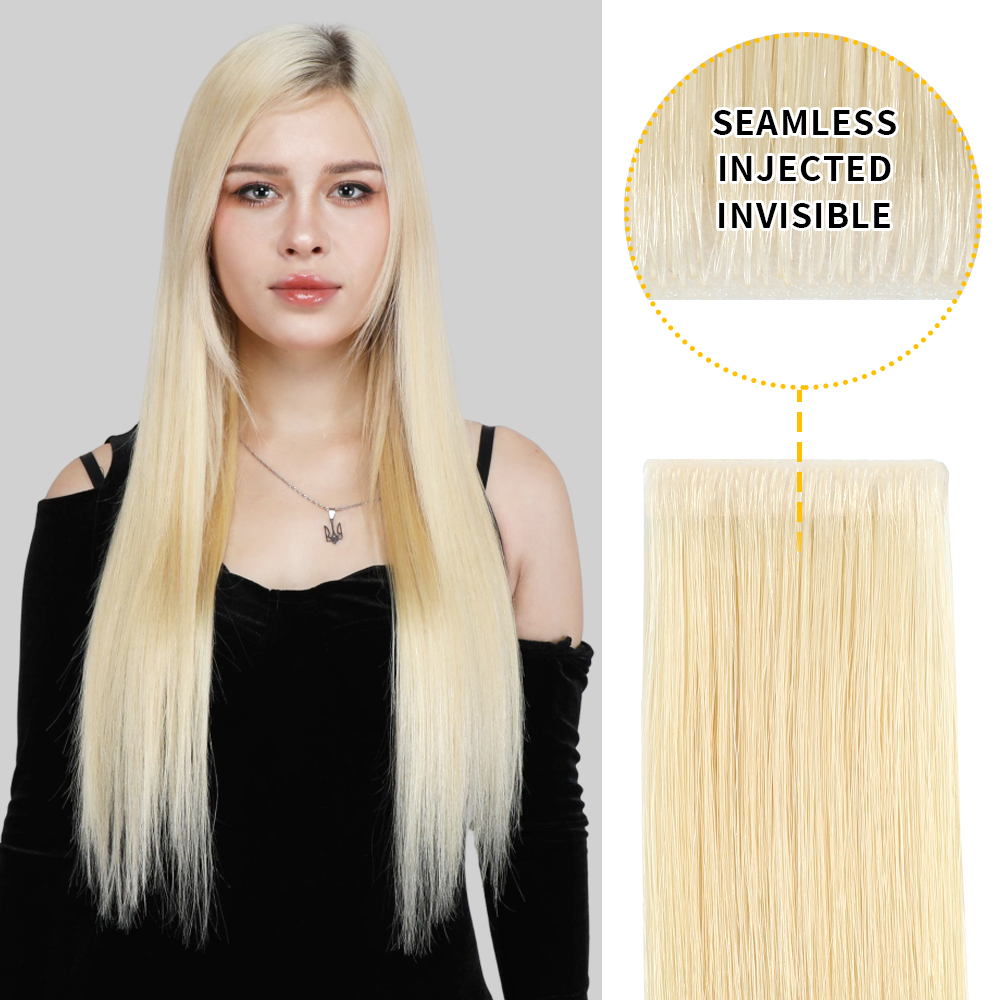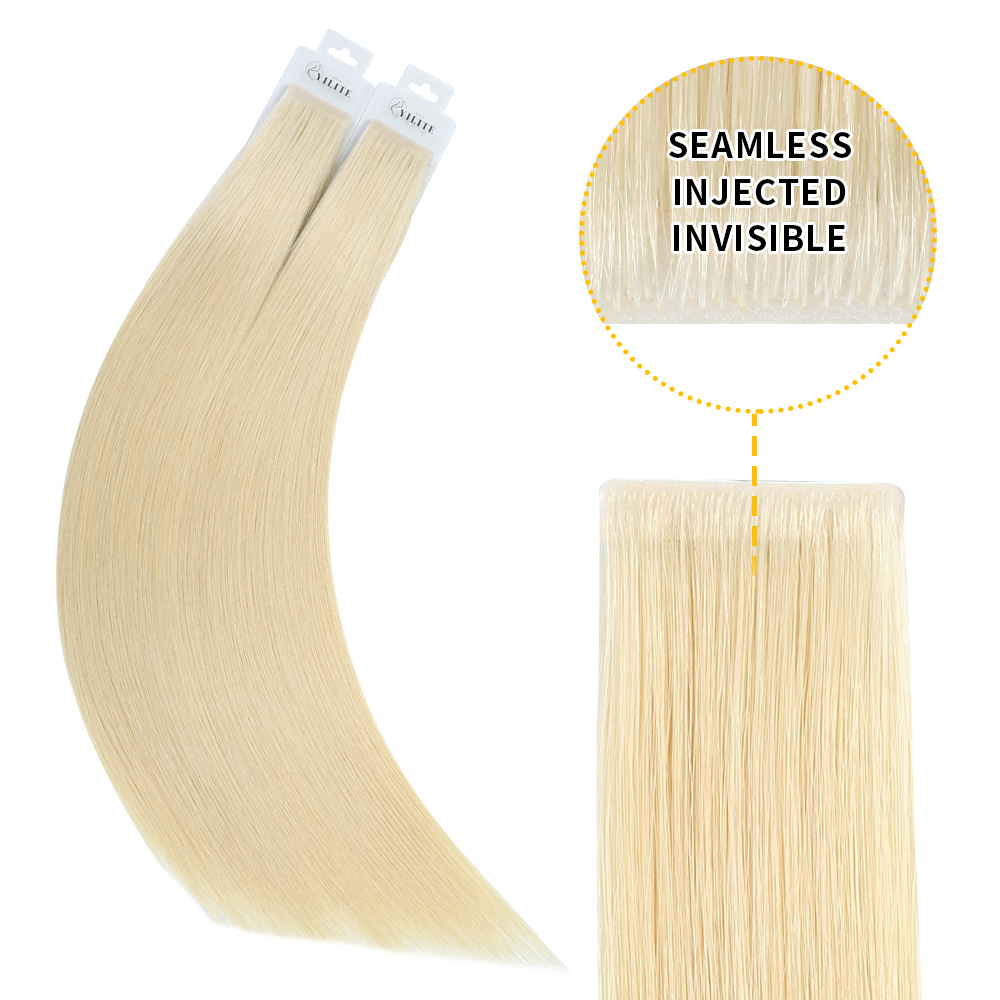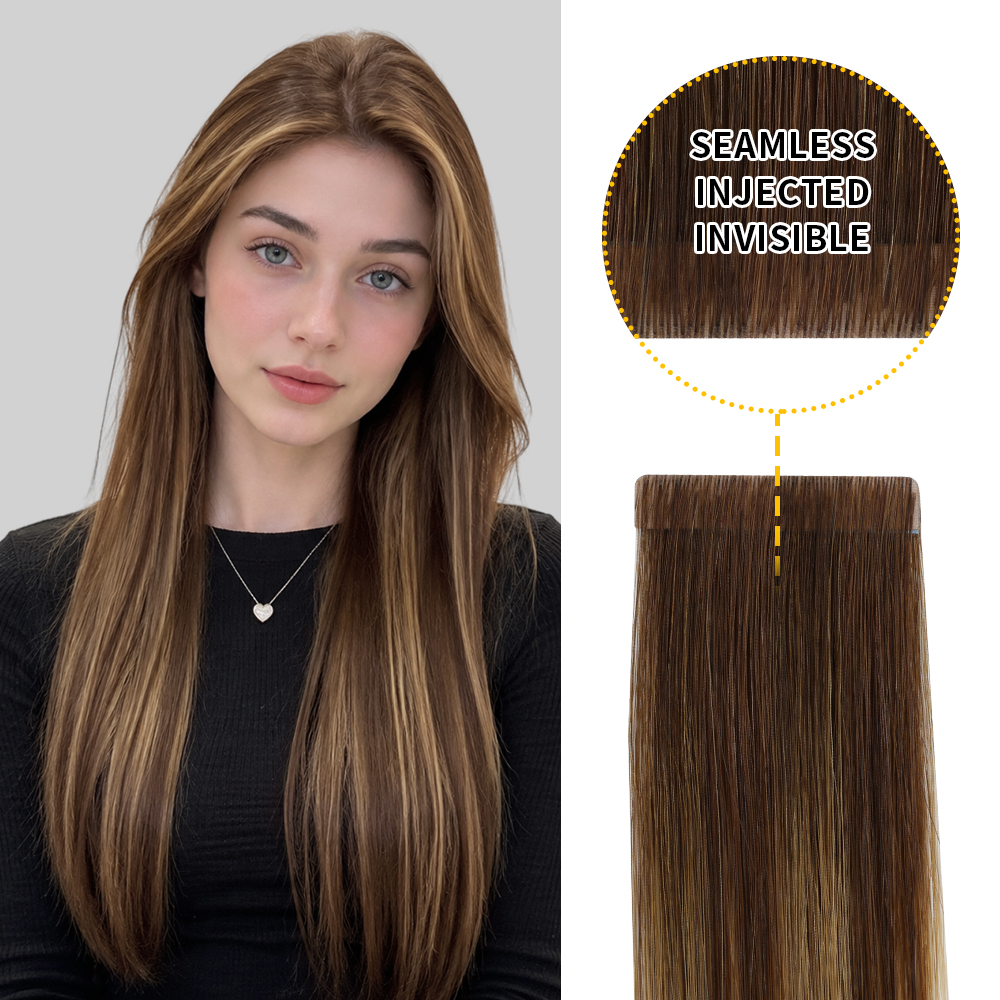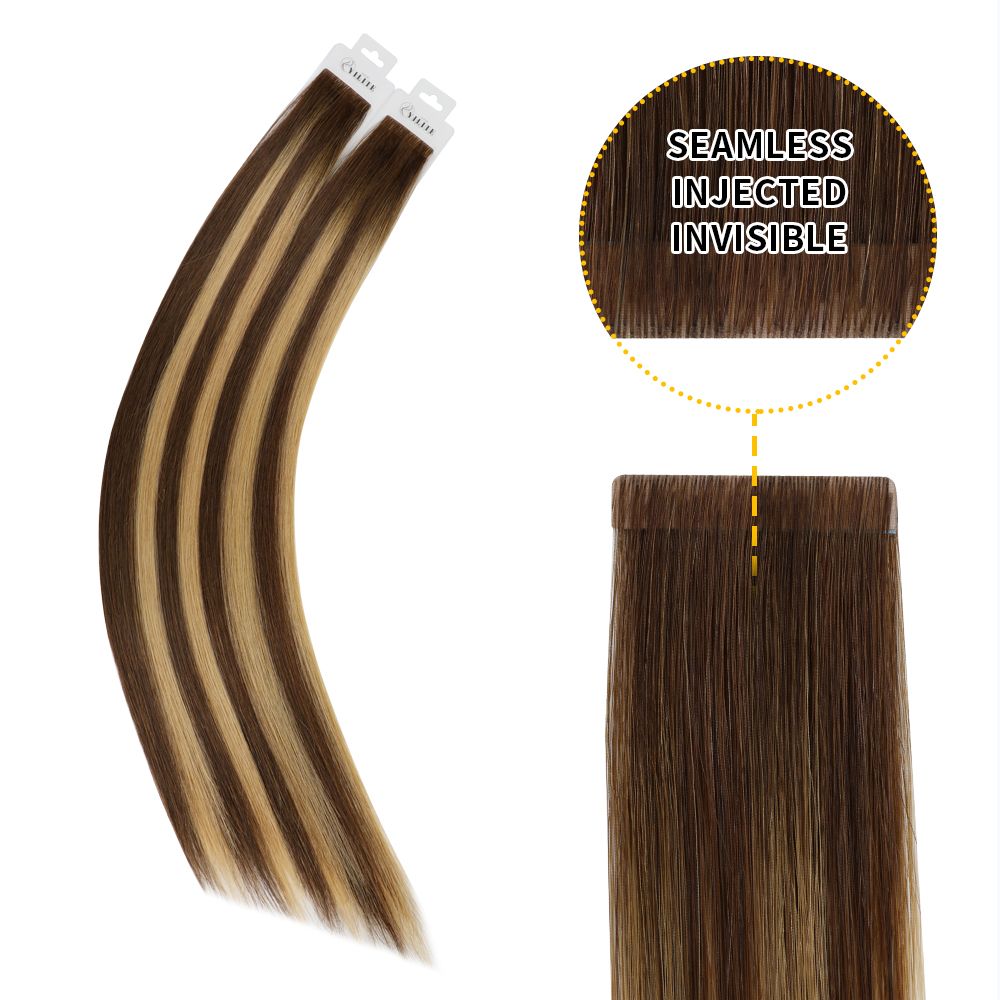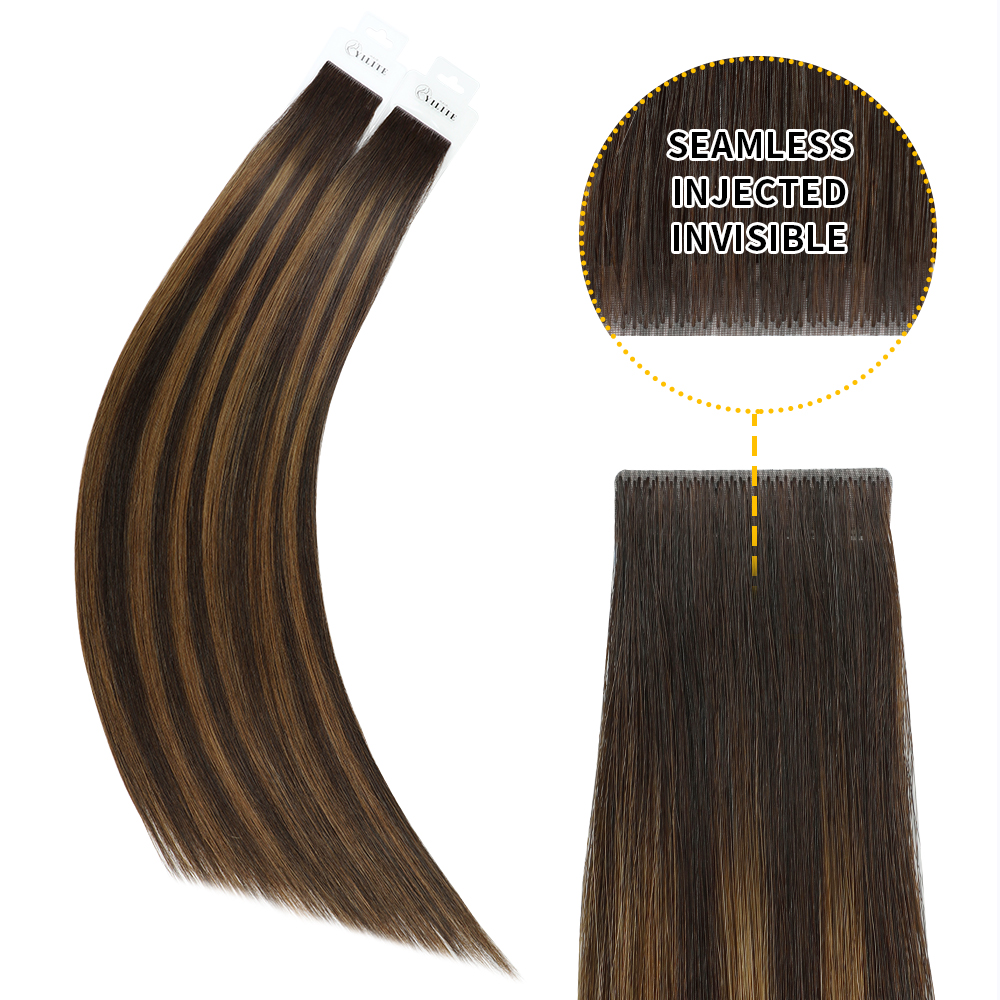
Tape-in hair extensions are one of the most popular semi-permanent extension methods. They’re lightweight, reusable, and blend beautifully with natural hair. However, the adhesive bond weakens after 6–8 weeks as your hair grows and natural oils break down the tape.
Instead of buying new extensions every time, you can retape and reuse your tape-ins, saving money while keeping your hair healthy. Proper retaping also ensures your extensions stay invisible, comfortable, and long-lasting.
What You’ll Need
Make sure you gather everything before starting. A well-prepped workspace makes the process much smoother.
Extension remover or adhesive solvent – formulated for tape-ins
Replacement extension tape – double-sided, medical-grade
Fine-tooth comb – for detangling and sectioning
Hair clips – to separate sections
Cotton pads or paper towels – to wipe away residue
Blow dryer (optional) – for loosening sticky tape
Flat iron (optional) – for sealing bonds after application
How to Retape Tape Hair Extensions?
Step 1: Remove the Old Extensions
Apply remover directly to the bond where your tape extensions are attached. Let the solution sit for 20–30 seconds, then gently separate the wefts from your natural hair.
Pro Tip: Always start at the back of your head and work forward. This keeps your sections organized and prevents tangling.
Step 2: Clean and Prepare the Extensions
Once removed, peel away the old tape from the wefts. Some adhesives come off easily, while others need extra care.
For stubborn residue: Lightly warm the adhesive strip with a blow dryer on low heat, then scrape gently with your fingernail.
For sticky buildup: Wipe with a cotton pad dipped in remover until the weft feels smooth.
Place the clean wefts on a paper towel and allow them to air dry completely before retaping. Moisture or oil can affect the new adhesive bond.
Step 3: Apply New Tape
Cut new tape strips to fit the width of each weft. Carefully apply them along the top edge, pressing firmly to ensure a smooth seal. Don’t peel off the protective backing until you’re ready to install.
Pro Tip: Always use high-quality, professional-grade replacement tape. Cheaper alternatives may not hold well and can lead to slippage within days.
Step 4: Reinstall the Extensions
When reinstalling:
Section off a thin layer of natural hair (about the same width as your weft).
Remove the backing from the new tape and place the extension underneath the section.
Sandwich the hair with another taped extension on top.
Press the two wefts together firmly to secure.
Leave about 1 inch (2–3 cm) of space from your scalp to allow natural movement and prevent tension.
Step 5: Secure the Bond
After installation, press the bonds between your fingers for a few seconds to fully activate the adhesive. Some stylists also recommend lightly tapping the bond with a flat iron (on low heat) for extra hold.
Common Mistakes to Avoid
Using too much remover: This can oversaturate the hair and make retaping difficult.
Skipping the cleaning step: New tape won’t stick properly if residue is left behind.
Applying too close to the scalp: This causes discomfort and limits natural movement.
Washing hair too soon: Wait at least 48 hours before your first wash to let the adhesive set.
Aftercare Tips for Longer-Lasting Tape-Ins
Wash less often: Overwashing can loosen the adhesive. Aim for 2–3 times per week.
Use sulfate-free shampoo: Harsh detergents can weaken bonds.
Avoid oils near the bonds: Apply serums and masks only to mid-lengths and ends.
Brush carefully: Hold the roots when brushing to avoid tugging on tapes.
Sleep smart: Tie hair into a loose braid or ponytail at night to prevent tangles.
How Often Should You Retape?
Most people need to retape their extensions every 6–8 weeks depending on hair growth and product use. If you notice slipping, tangling near the roots, or visible adhesive, it’s time for a touch-up.
Final Thoughts
Retaping tape-in hair extensions isn’t complicated—it’s all about patience and precision. With the right tools and technique, you can extend the life of your extensions and keep your hair looking flawless. Whether you choose to DIY or have your stylist handle it, retaping is the key to enjoying reusable, cost-effective, and damage-free extensions.