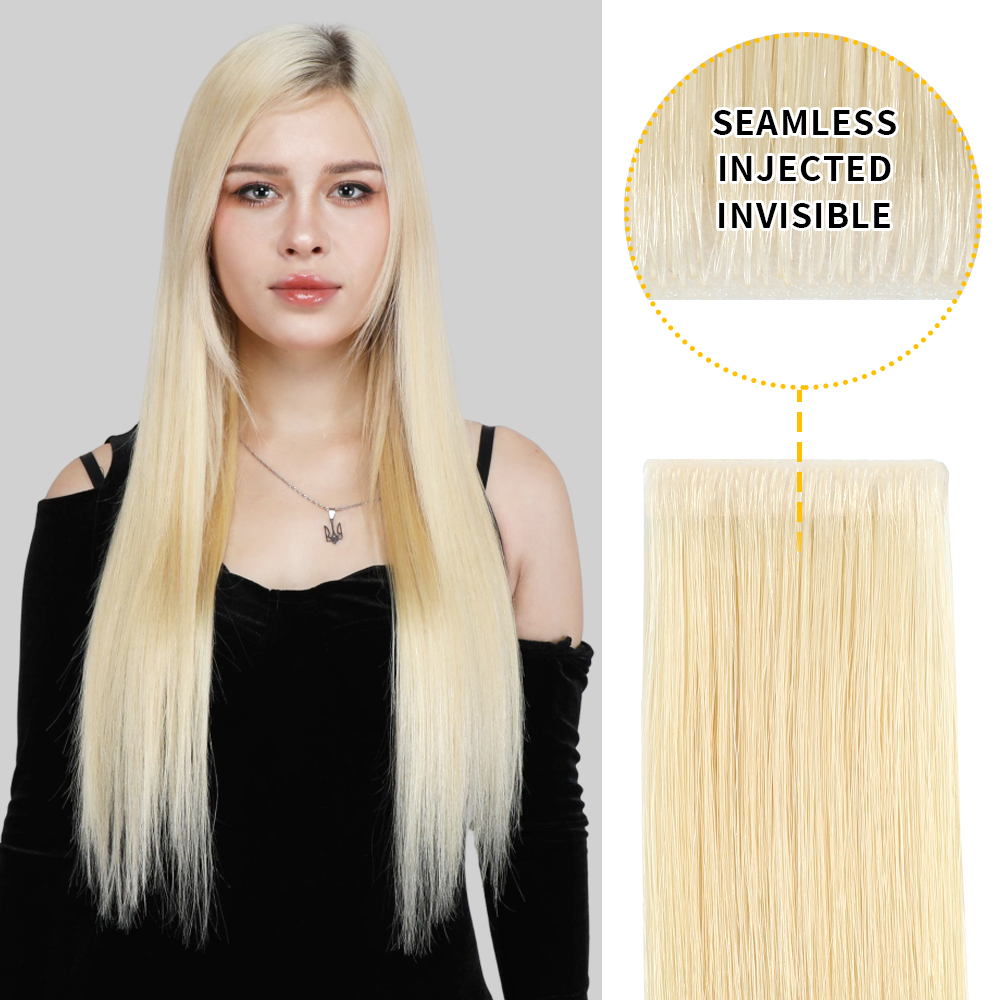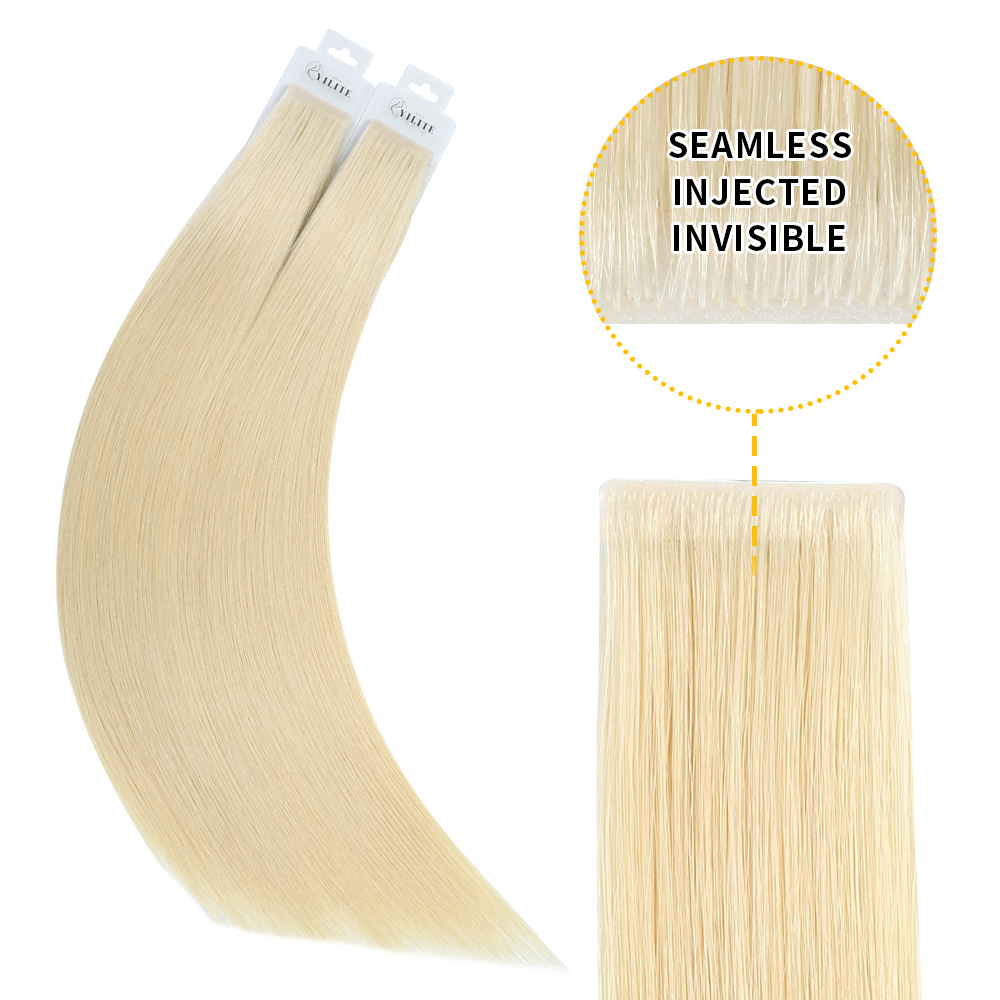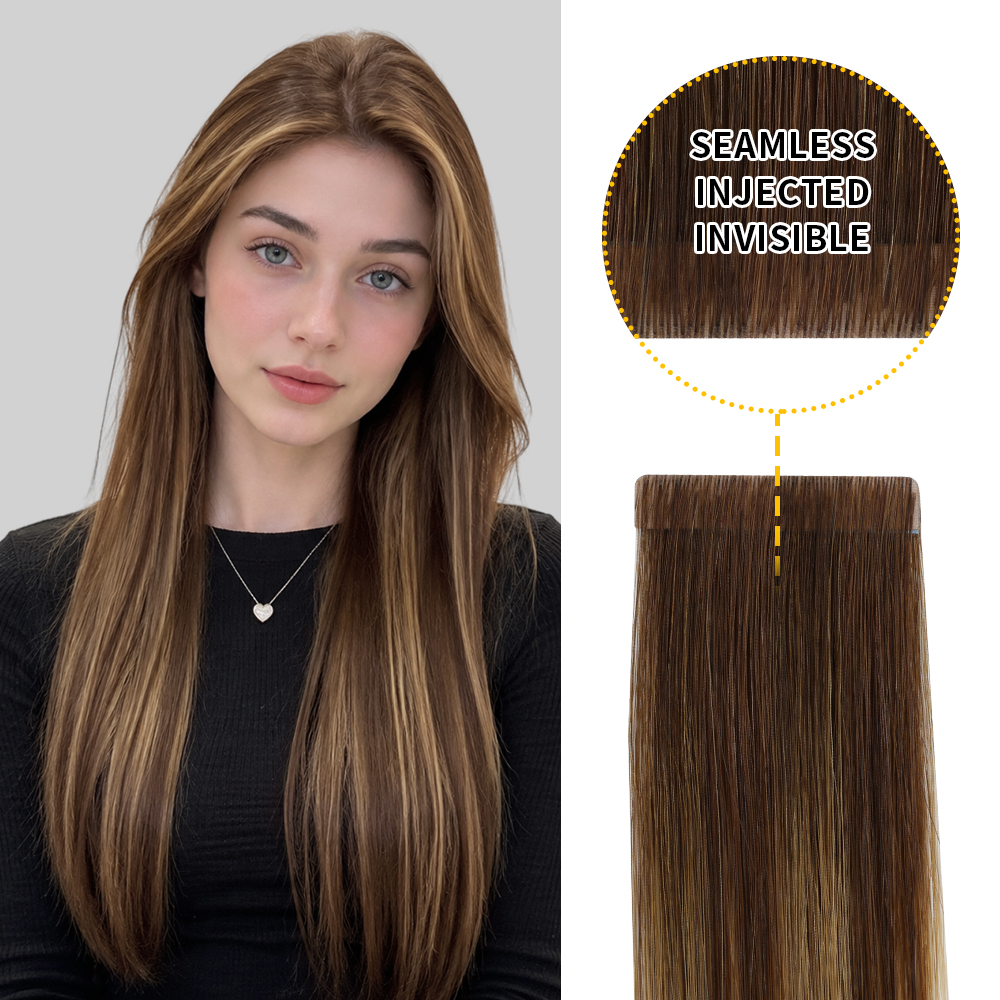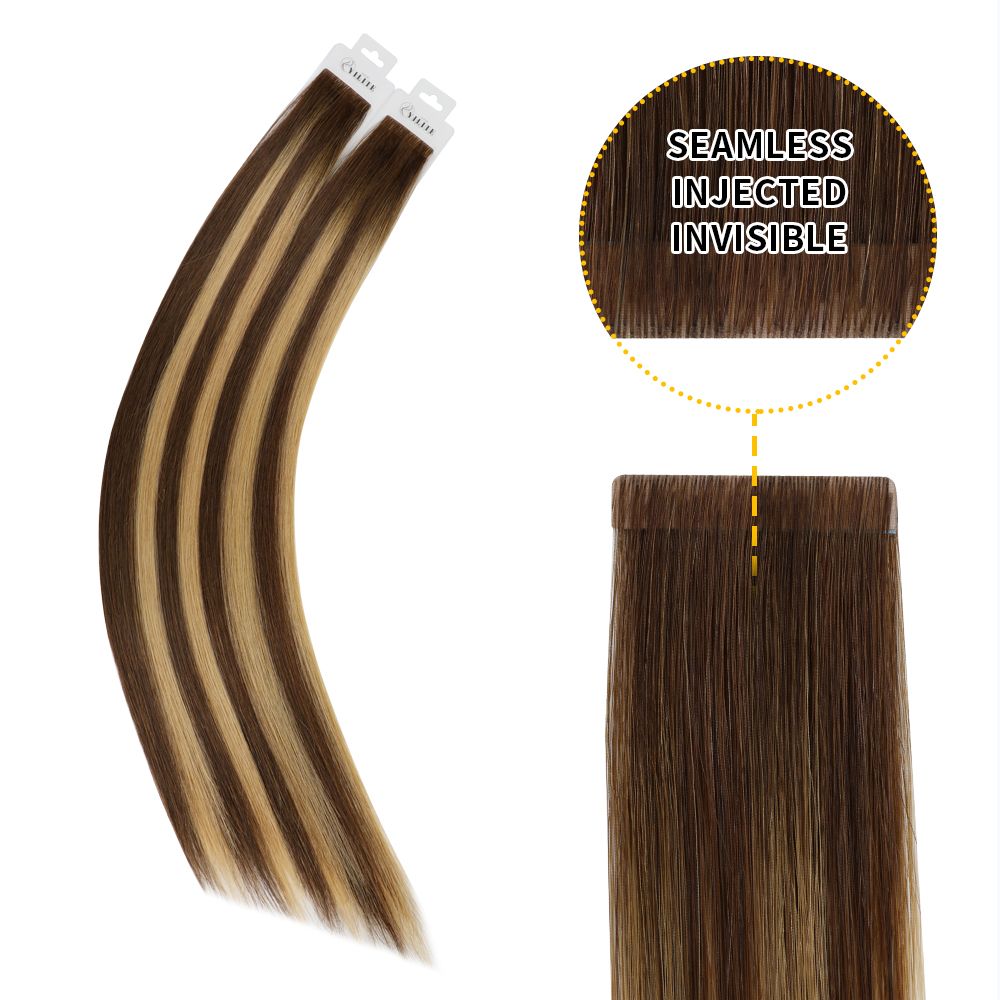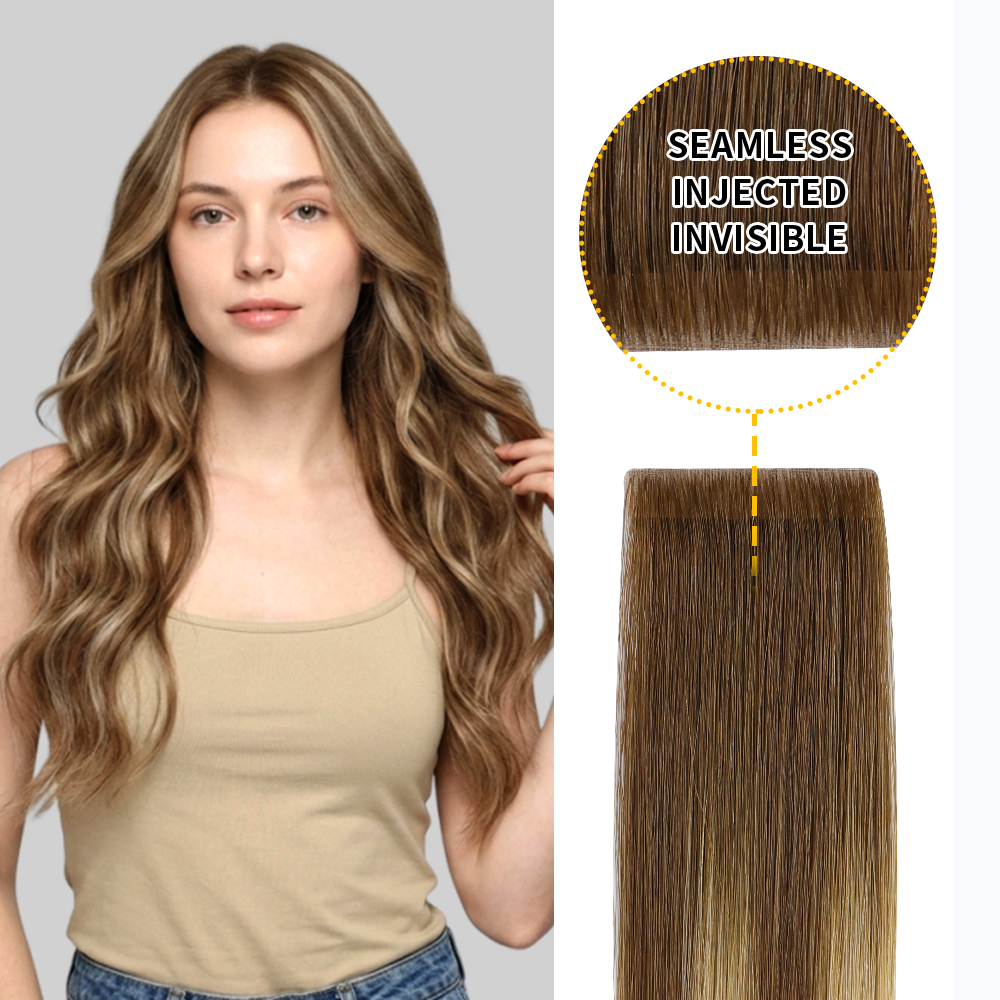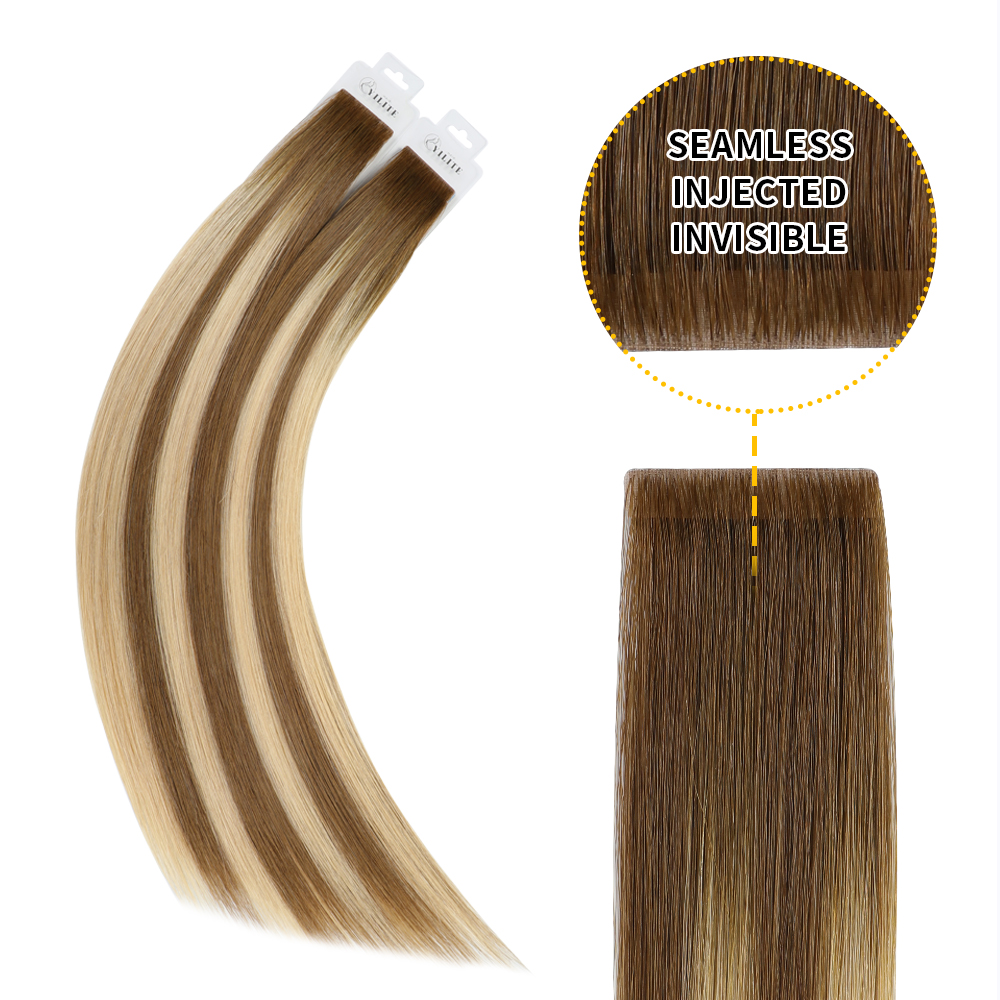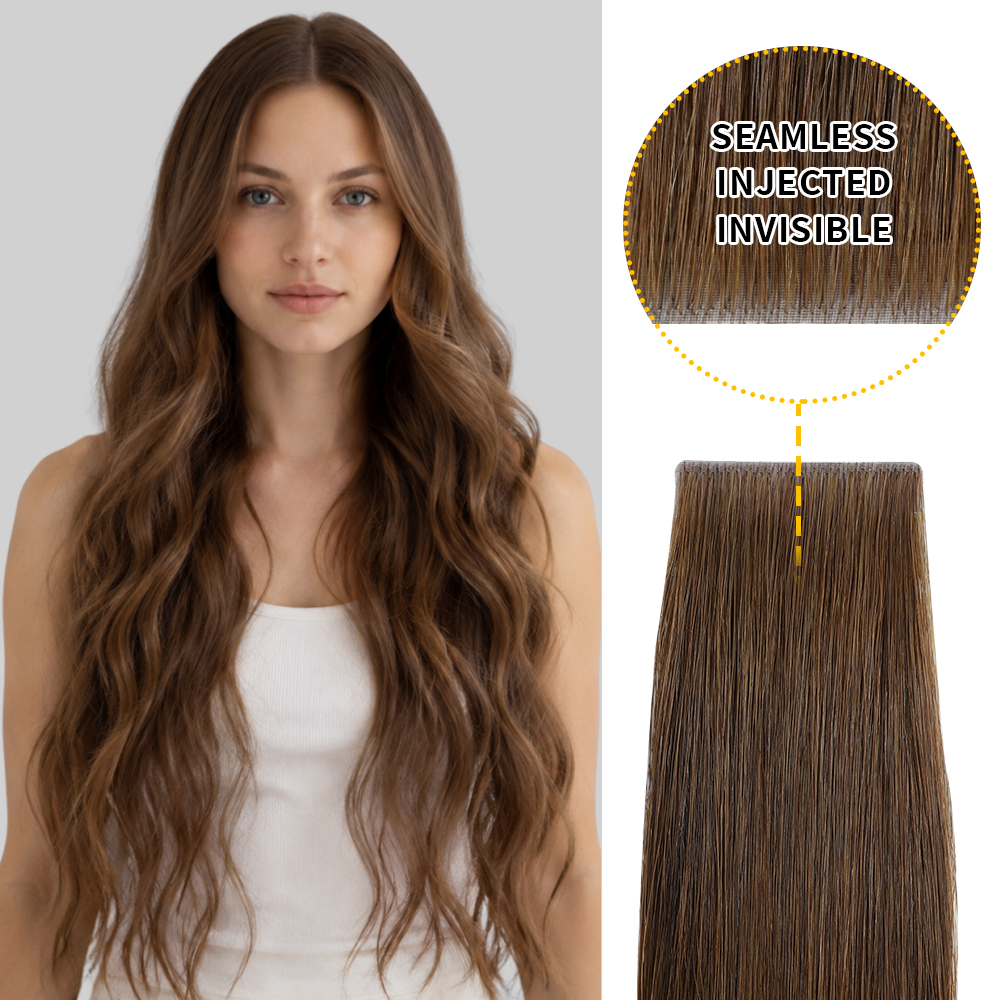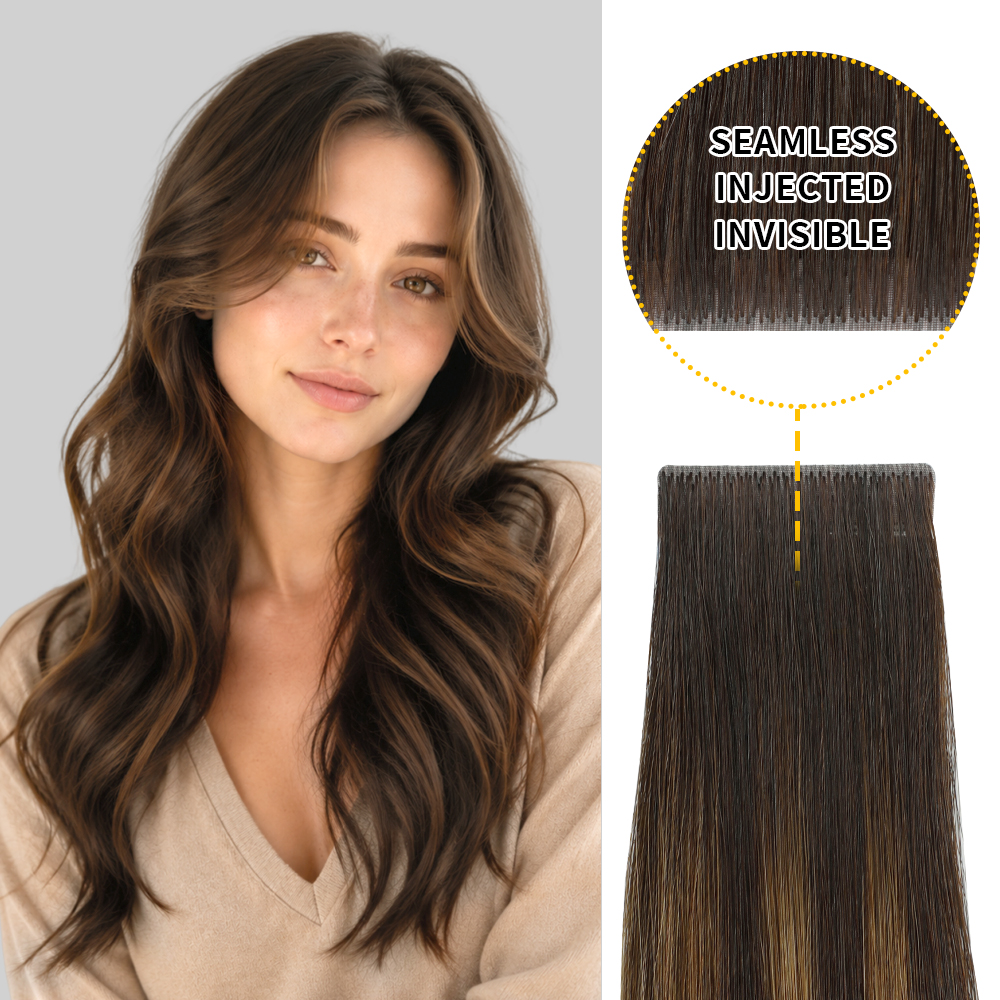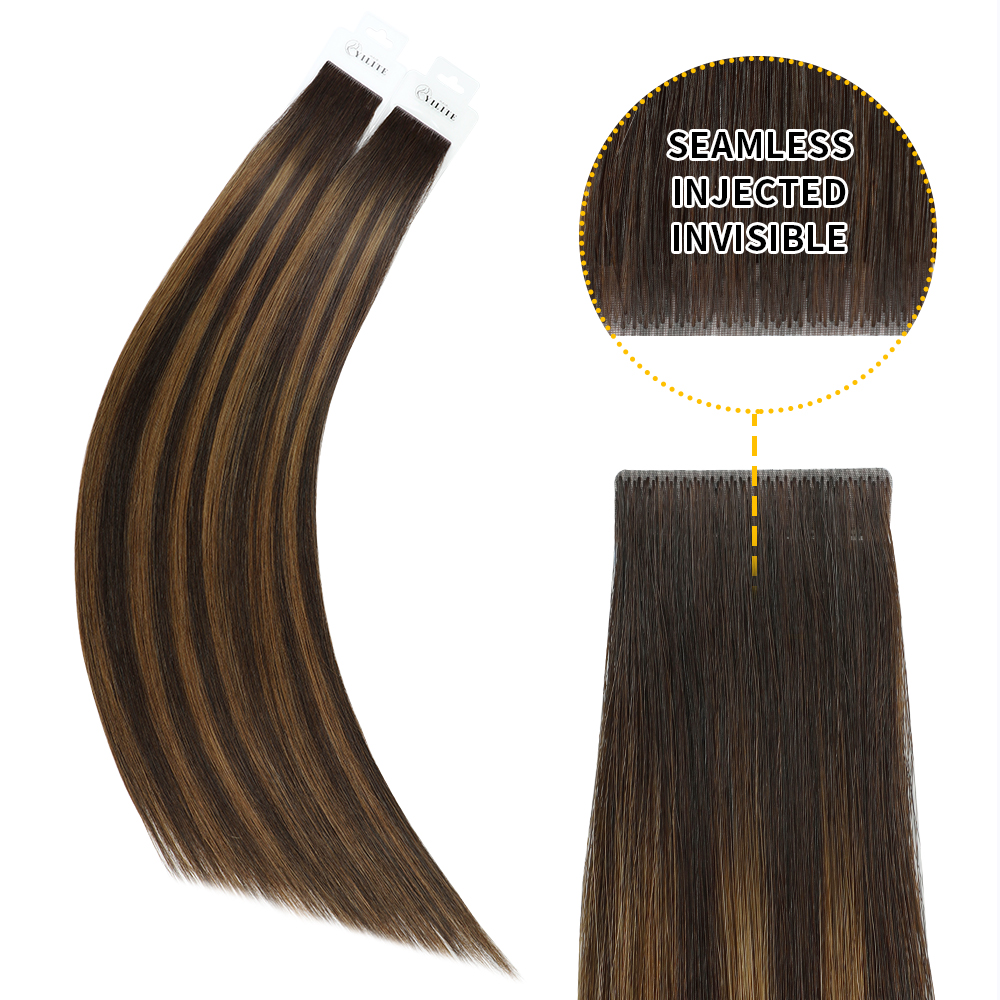
You invested in high-quality tape in hair extensions, followed the installation process carefully, and loved the result.
Your hair looked seamless, natural, and full of volume.
Then a few days later, something went wrong.
The tapes started sliding.
One piece became loose.
The extensions no longer felt secure.
If this sounds familiar, you are not alone.
Tape in extensions are one of the most popular semi-permanent extension methods because they are lightweight, comfortable, and nearly invisible when installed correctly. However, slipping can happen when something affects the adhesive bond, the installation technique, or the way the extensions are maintained.
The important thing to understand is:
Tape in extensions usually do not slip because the hair extensions are bad. They slip because the adhesive connection between the tape and natural hair has been weakened.
In this guide, we’ll explain:
- Why tape in extensions slip
- How to fix tape ins that are already loose
- How to prevent slipping in the future
- How professionals ensure a secure, long-lasting installation
How Long Should Tape Ins Stay Secure?
Before looking at problems, it helps to understand what is normal.
A properly installed tape in extension usually stays secure for:
6–8 weeks before requiring maintenance or re-taping.
During this period, natural hair growth, scalp oils, and regular washing gradually weaken the adhesive.
However, if your tape ins start slipping:
- Within a few days
- Within the first two weeks
- After the first wash
there is usually an underlying issue with installation, preparation, products, or aftercare.
The Most Common Reasons Tape In Extensions Slip
There are several reasons tape extensions lose their grip. Most problems fall into six categories.
| Problem | Why It Happens | Solution |
|---|---|---|
| Improper preparation | Oil, conditioner, or residue prevents bonding | Deep cleanse before installation |
| Incorrect section size | Too much or too little natural hair weakens the attachment | Use balanced sections |
| Wrong products | Oils and silicones break down adhesive | Avoid products near tapes |
| Moisture too soon | Water and sweat interrupt adhesive curing | Wait 48 hours after installation |
| Poor installation technique | Weak pressure or incorrect placement | Follow professional installation steps |
| Old adhesive | Tape naturally loses strength over time | Replace tapes every 6–8 weeks |
1. Your Hair Was Not Properly Prepared Before Installation
One of the biggest reasons tape ins slip is poor preparation.
Tape adhesive needs a clean surface to create a strong bond.
If your hair contains:
- Natural scalp oils
- Conditioner residue
- Hair masks
- Styling products
- Dry shampoo buildup
the adhesive cannot fully attach to the hair.
Instead of bonding directly with the hair strand, the tape sticks to product residue, which makes the connection much weaker.
Professional Preparation Checklist
Before applying tape extensions:
✔ Wash hair with a clarifying shampoo
✔ Avoid conditioner near the roots
✔ Remove all styling products
✔ Make sure hair is completely dry
✔ Do not apply oils before installation
Clean hair creates the strongest foundation.
2. The Hair Section Between the Tapes Is Incorrect
Tape extensions rely on balanced weight distribution.
The section of natural hair between two tape pieces cannot be too thick or too thin.
Too Much Hair
If too much natural hair is placed between tapes:
- The adhesive cannot fully connect
- The tapes separate
- The extension feels loose
Too Little Hair
If the section is too thin:
- The natural hair carries too much weight
- Tension increases
- Slipping and breakage become more likely
The ideal section should be:
Thin enough for the tapes to press flat, but strong enough to support the extension weight.
This is why professional sectioning is so important.
3. Oil and Silicone Products Are Weakening the Adhesive
Many extension problems come from everyday hair products.
Products that can shorten tape lifespan include:
- Hair oils
- Silicone serums
- Heavy leave-in conditioners
- Conditioning sprays near roots
These products are excellent for mid-lengths and ends, but they should not come close to the adhesive area.
Better Routine:
Apply moisturizing products:
✔ From mid-length to ends only
Avoid applying:
✘ Oils near tape bonds
✘ Conditioner directly on tapes
✘ Styling creams near attachment points
4. Washing Too Soon After Installation
The first 48 hours are critical.
Fresh tape adhesive needs time to fully strengthen.
Washing immediately after installation can weaken the bond before it has completely set.
For the first two days:
Avoid:
- Washing hair
- Heavy sweating
- Swimming
- Saunas
- Steam rooms
After 48 hours, you can return to your normal routine with extension-safe products.
5. Incorrect Installation Technique
Even premium tape extensions can fail if installed incorrectly.
Professional installers focus on:
Correct Placement
The tapes should sit flat against the head without excessive tension.
Sandwich Method
Most traditional tape ins use the sandwich method:
One tape weft is placed underneath the natural hair section, and another tape weft is placed above.
This creates:
- Balanced pressure
- Stronger adhesive contact
- Better weight distribution
Incorrect placement may cause:
- One side lifting
- Corners peeling
- Uneven tension
Check out the article "how to apply tape in hair extensions" for more specific application tutorials.
6. Your Tape Adhesive Has Reached the End of Its Wear Cycle
Sometimes slipping is completely normal.
Tape adhesive does not last forever.
After 6–8 weeks:
- Natural oils accumulate
- Hair grows away from the scalp
- Adhesive strength decreases
At this stage, extensions should be:
- Removed carefully
- Cleaned
- Retaped with replacement tape
- Reinstalled
Trying to continue wearing loose extensions can create unnecessary tension on natural hair.
How to Fix Tape In Extensions That Are Already Slipping
If your tape extensions are loose, do not simply press them back together.
Follow these steps:
Step 1: Remove Carefully
Never pull slipping extensions out.
Pulling can damage natural hair.
Use a professional tape remover to dissolve adhesive safely.
Step 2: Remove Old Residue
Old adhesive must be completely removed before applying new tape.
Any remaining residue can weaken the new bond.
Step 3: Apply Fresh Replacement Tape
Use high-quality replacement tapes designed specifically for tape in extensions.
A strong adhesive creates a more reliable installation.
Step 4: Reinstall Correctly
Make sure:
- Hair sections are clean
- Tapes are aligned
- Pressure is applied evenly
How to Prevent Tape Ins From Slipping
A few simple habits can significantly extend wear time.
Brush Correctly
Always:
- Hold the roots when brushing
- Start from the ends
- Use an extension-friendly brush
Avoid pulling directly on tape areas.
Protect Hair While Sleeping
Before bed:
- Brush gently
- Create a loose braid or ponytail
- Reduce friction with a silk pillowcase
Keep Products Away From Tape Areas
Focus oils and treatments on:
- Mid-lengths
- Ends
Keep roots clean and lightweight.
Dry Hair Completely
Never sleep with wet tape extensions.
Wet hair creates:
- More tension
- More tangling
- Weaker adhesive performance
Do Tape In Extensions Slip More on Fine Hair?
Yes, fine hair requires extra attention.
Fine hair has:
- Smaller strand diameter
- Less strength per strand
- Lower tolerance for weight
This means:
- Heavy extensions may create more tension
- Incorrect sectioning may cause slipping
- Too much density may affect comfort
For fine hair, stylists often recommend:
- Lightweight tape panels
- Smaller sections
- Lower extension weight
- More frequent maintenance
The goal is not maximum hair.
The goal is balanced weight distribution.
When Should You Replace Tape In Extensions?
You should consider retaping when:
- Extensions begin sliding downward
- Tape edges start lifting
- Hair growth creates visible gaps
- The attachment feels uncomfortable
Most clients need maintenance every:
6–8 weeks
depending on:
- Hair growth rate
- Lifestyle
- Product usage
- Hair type
Final Thoughts
Tape in extensions slipping can be frustrating, but it is usually preventable.
The most common causes are:
- Poor preparation
- Incorrect sectioning
- Product buildup
- Moisture too soon
- Improper installation
- Old adhesive
When installed correctly and maintained properly, tape in extensions can stay secure, comfortable, and natural-looking throughout the entire wear cycle.
The secret is not just choosing high-quality hair.
It is creating the right combination of:
Clean preparation + correct installation + proper maintenance + suitable products.
When these factors work together, tape in extensions can deliver the seamless, lightweight transformation they are known for.
FAQs
Q: Why do my tape in extensions fall out after one week?
A: Tape extensions falling out within one week usually indicate an installation or preparation issue, such as oily hair, incorrect sectioning, or moisture exposure too soon after application.
Q: How long should tape in extensions last before slipping?
A: Professional tape ins typically stay secure for 6–8 weeks before requiring maintenance.
Q: Can I fix slipping tape extensions without removing them?
A: If the tape is partially loose, it is usually safer to remove and retape the extension rather than pressing it back into place.
Q: Do tape extensions slip more on oily hair?
A: Yes. Excess scalp oil can weaken adhesive bonds and shorten the lifespan of tape extensions.
Q: Are tape in extensions safe for fine hair?
A: Yes, when the correct weight, section size, and installation method are used. Fine hair requires customized extension choices.